

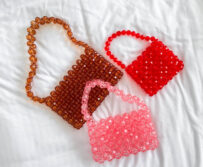




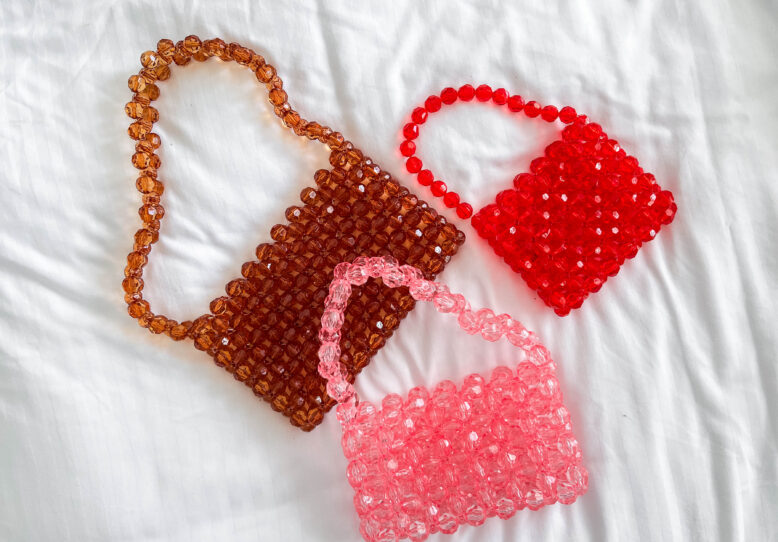
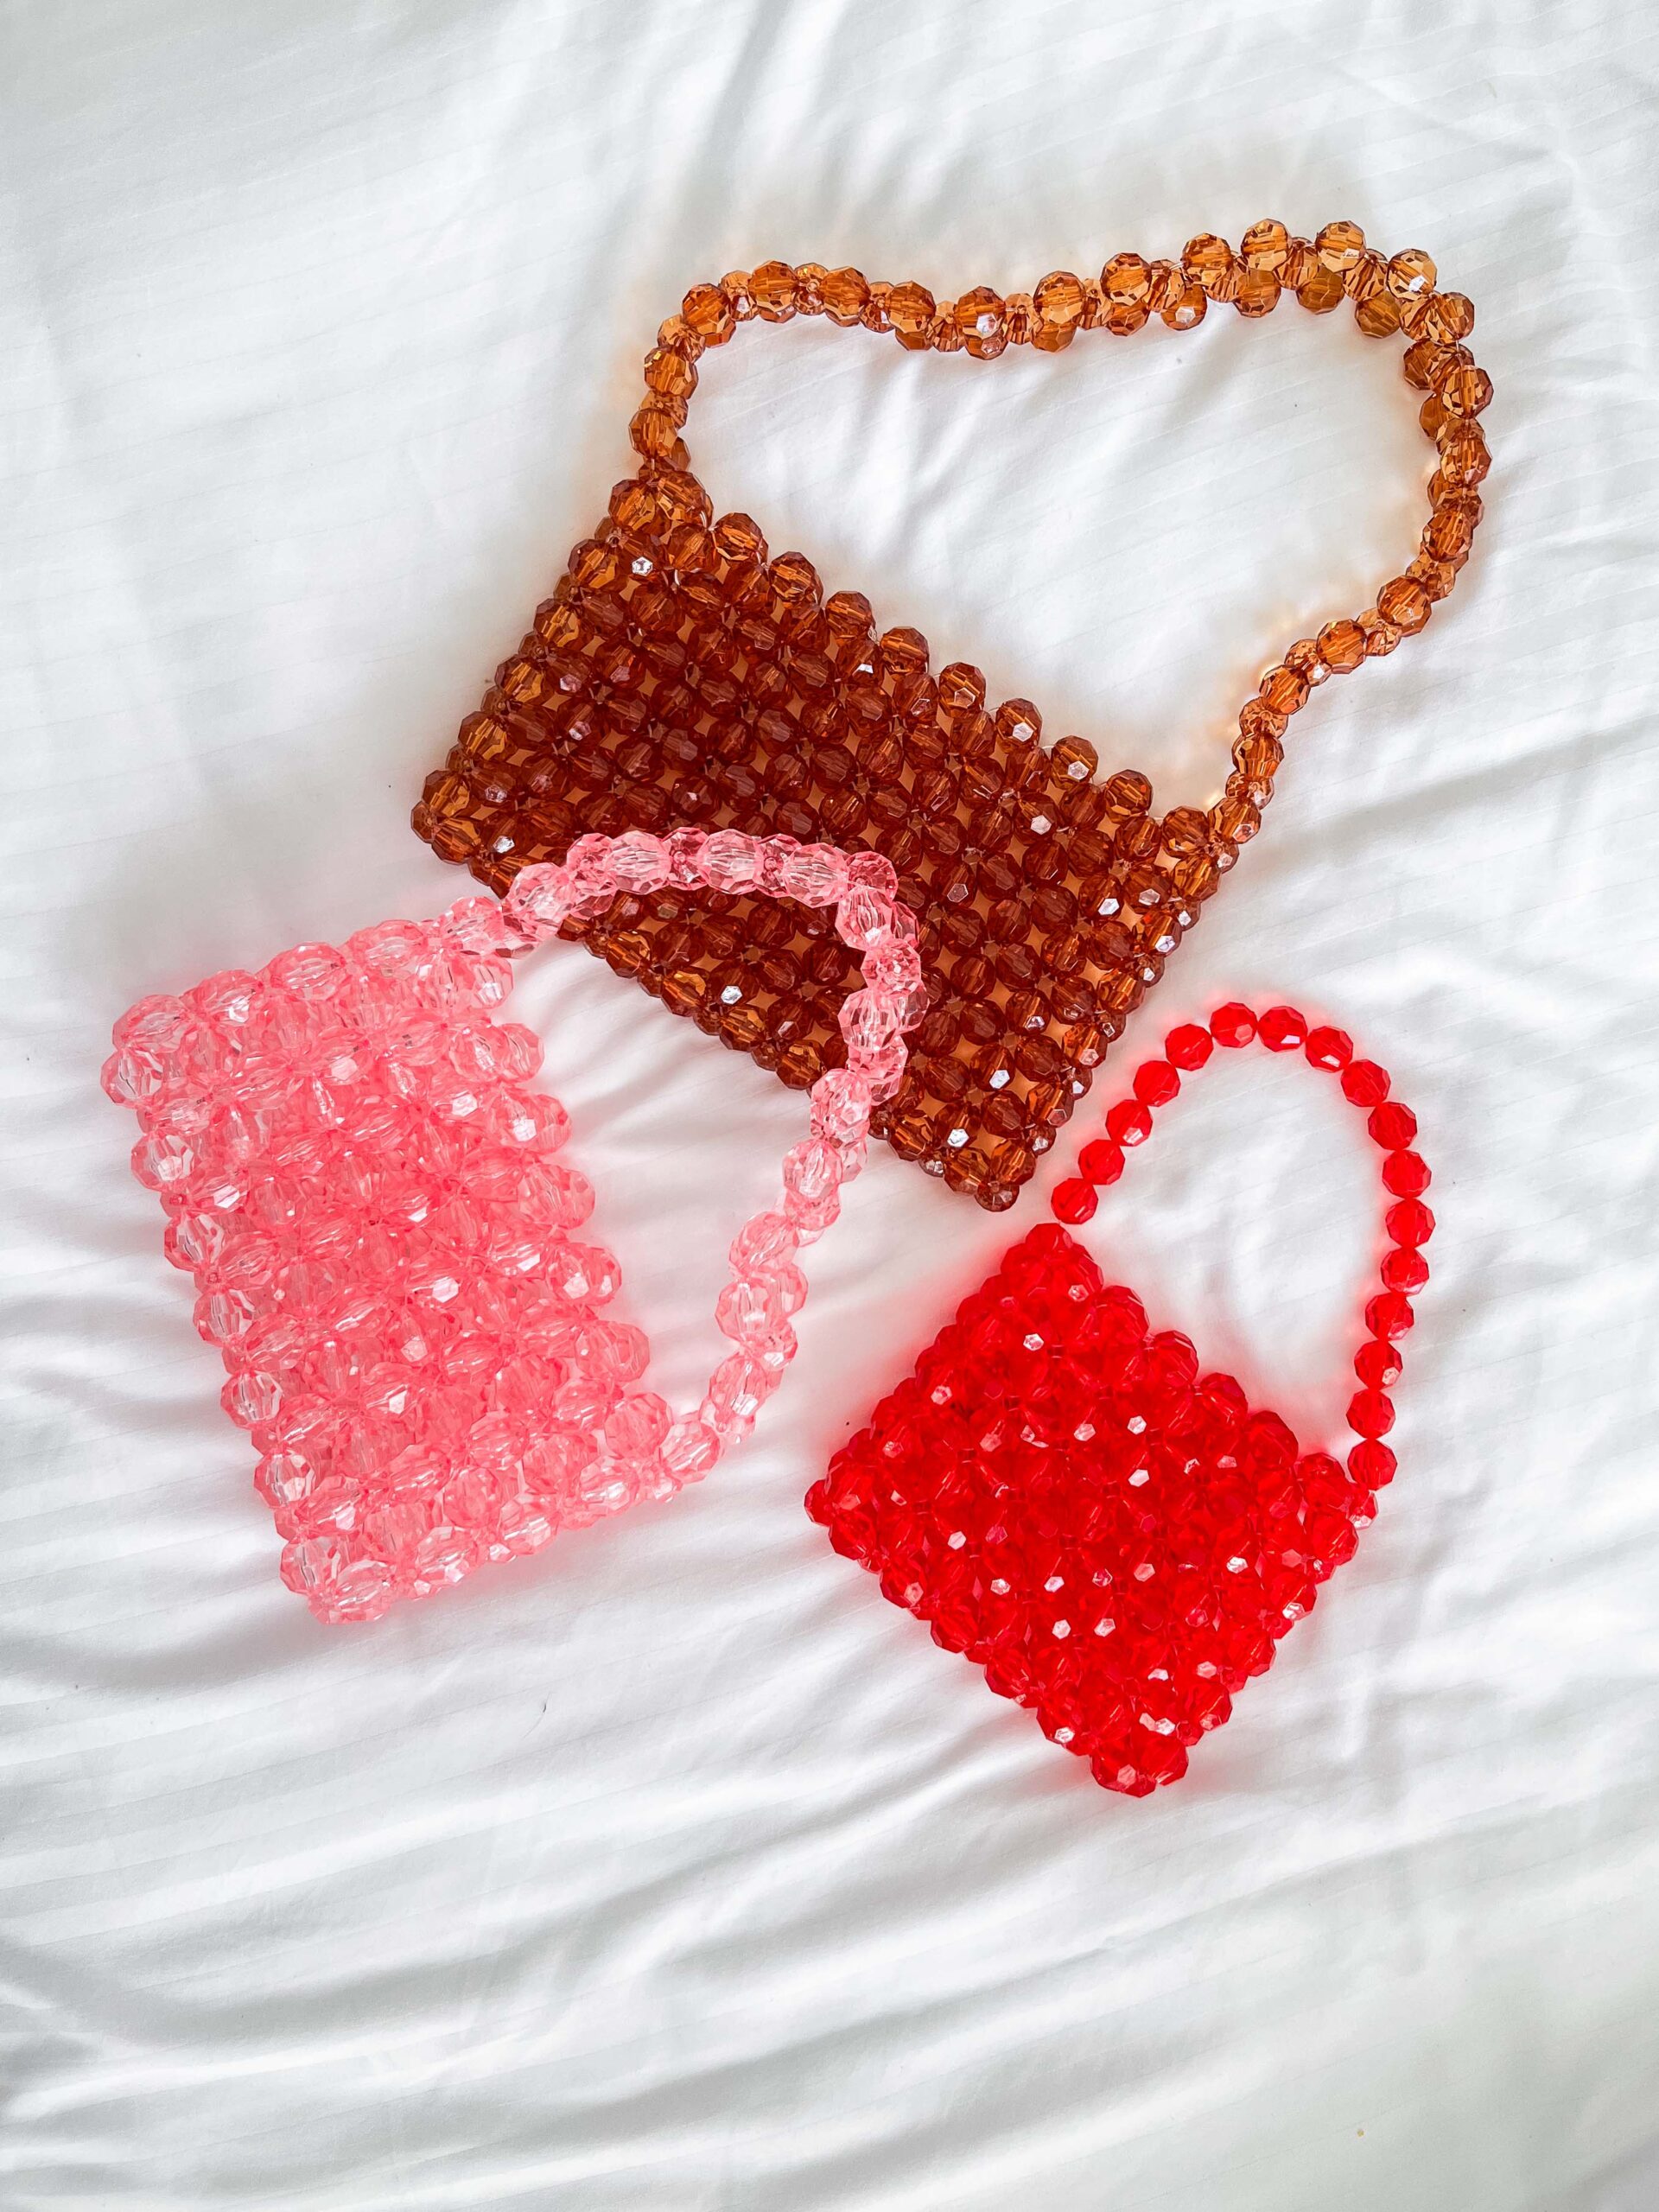
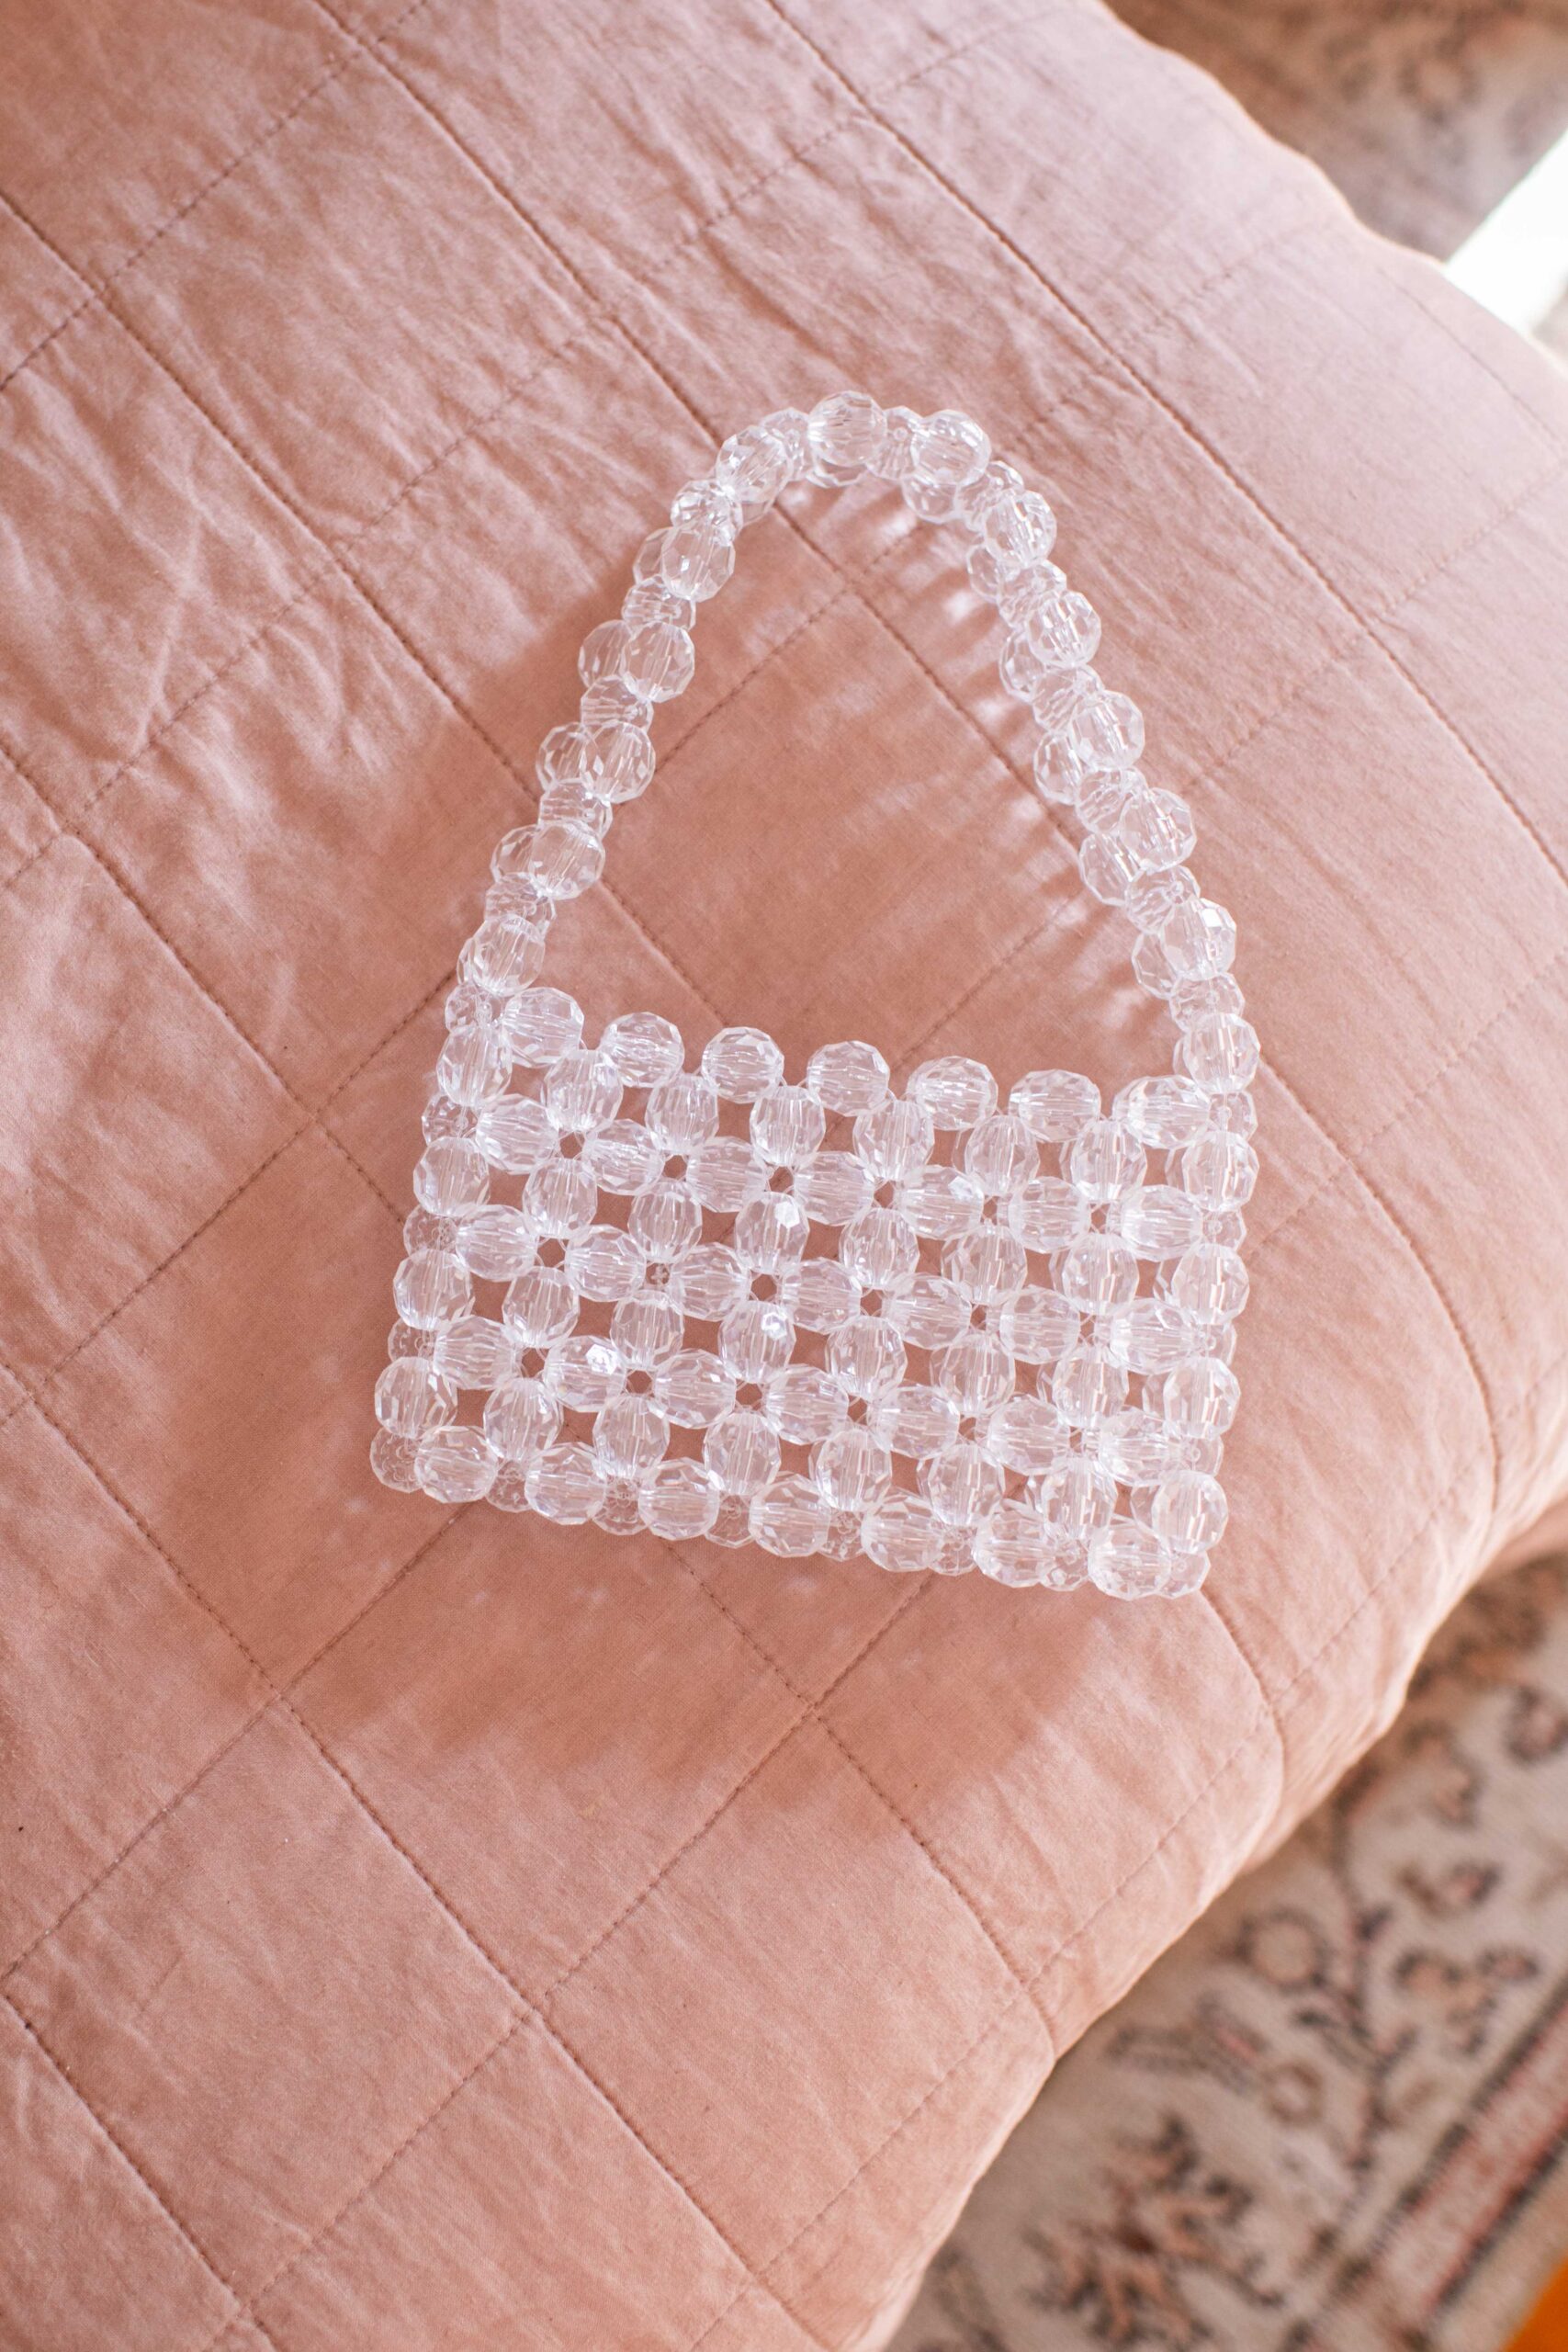
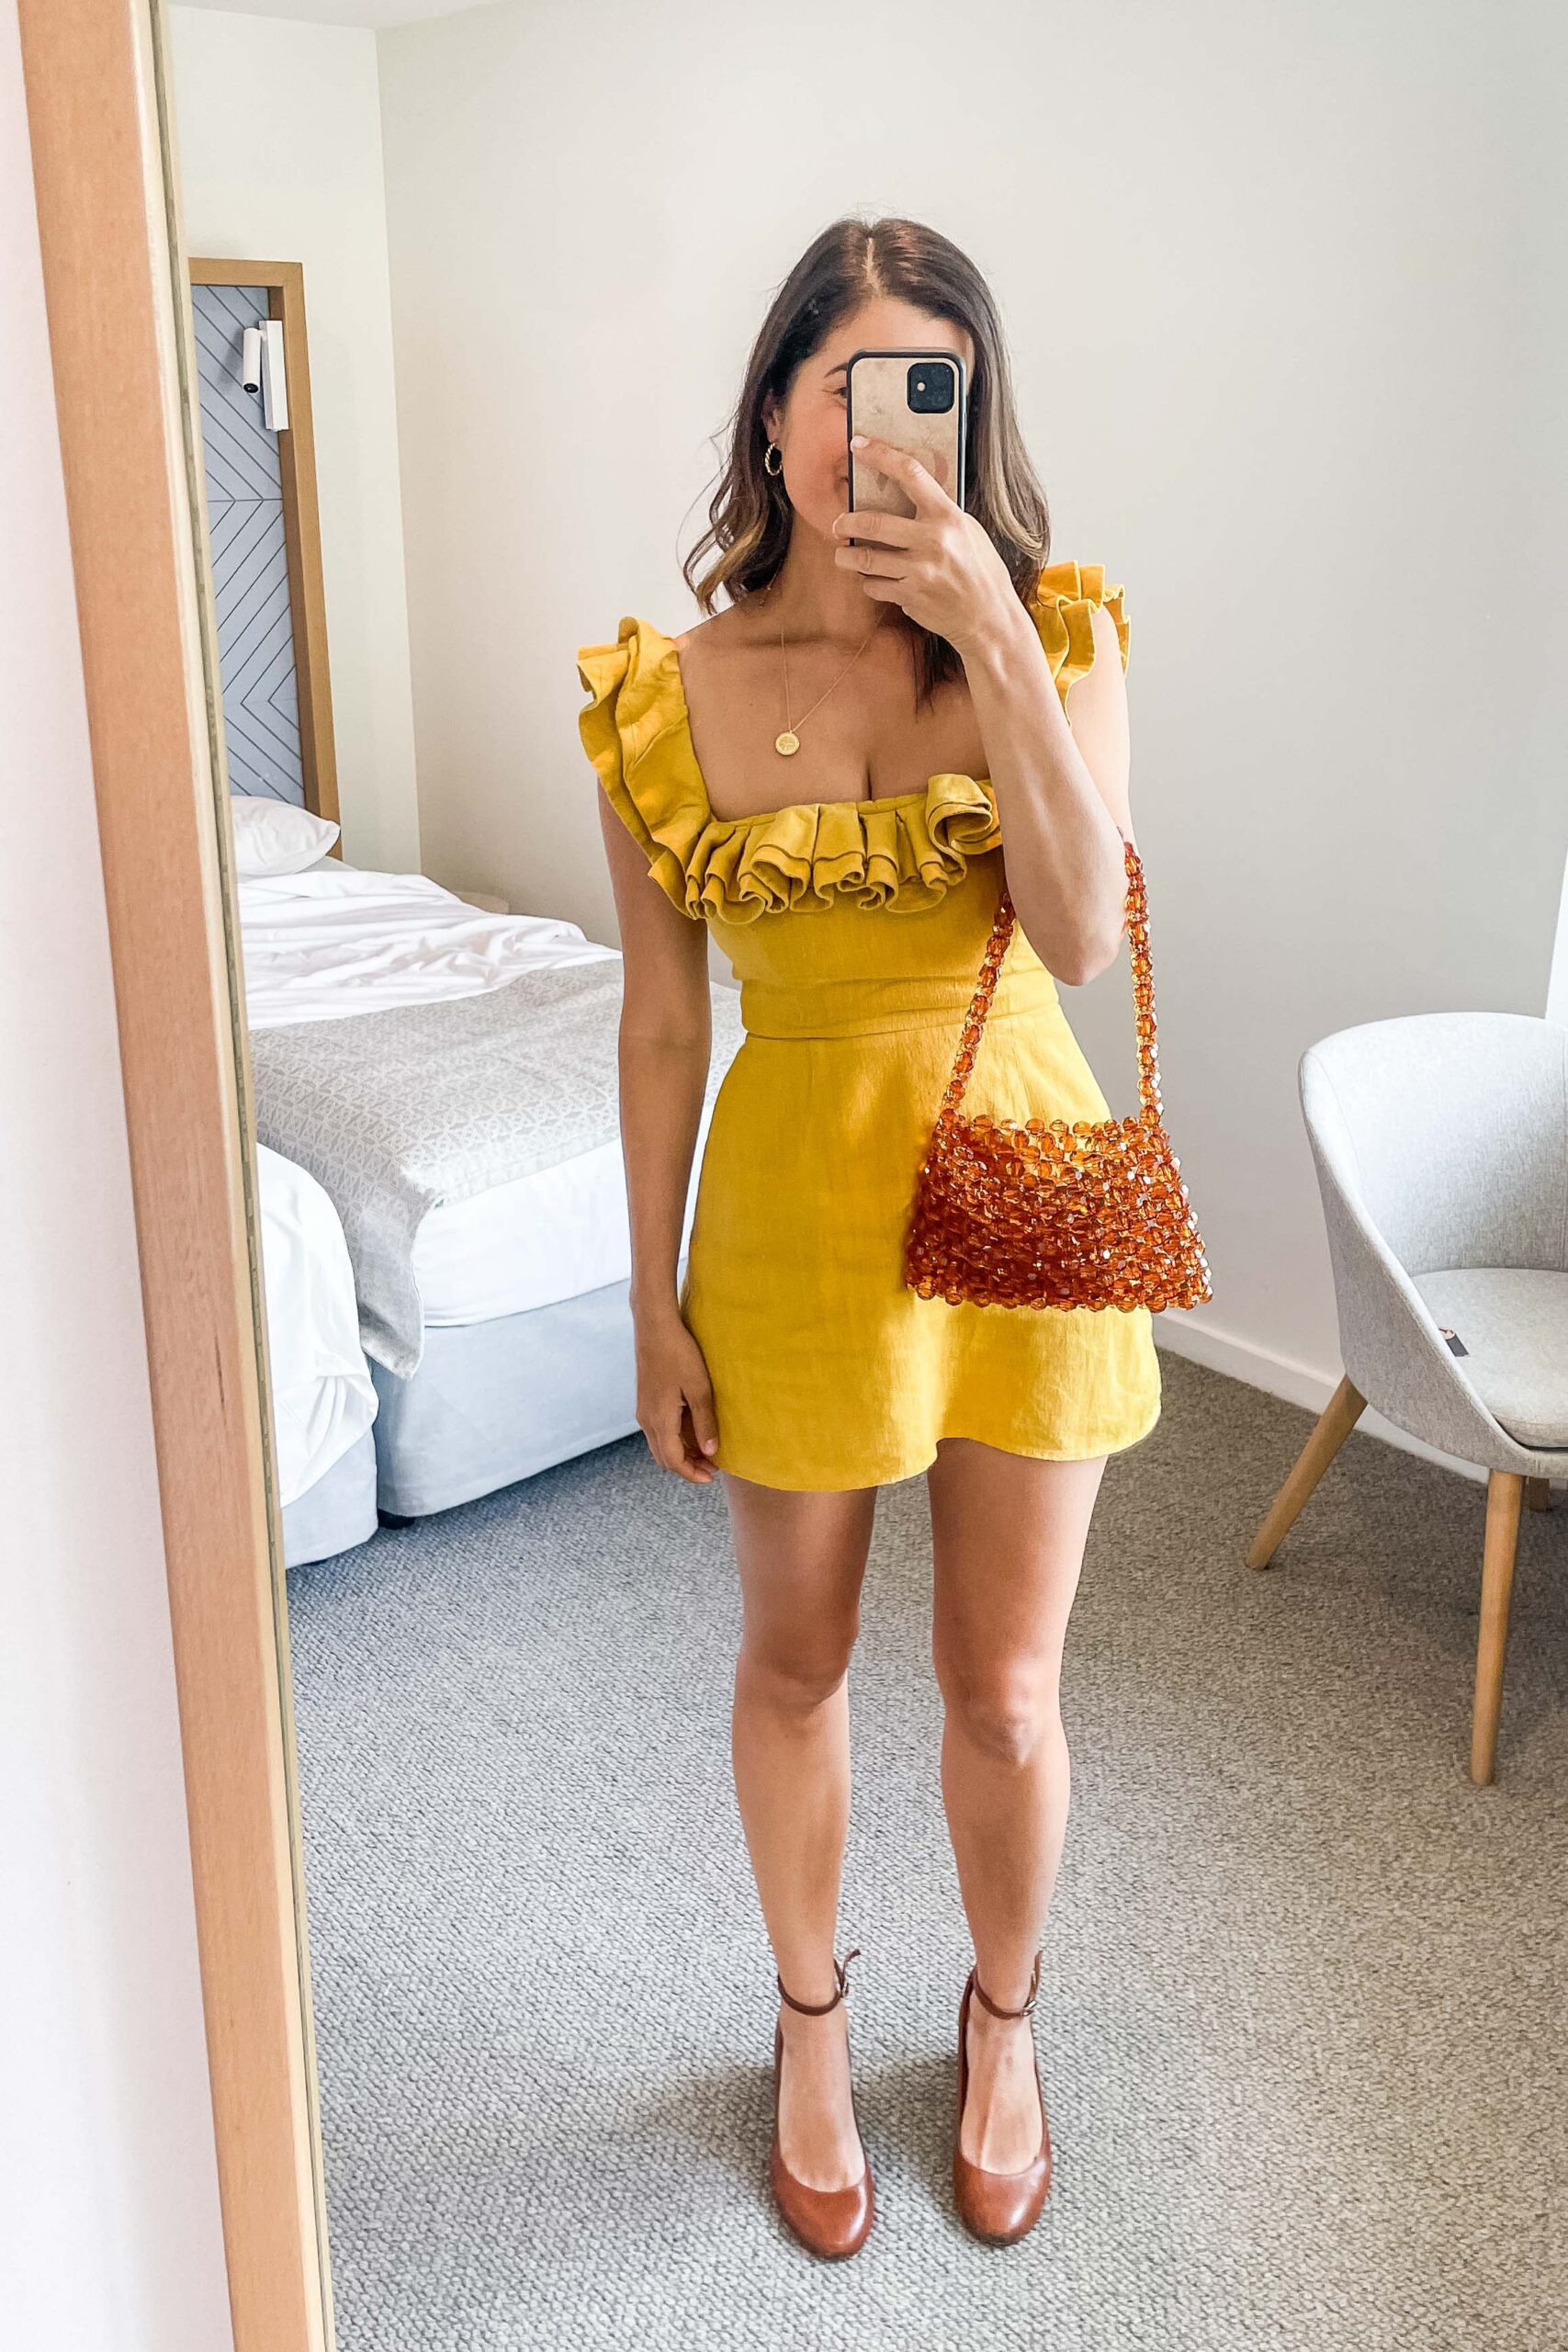
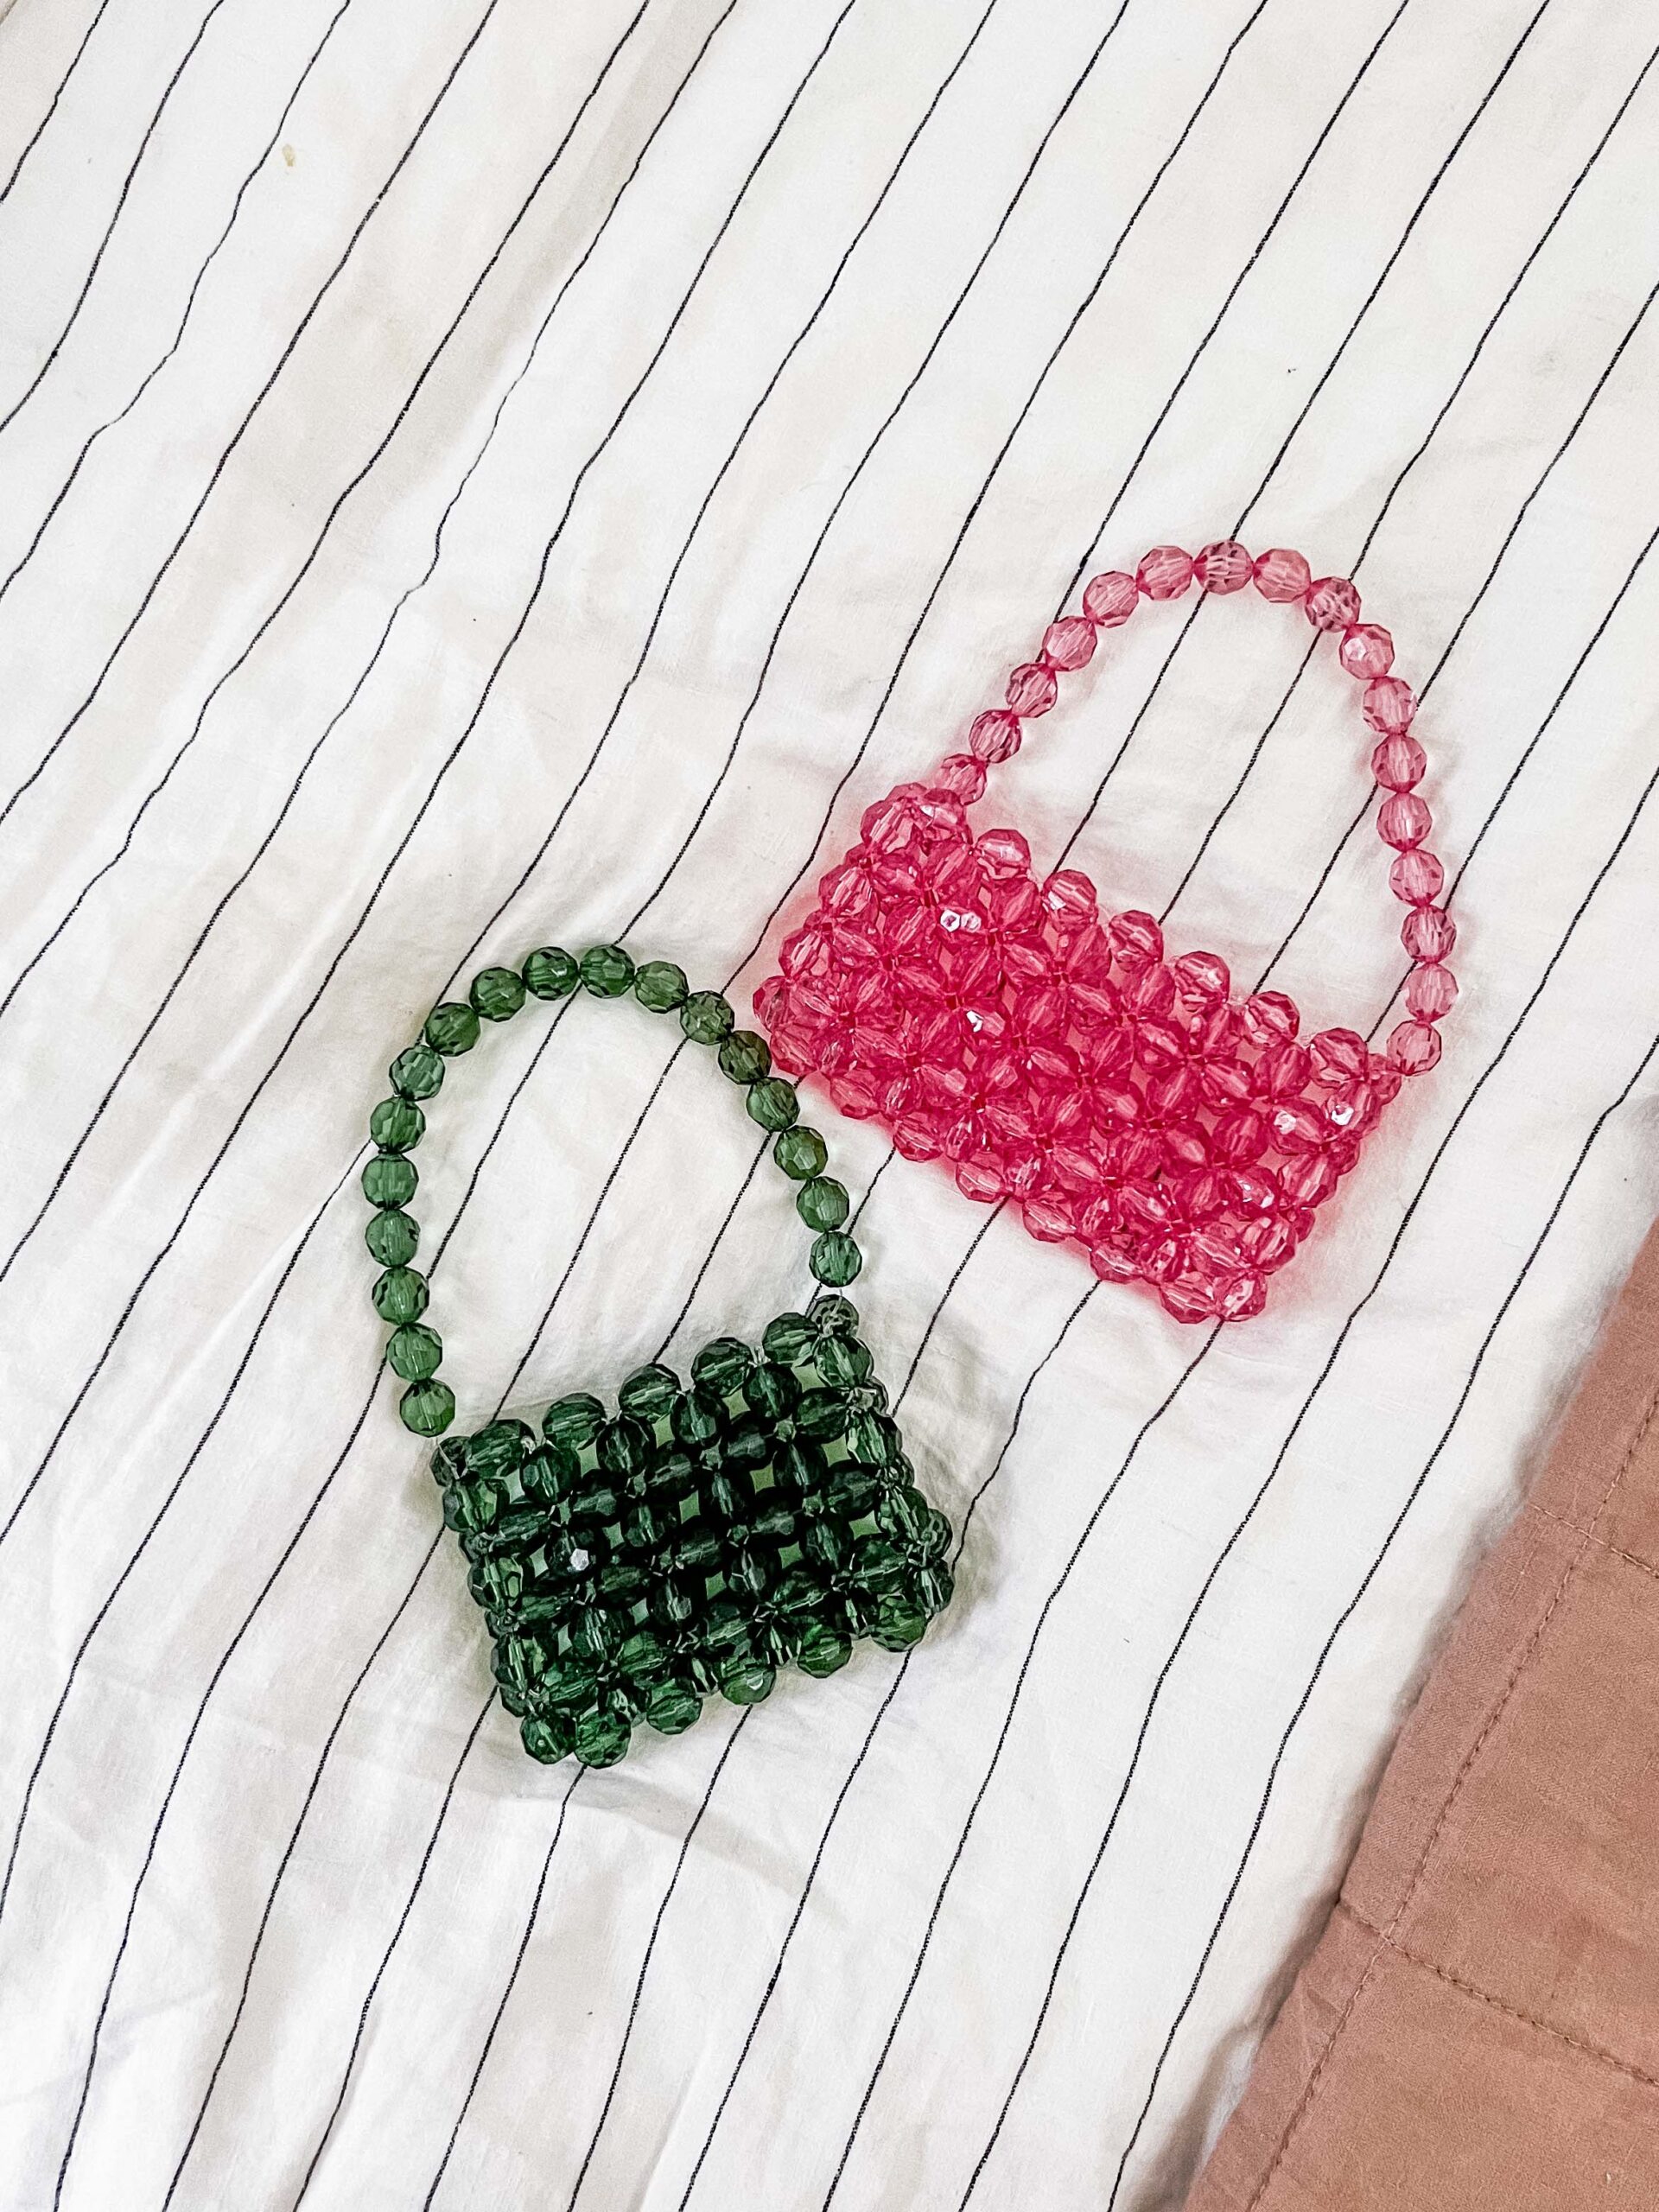
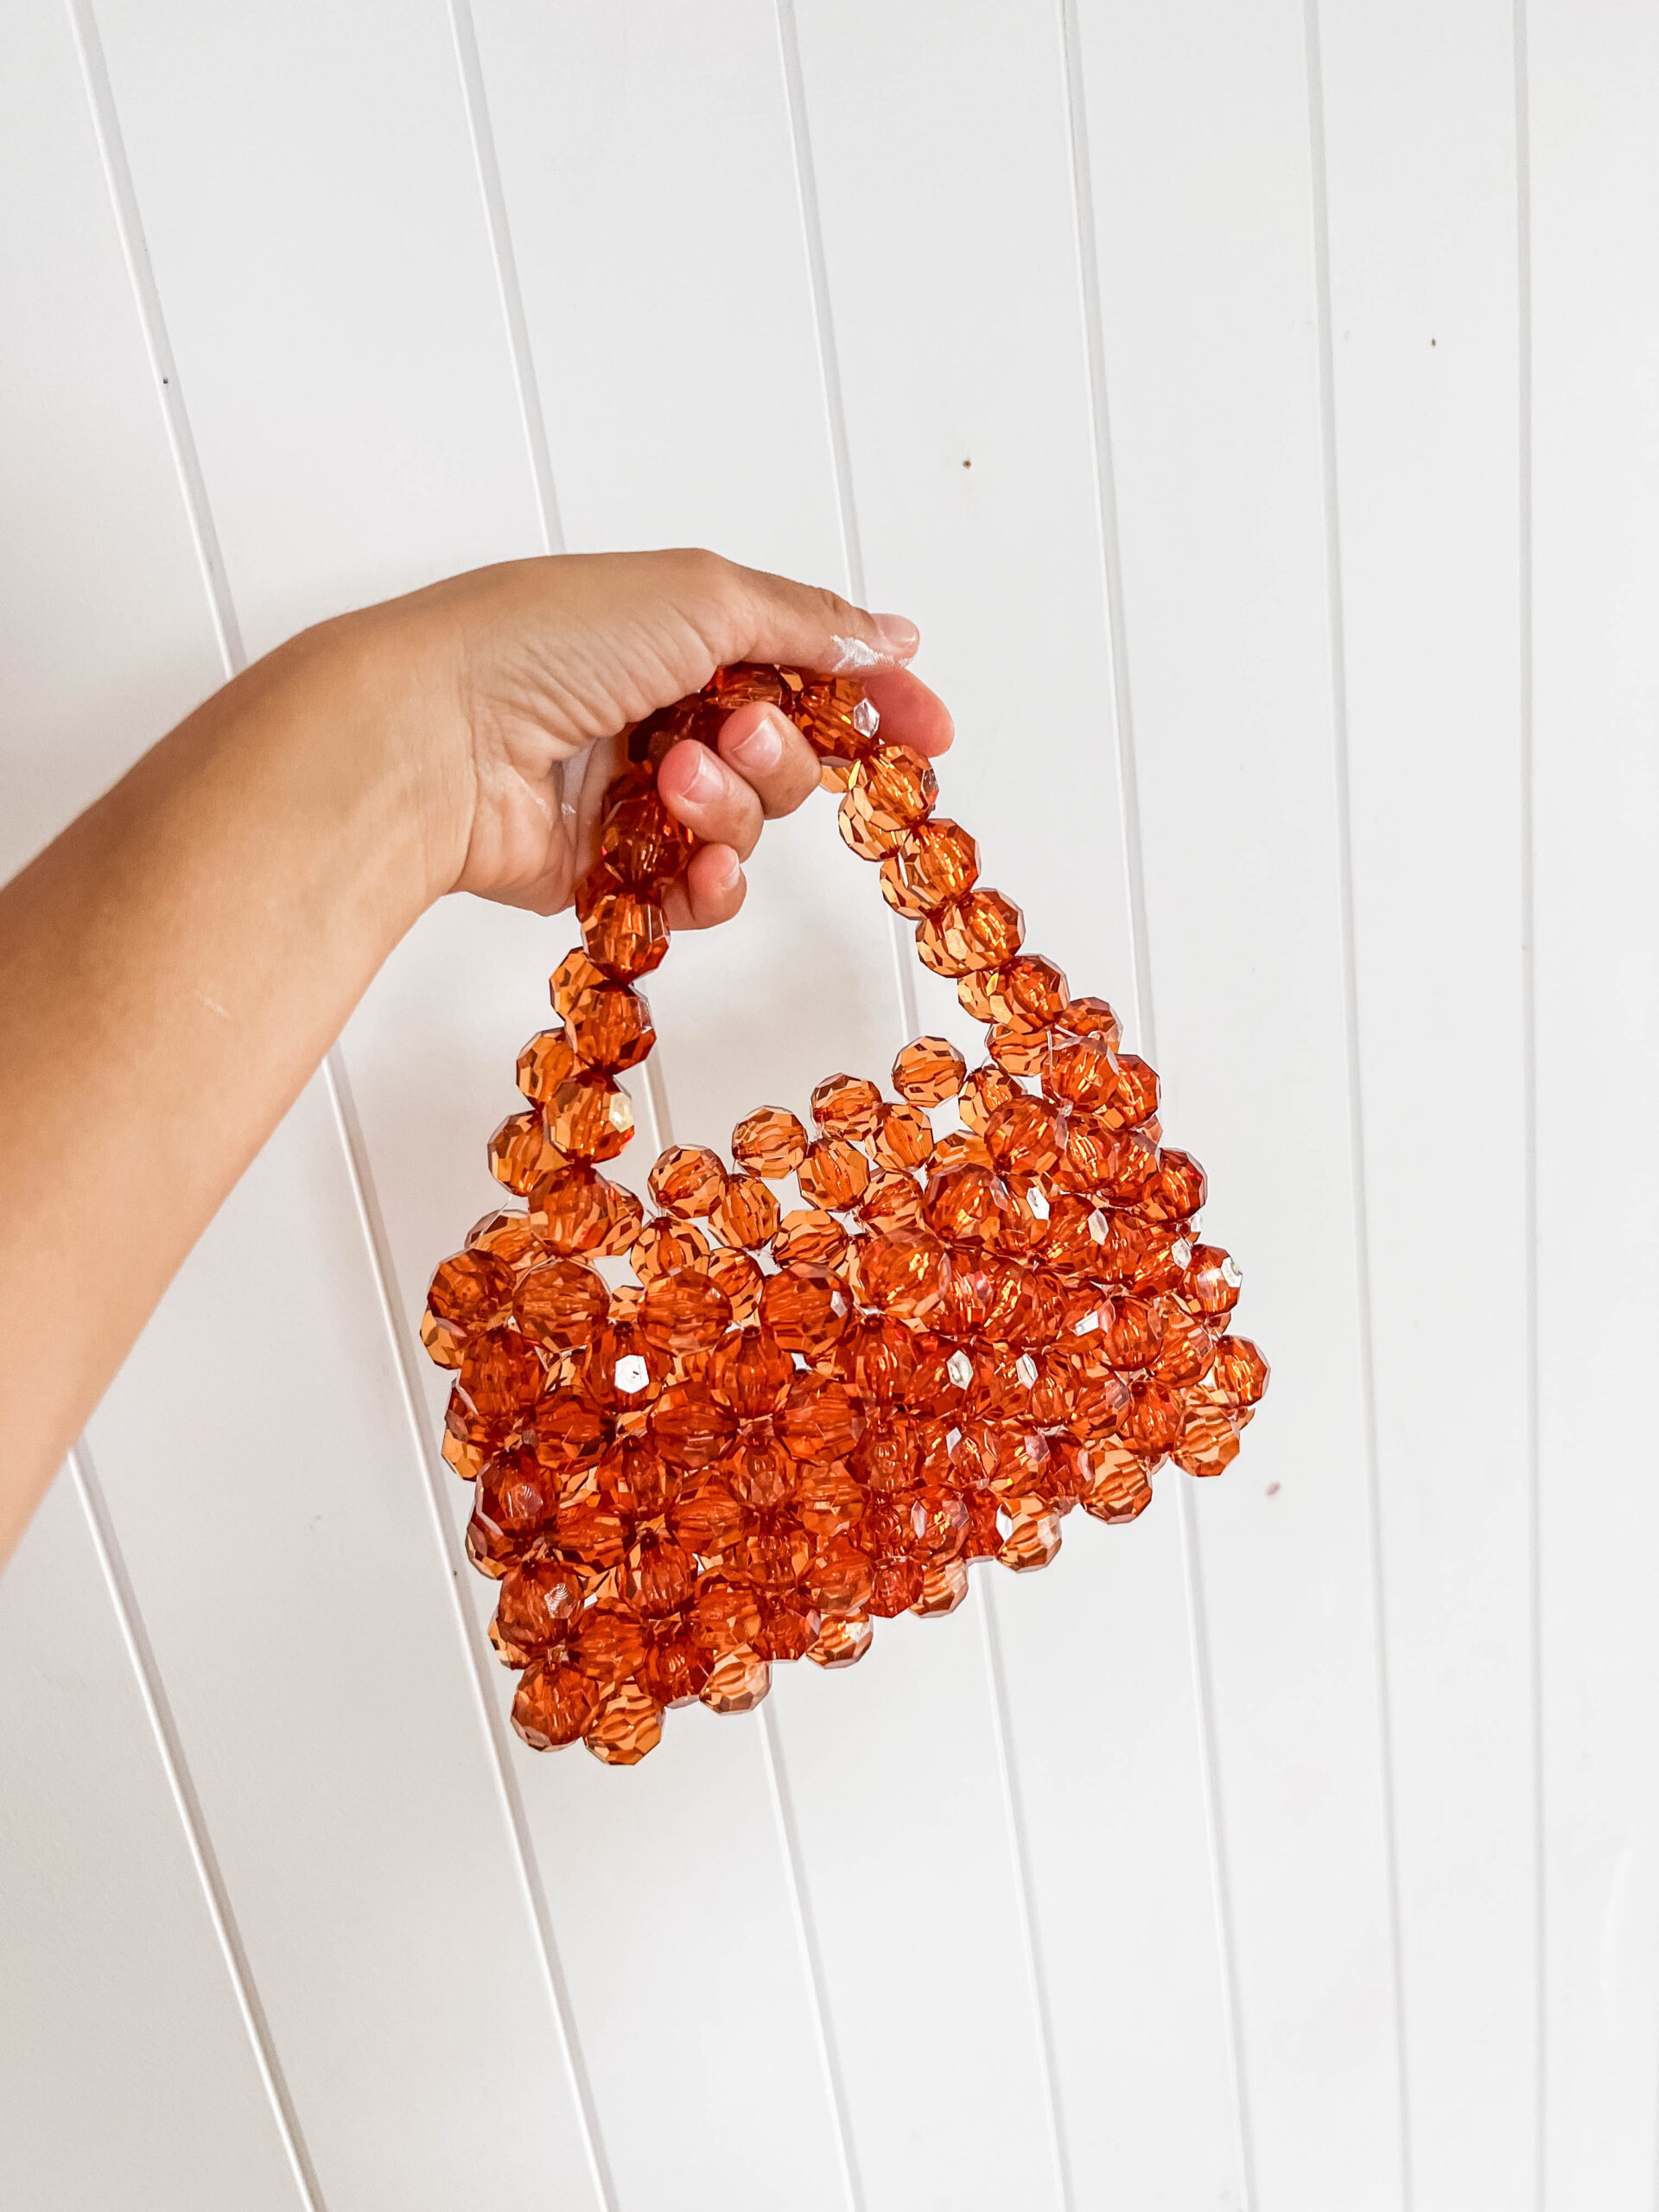
If you’re looking for a seriously satisfying craft you can do on the sofa, this is it! Making bags using beads.
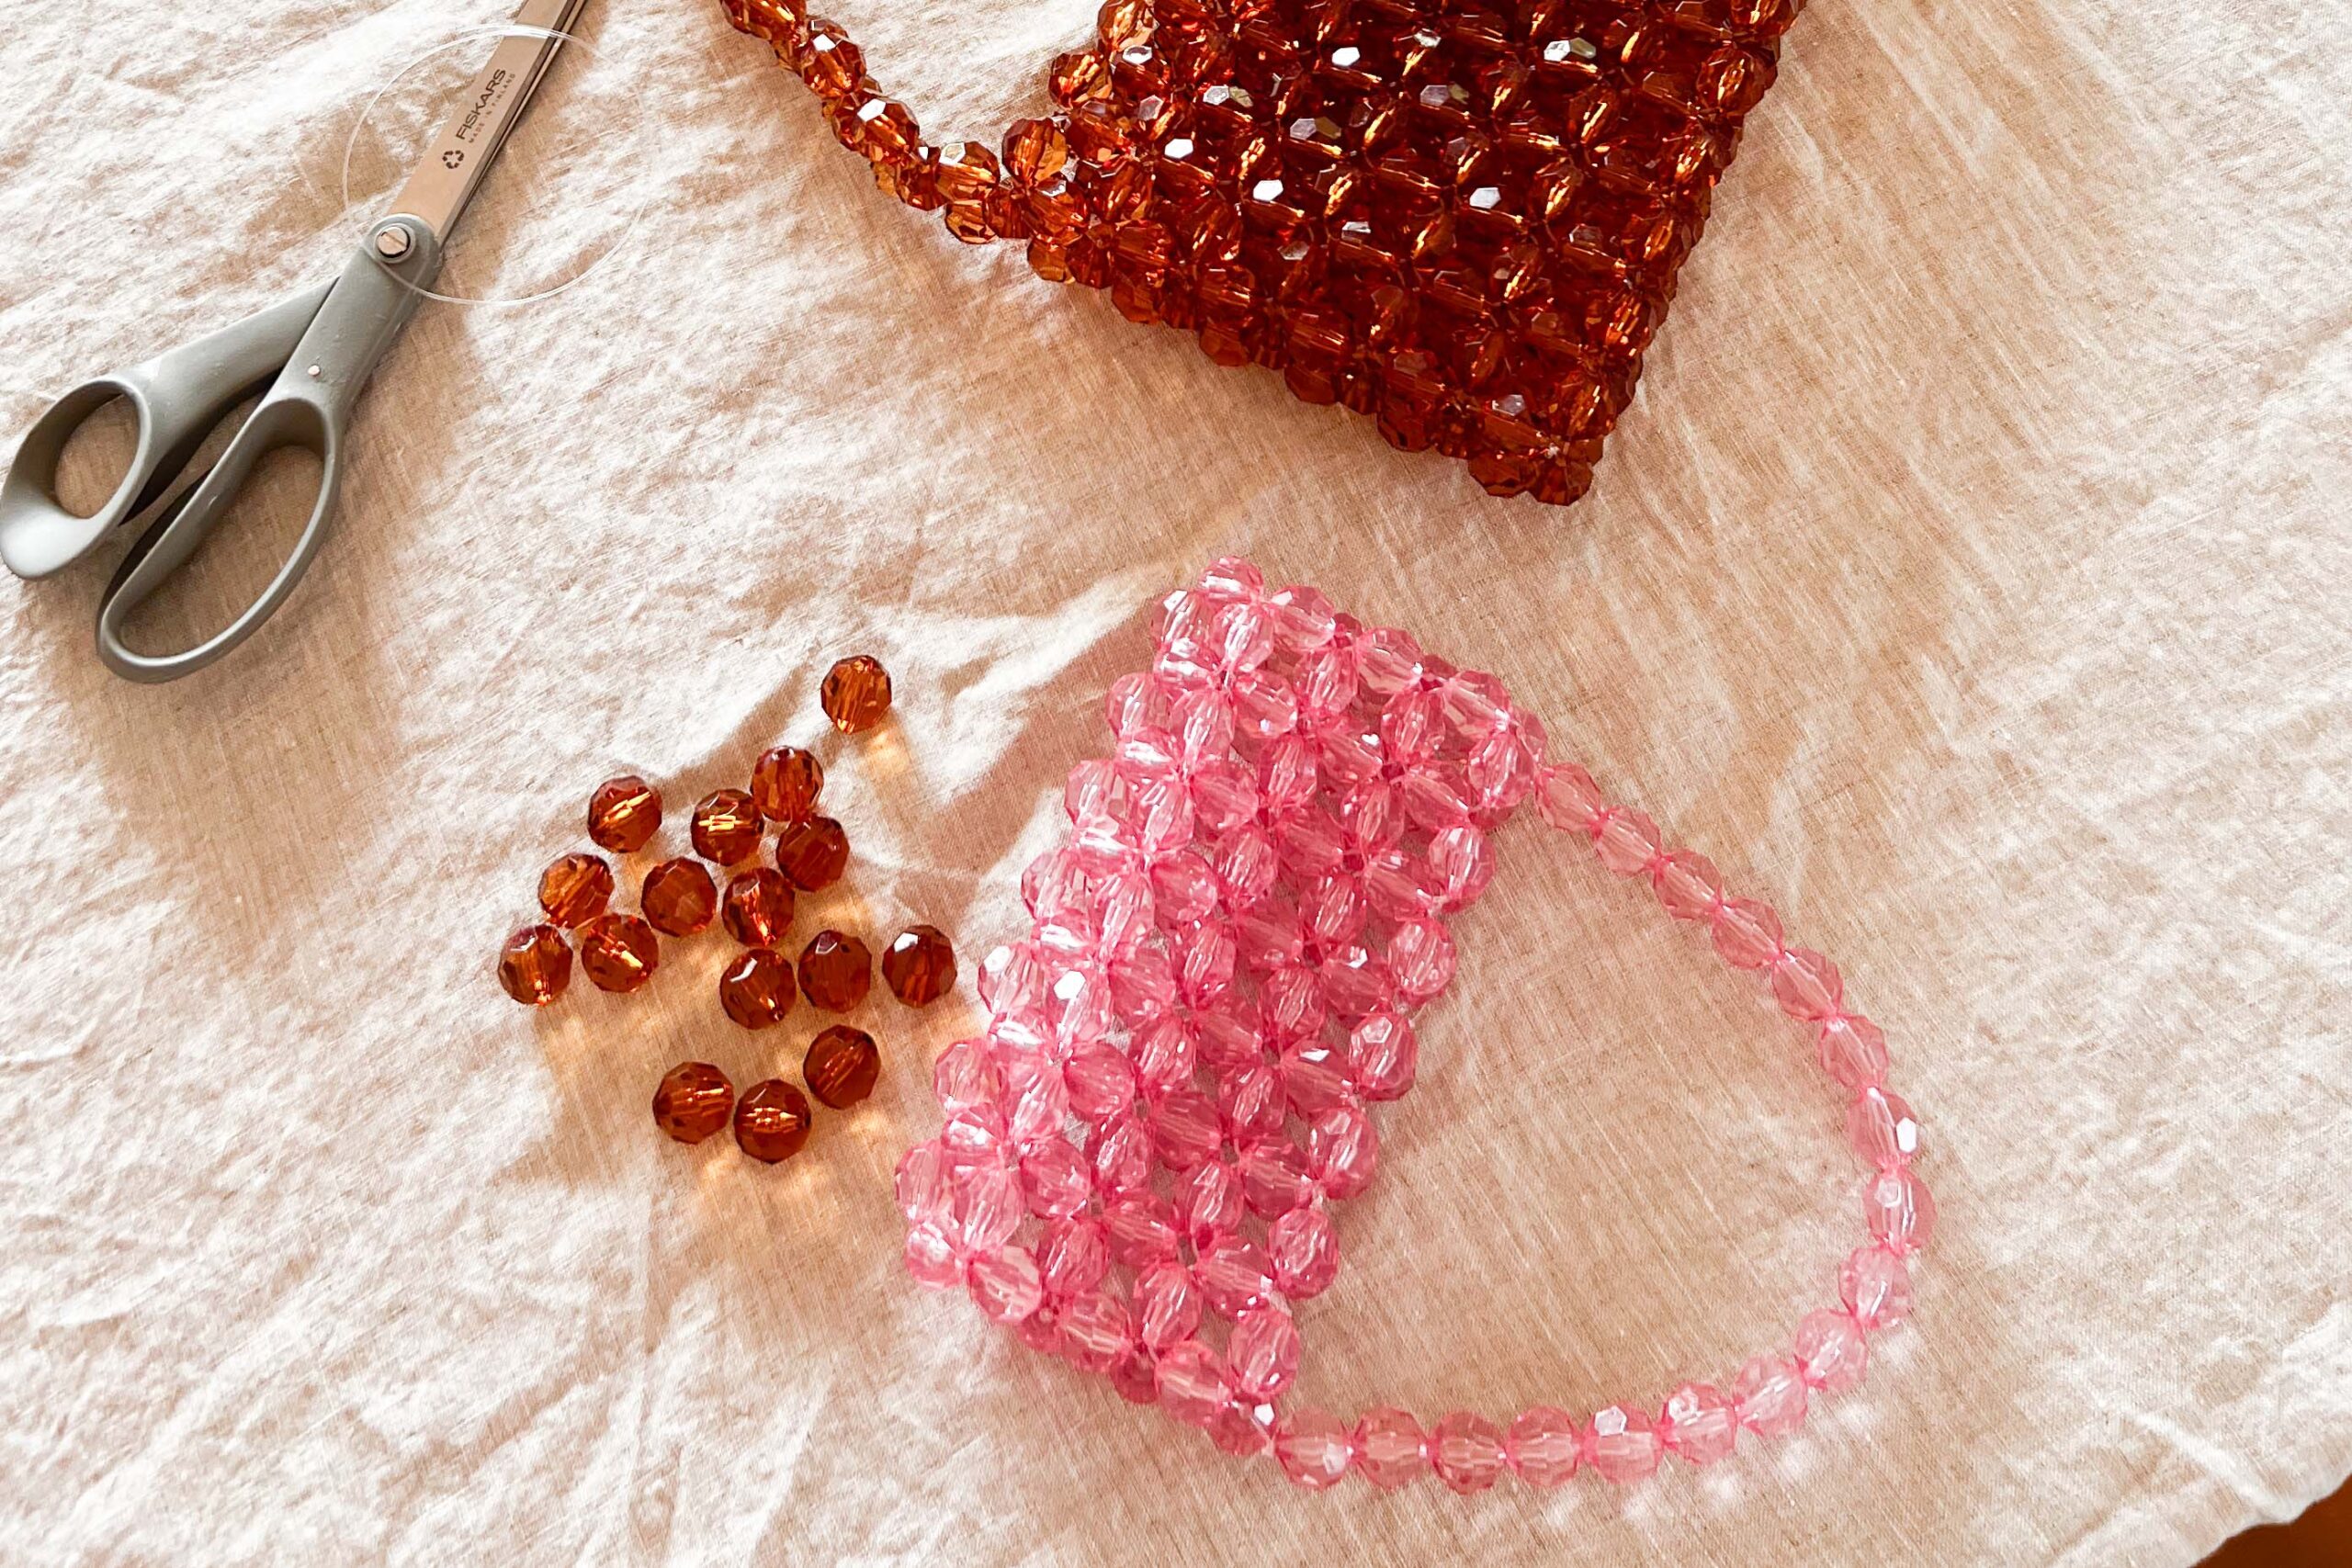
There’s a funny story to this bag. A few months ago we were doing a clean out in the studio and Tegan said to me, ‘hey do you have any plans for these beads?’ I HONESTLY couldn’t remember for the life of me where they came from, but it was a bag of large sized clear beads with a roll of fishing line. I had an inkling that I had wanted to make a bag by hand, and after a few days I finally worked out that I had got them in Hong Kong in my all time fave craft district Sham Shui Po. It must have been more than 5 years ago and it appears I brought them back to Australia in our shipping container! I’d completely forgotten. I knew I wanted to make a bag but I honestly didn’t know where to start with this project and most of the tutorials out there are super confusing, but I finally worked through it (my fingers literally bled lol) and man I love these bags. I’ve used acrylic faceted beads for this but you could use this method using all different types of beads. I’m excited to experiment!
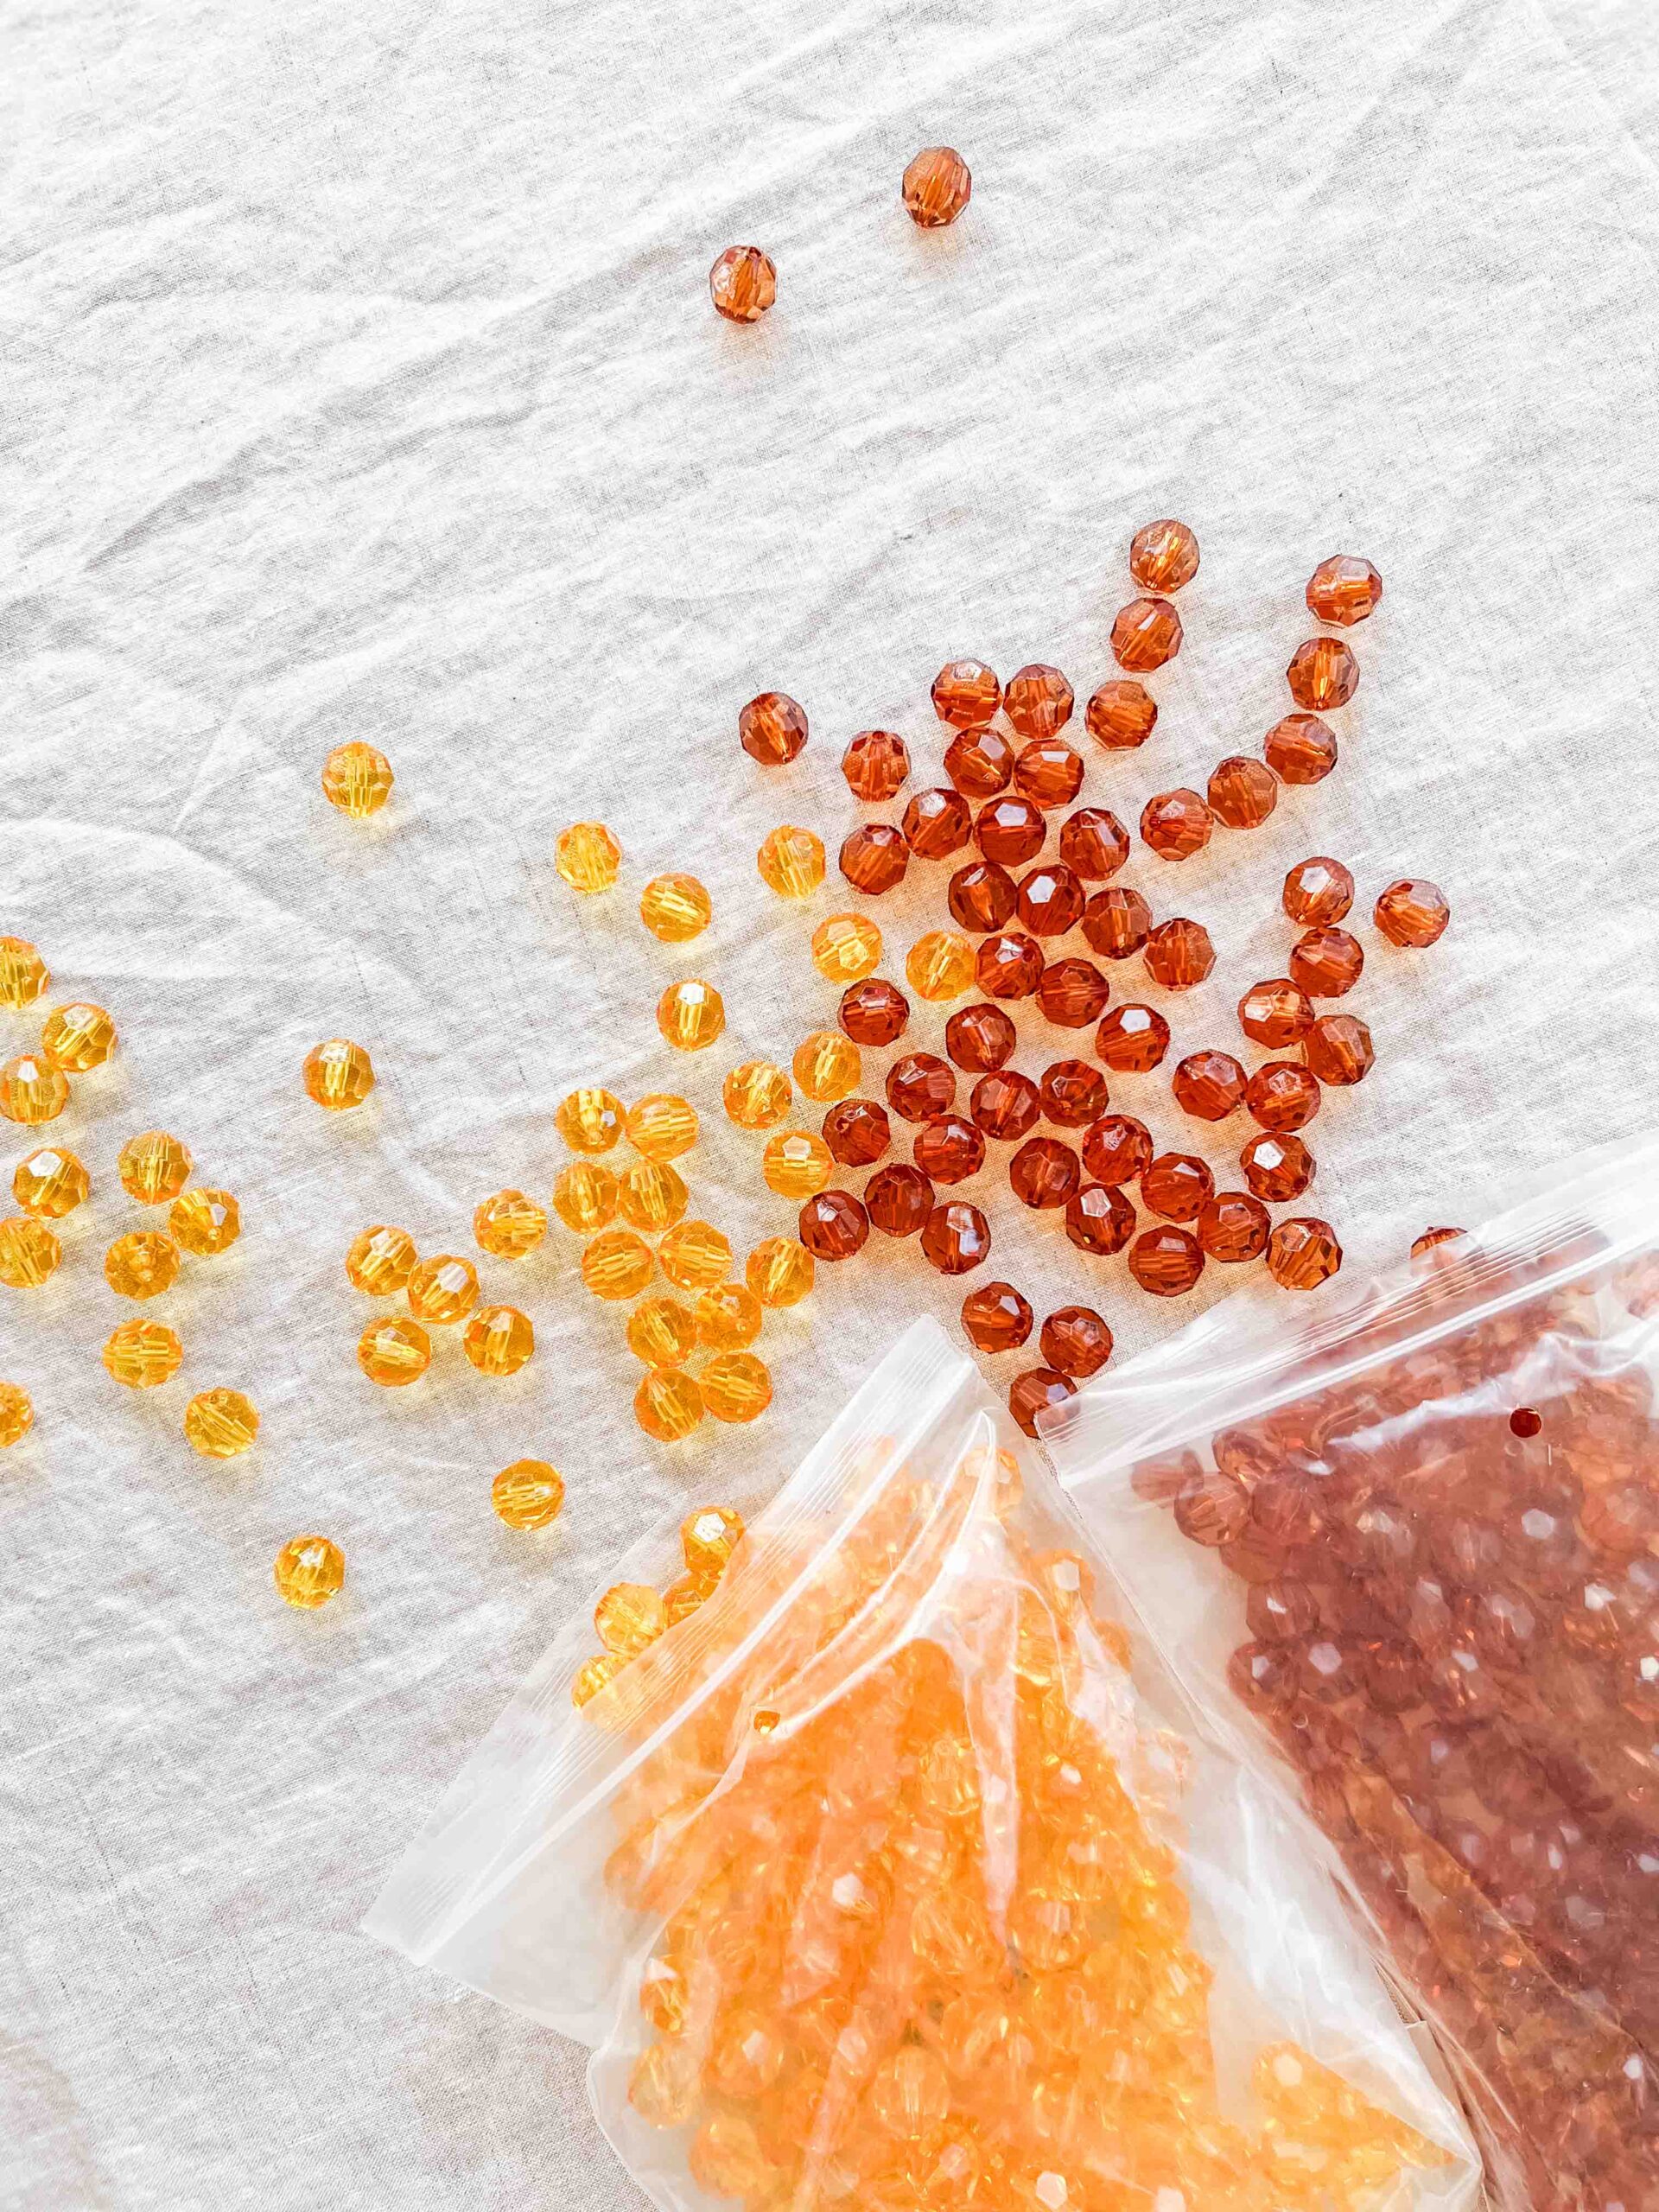
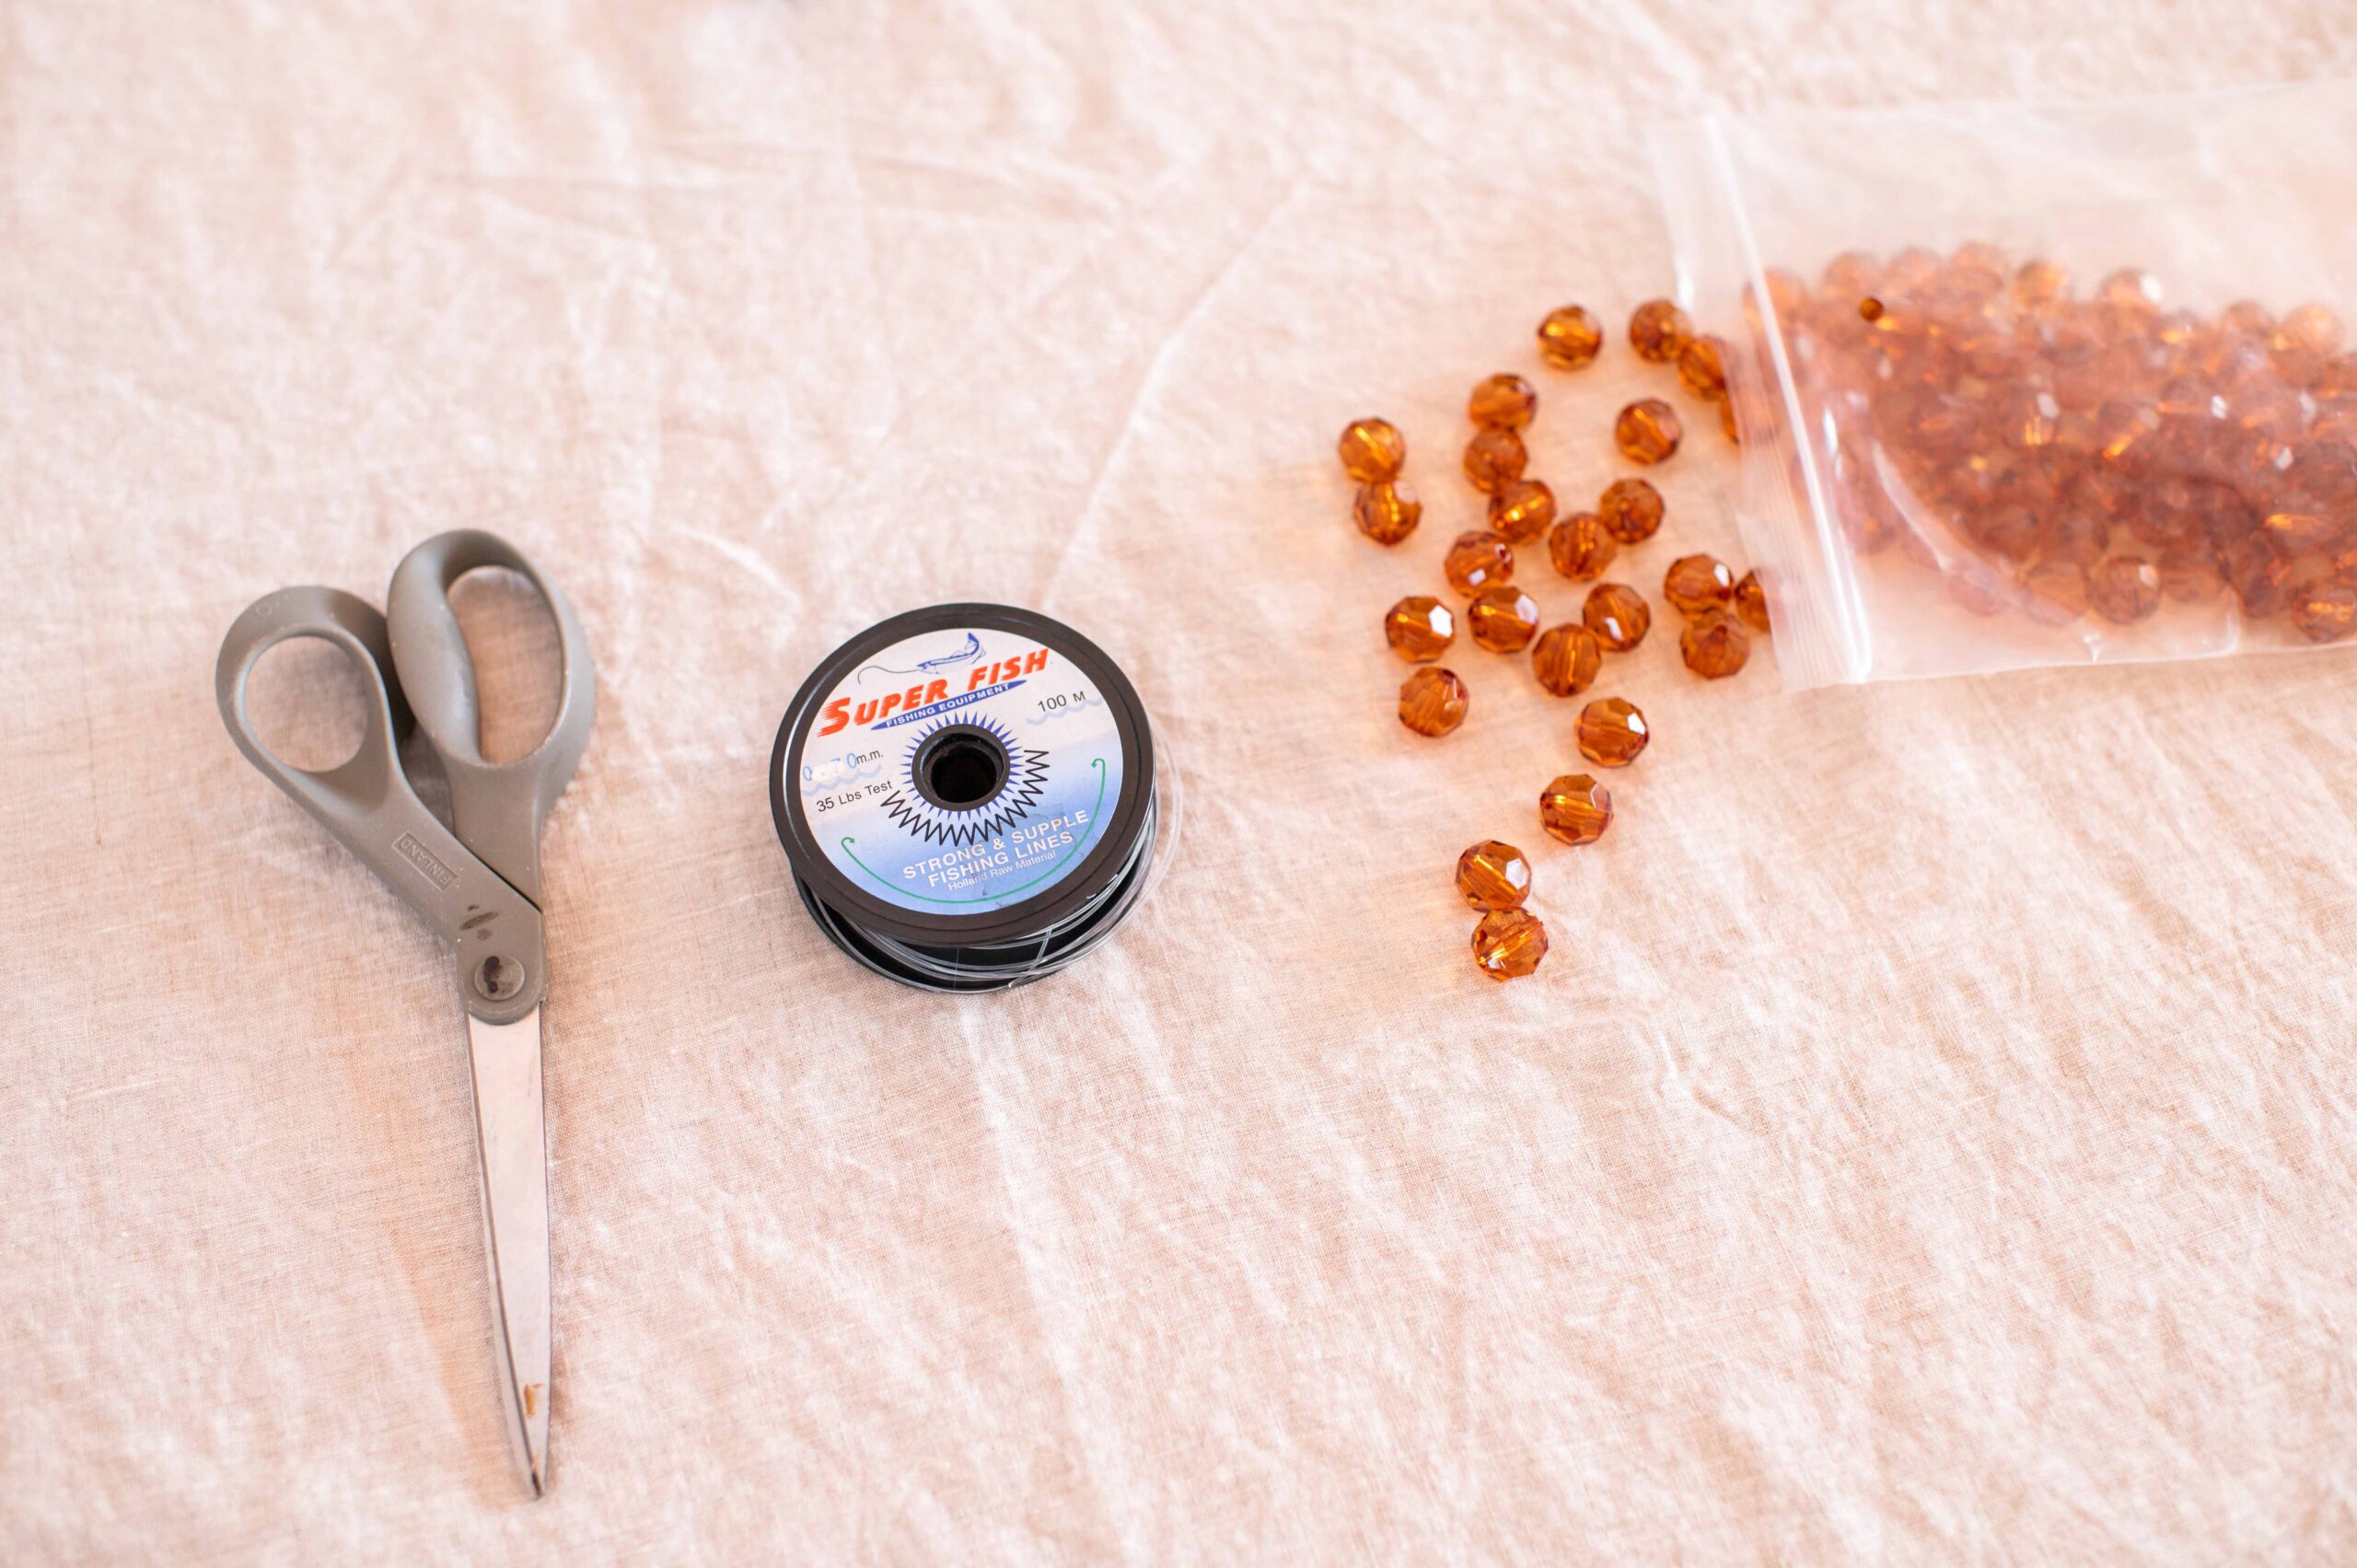
How to Make A Beaded Handbag
The video shown above should be your reference point for making one of these bags. But I thought I would adds a few extra details here.
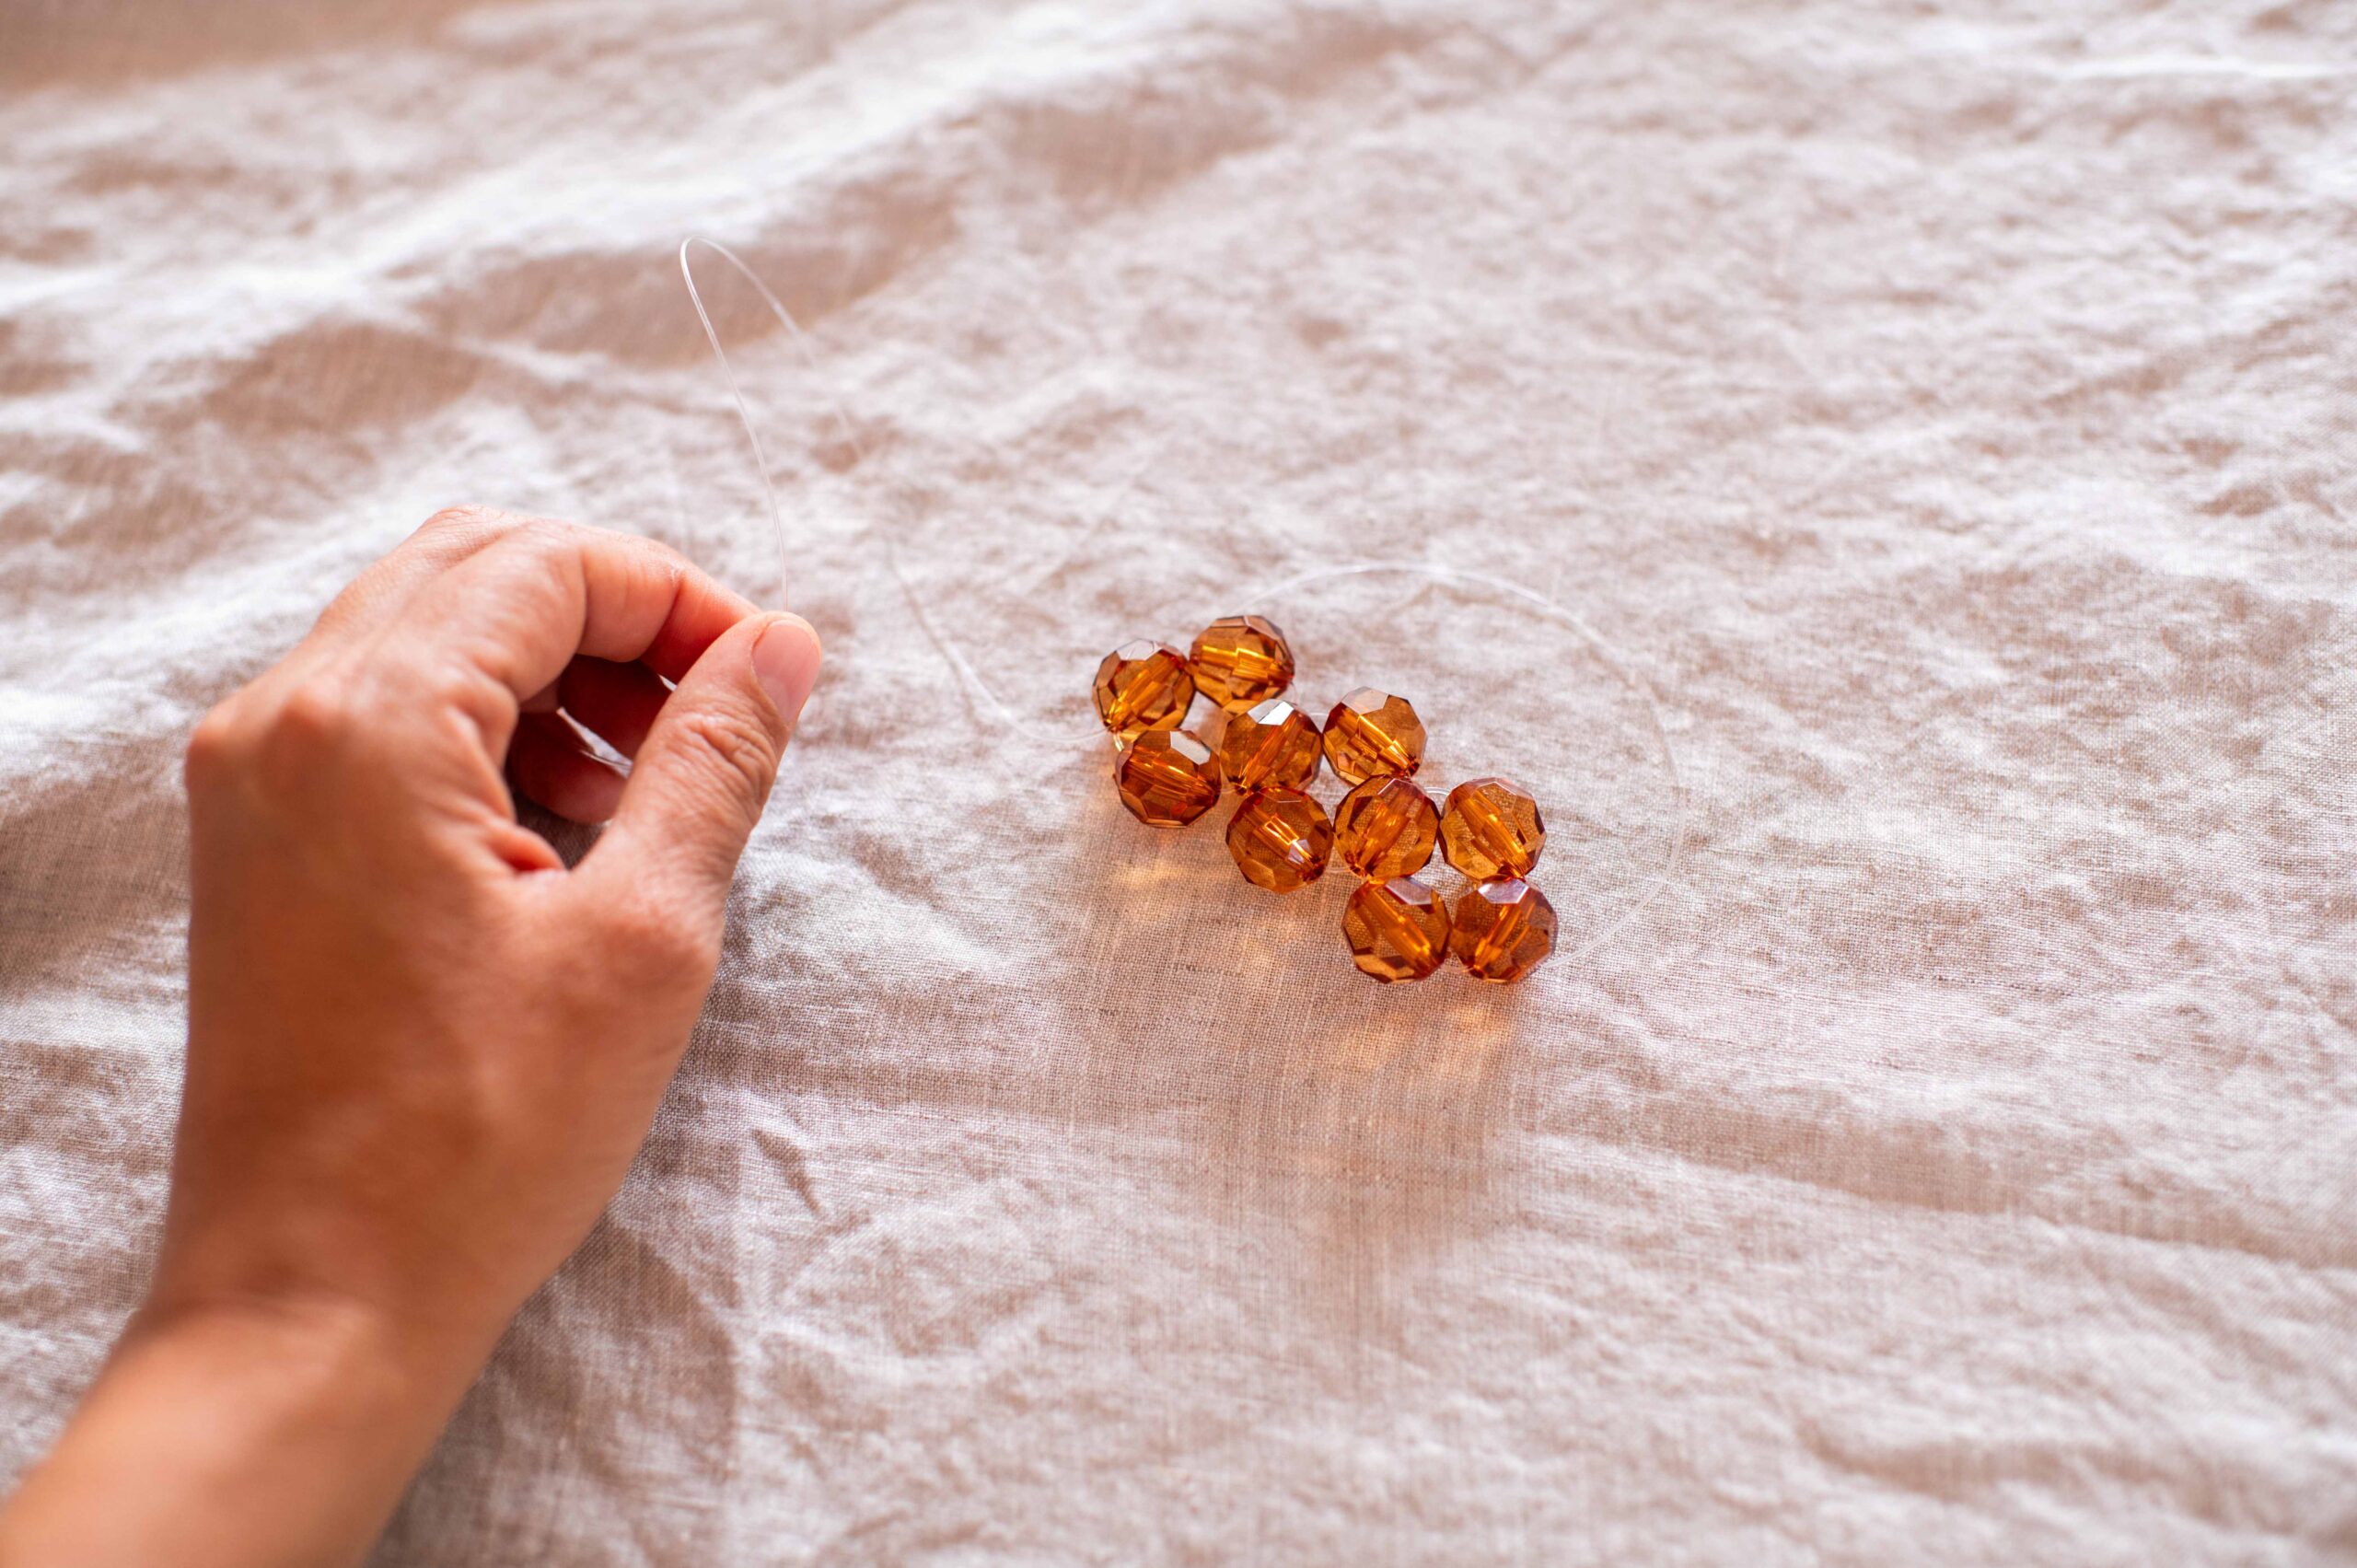
Making the first flower shape
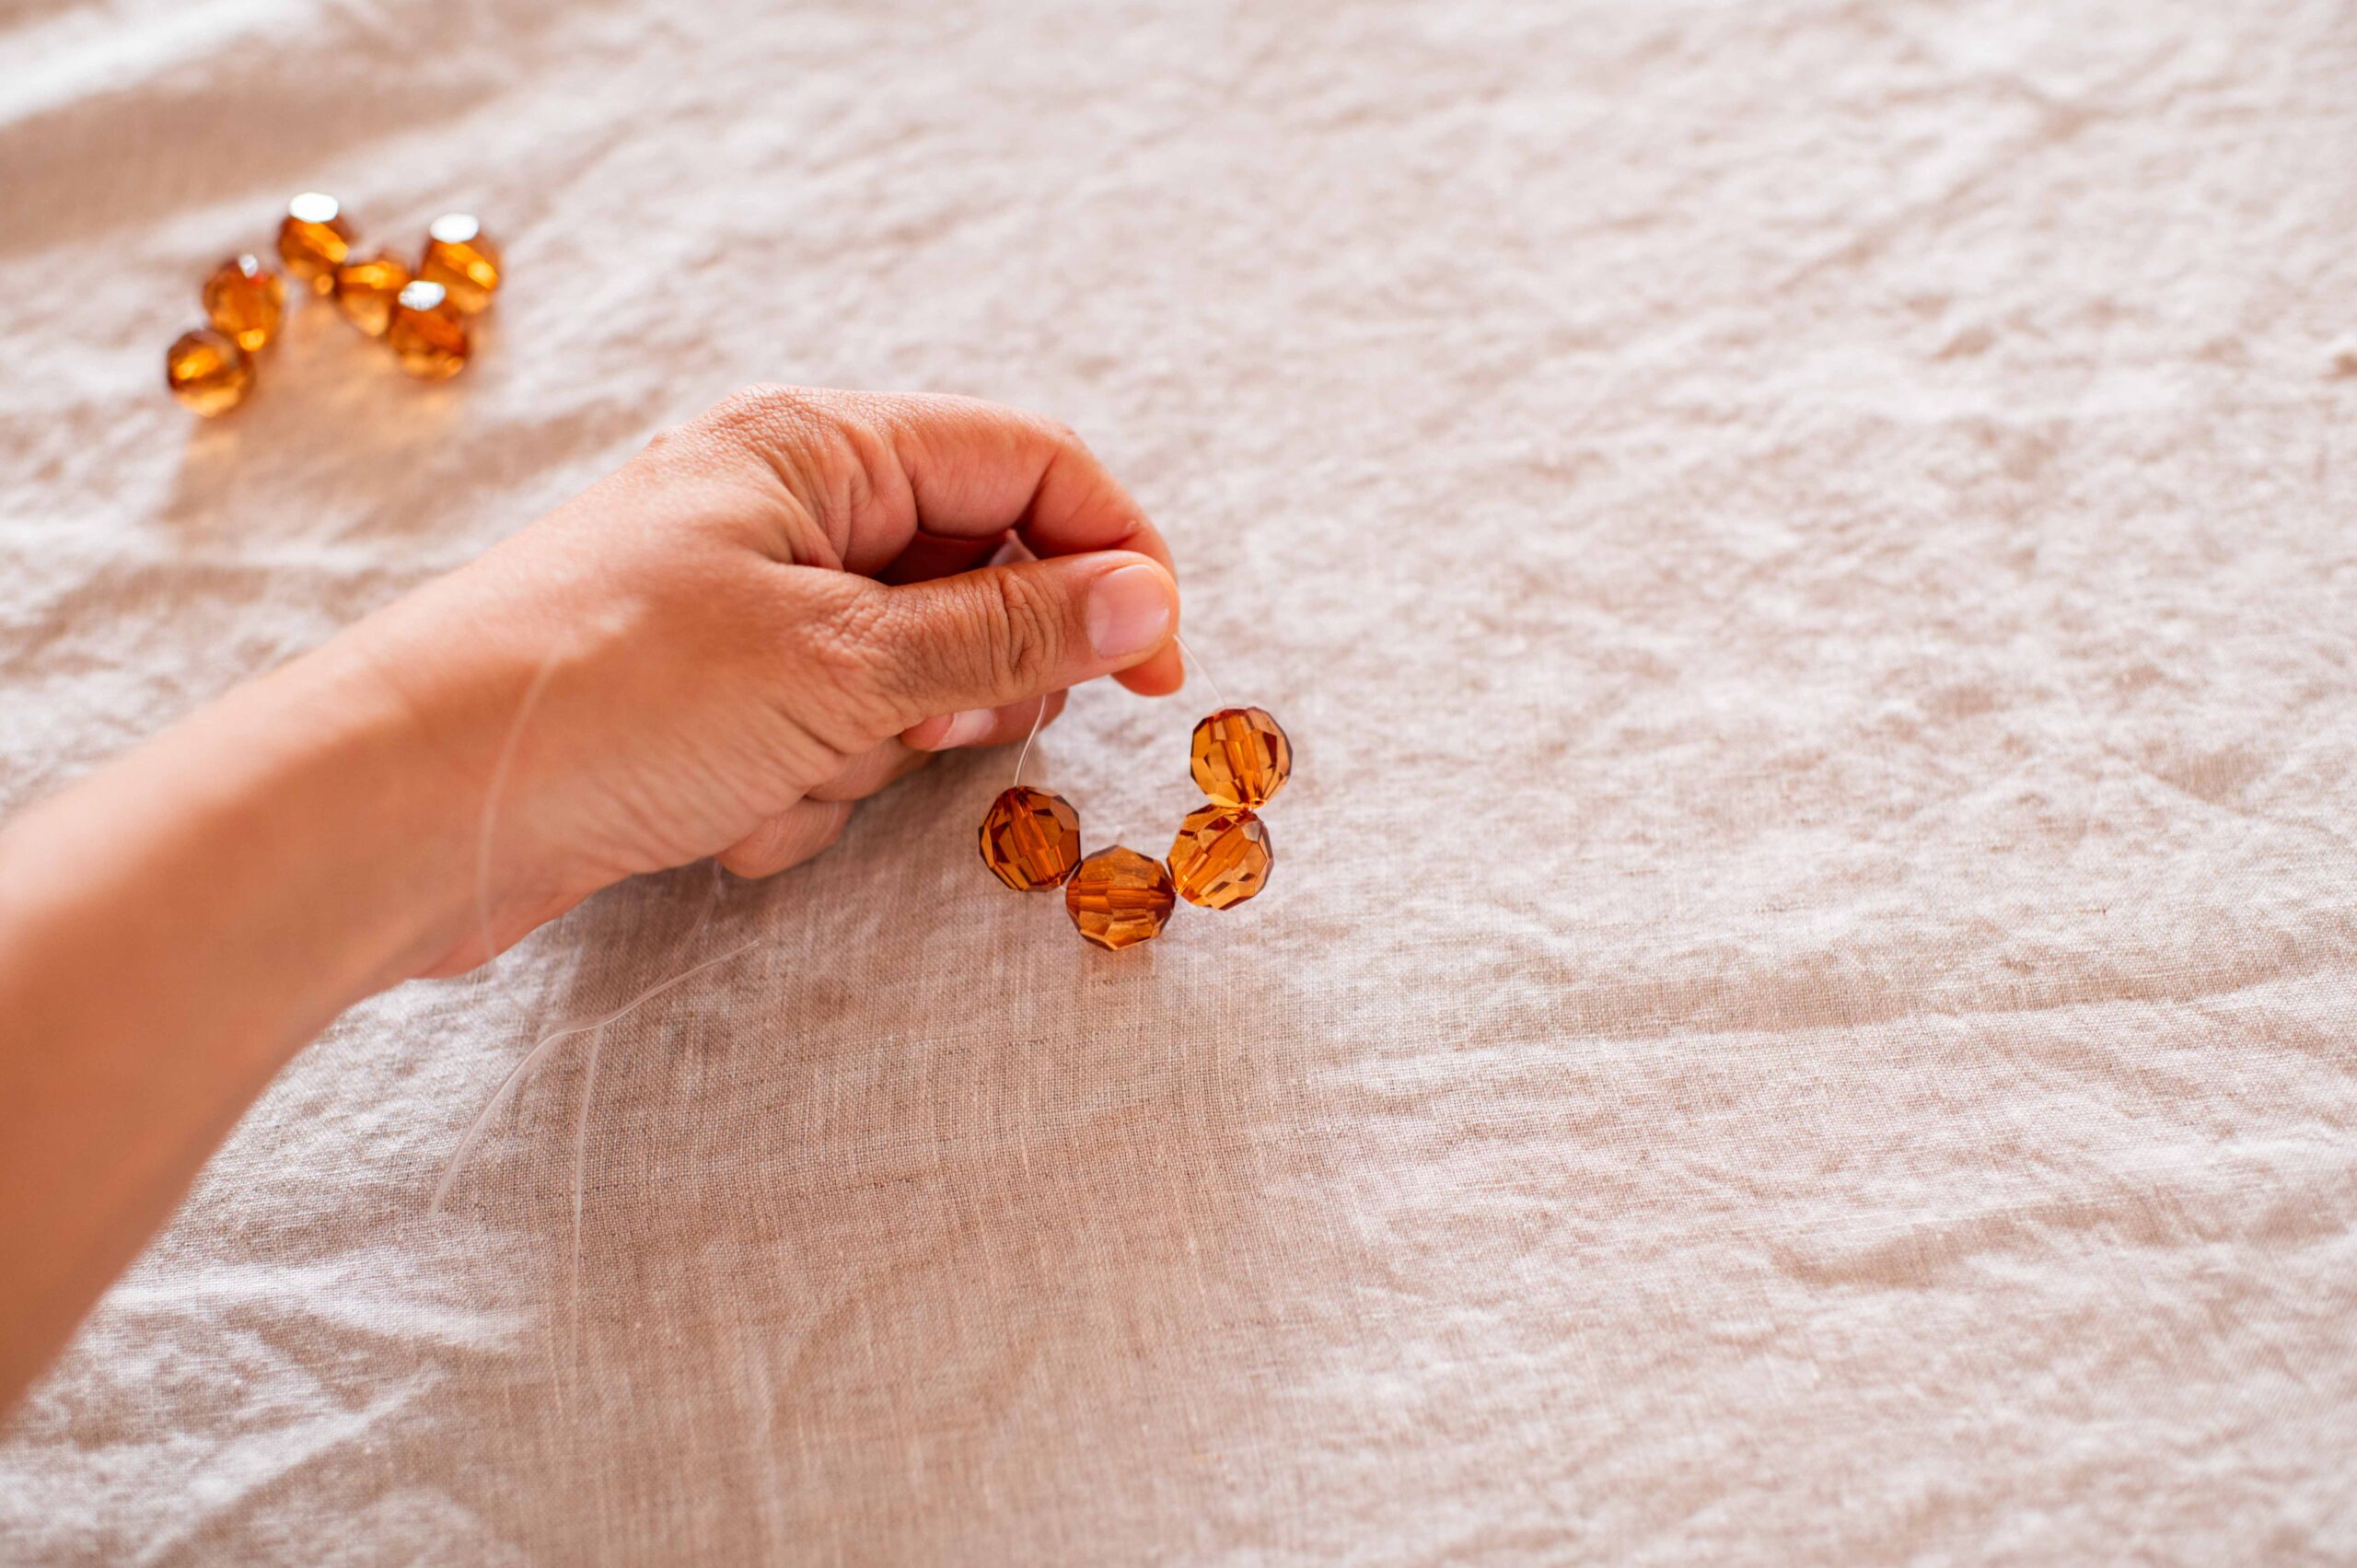
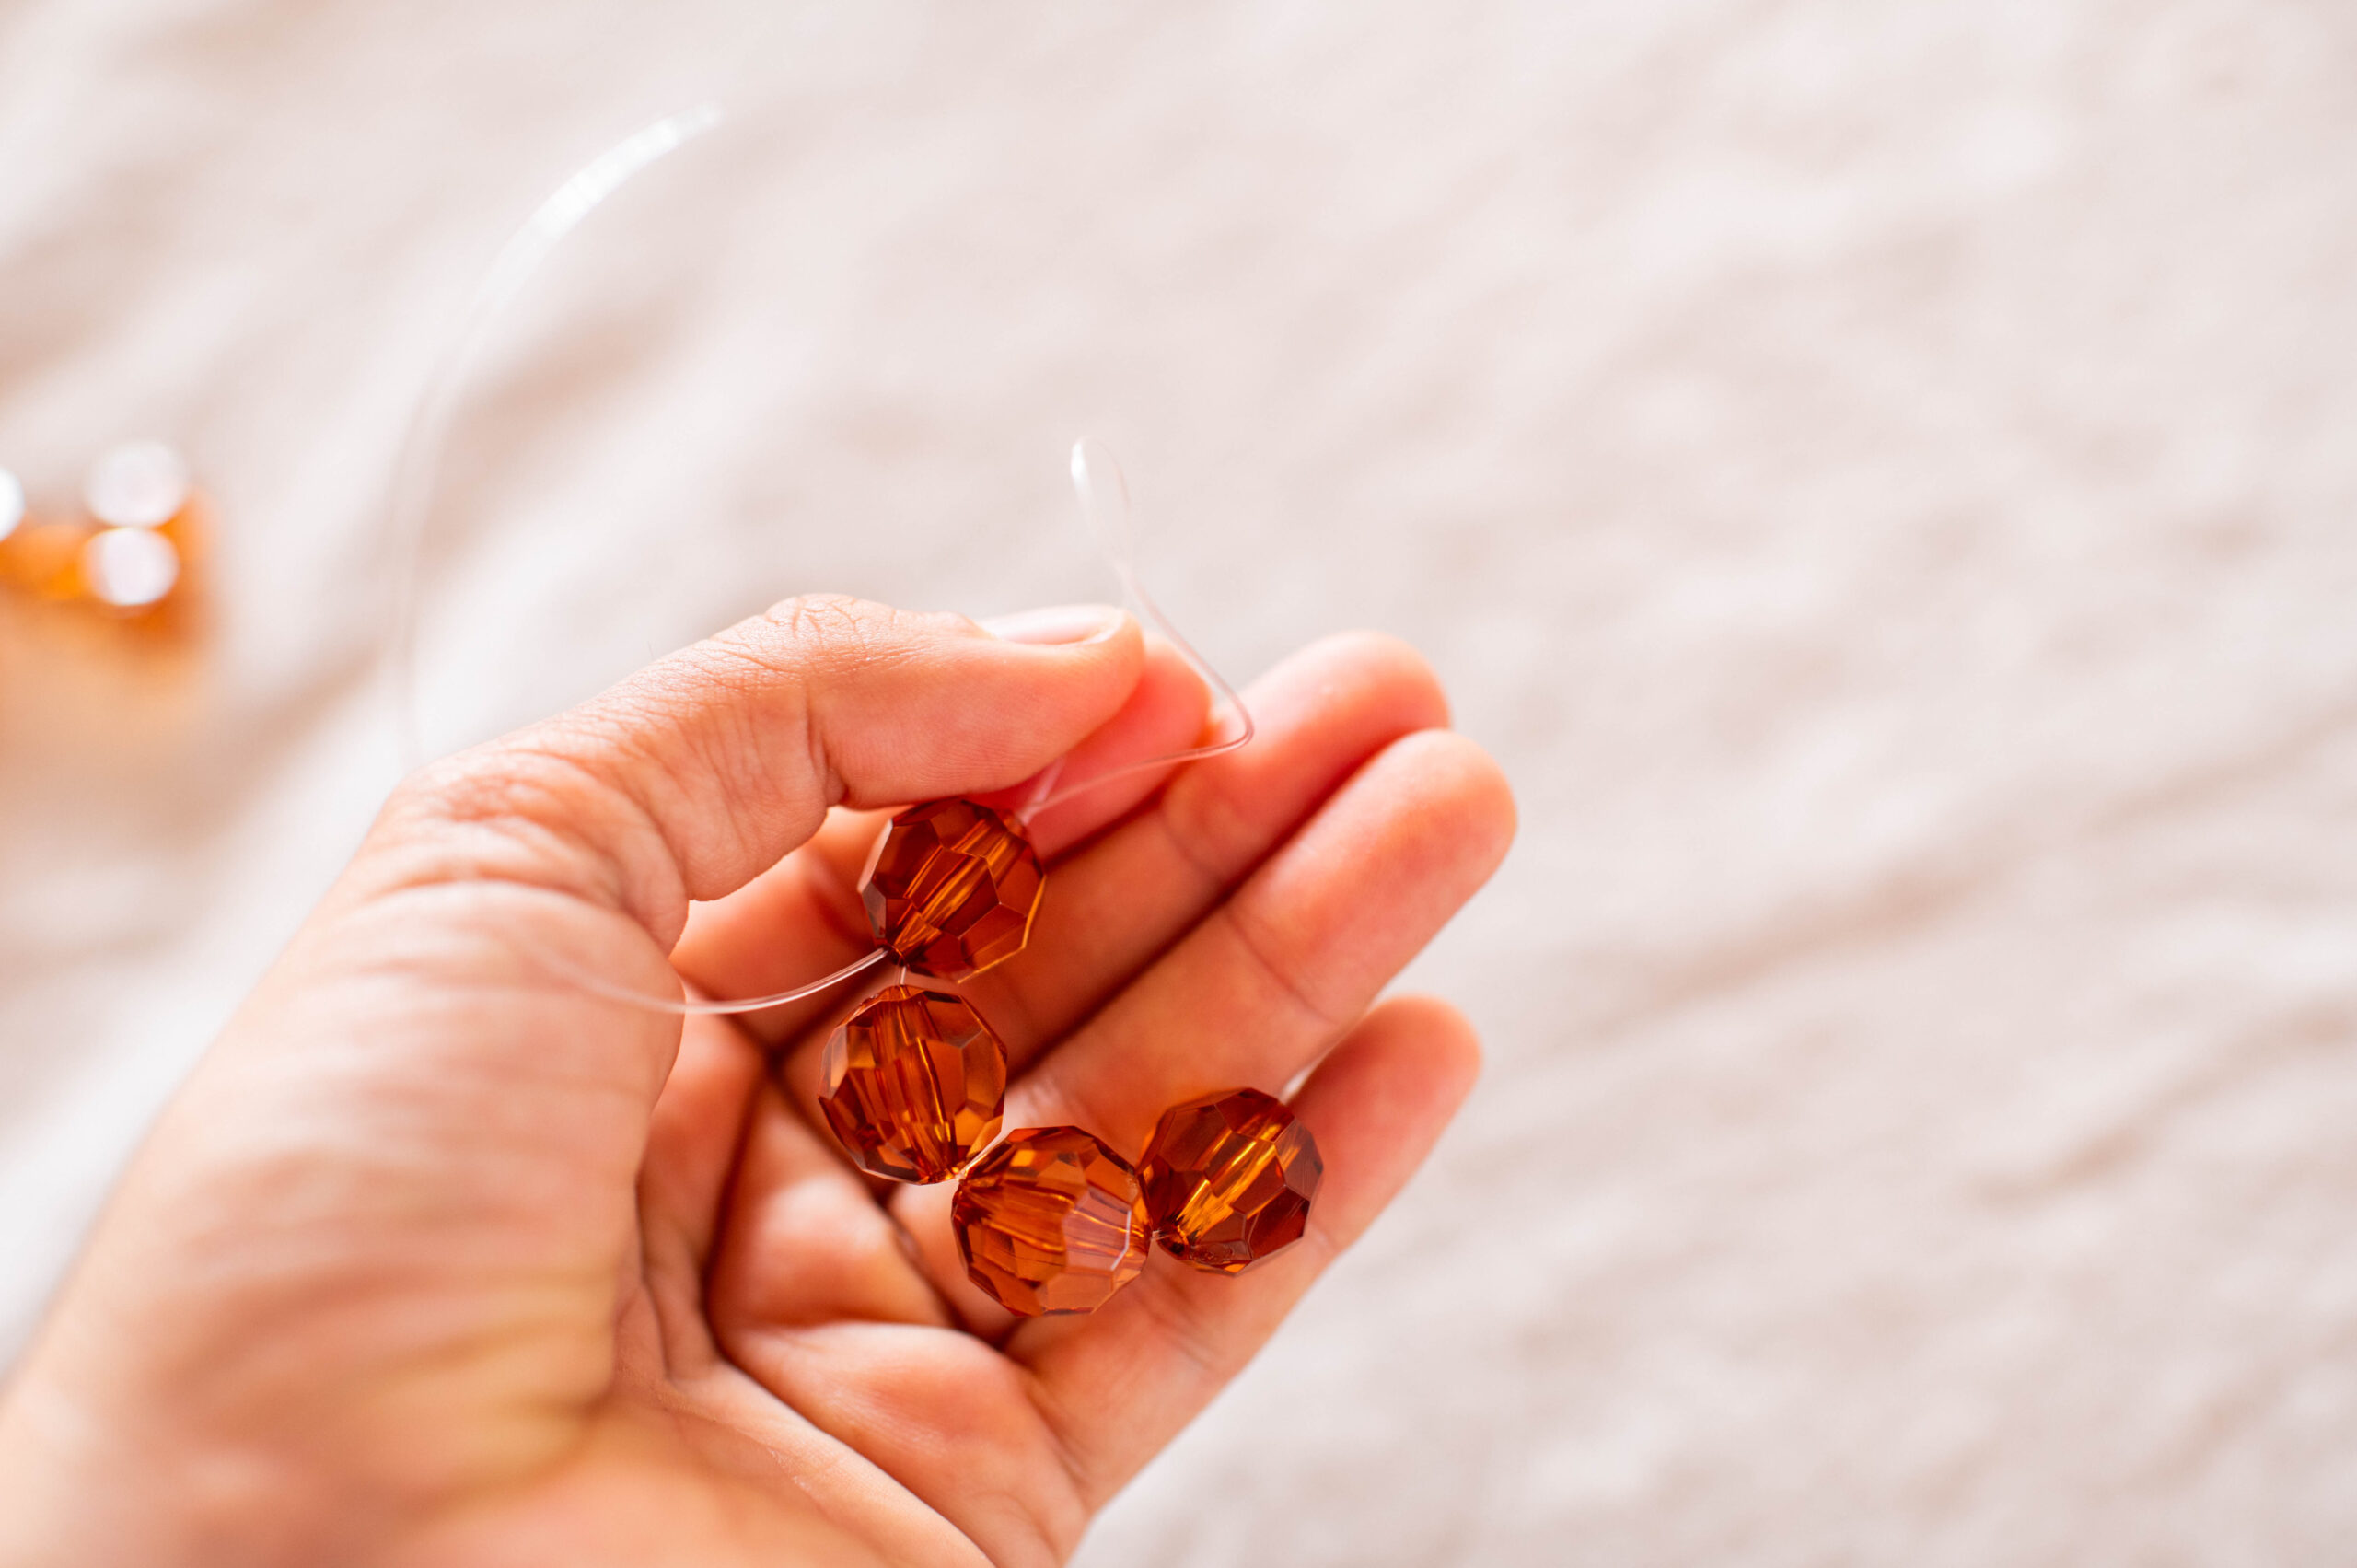
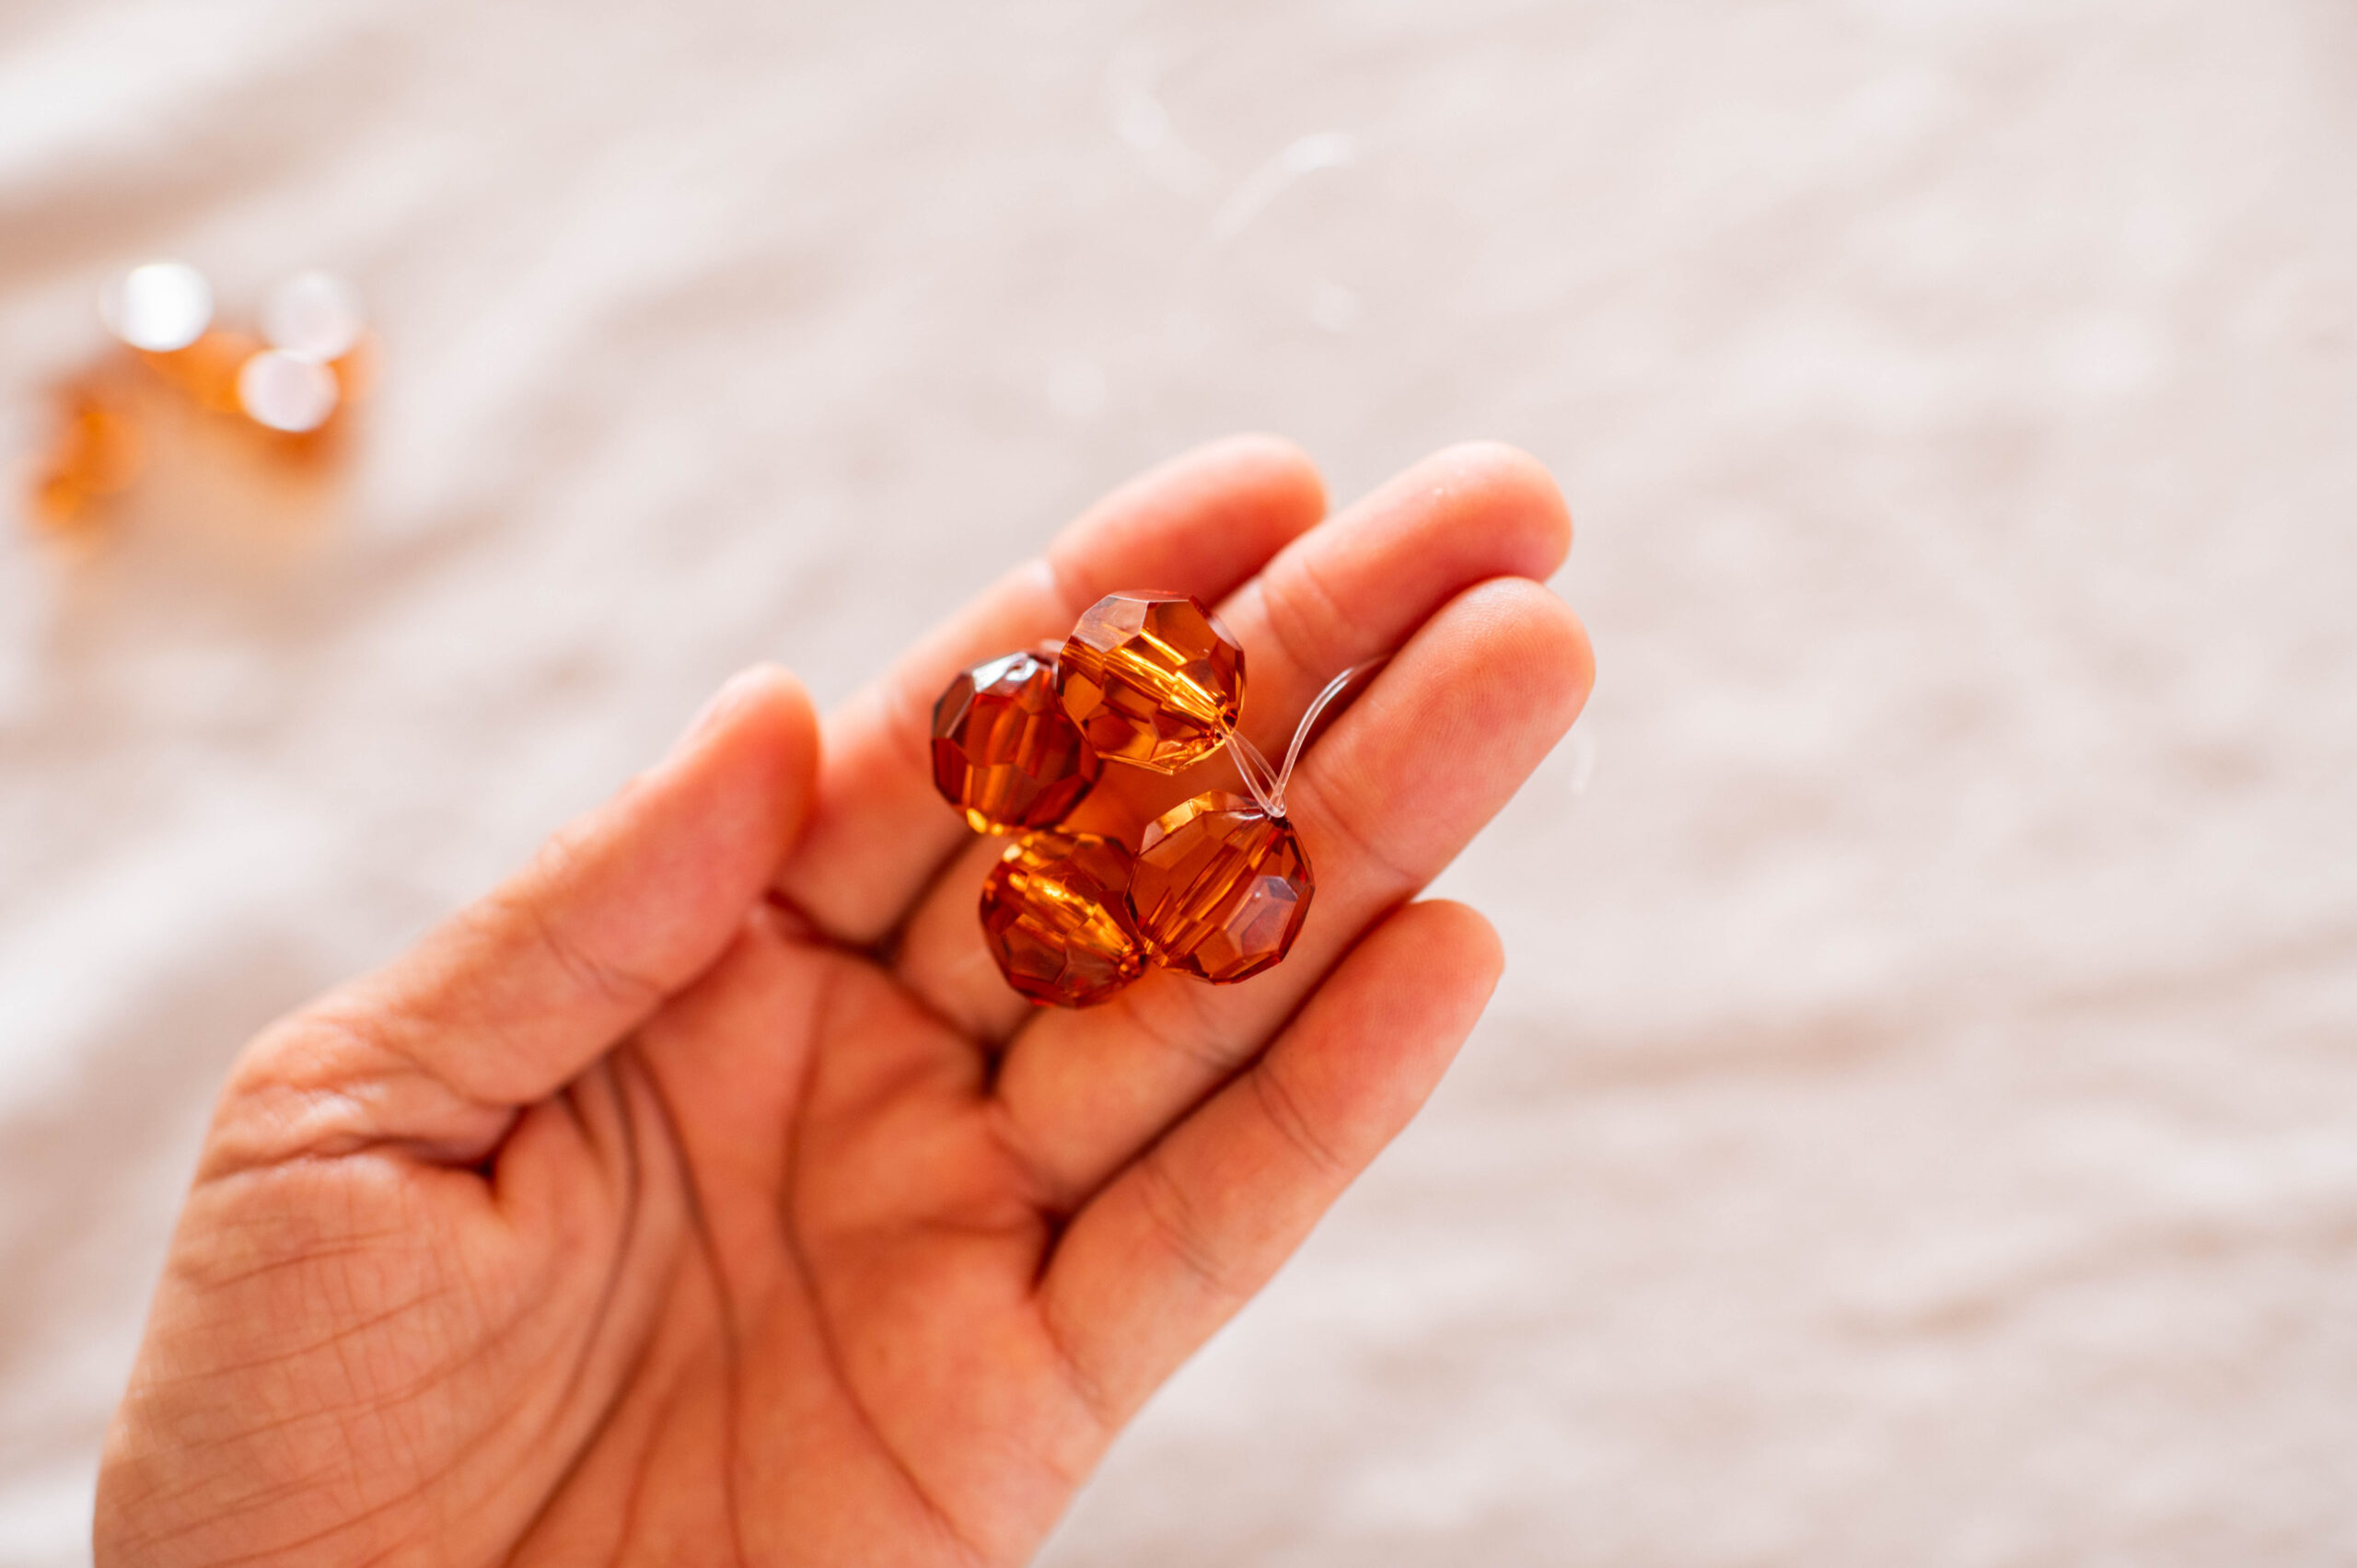
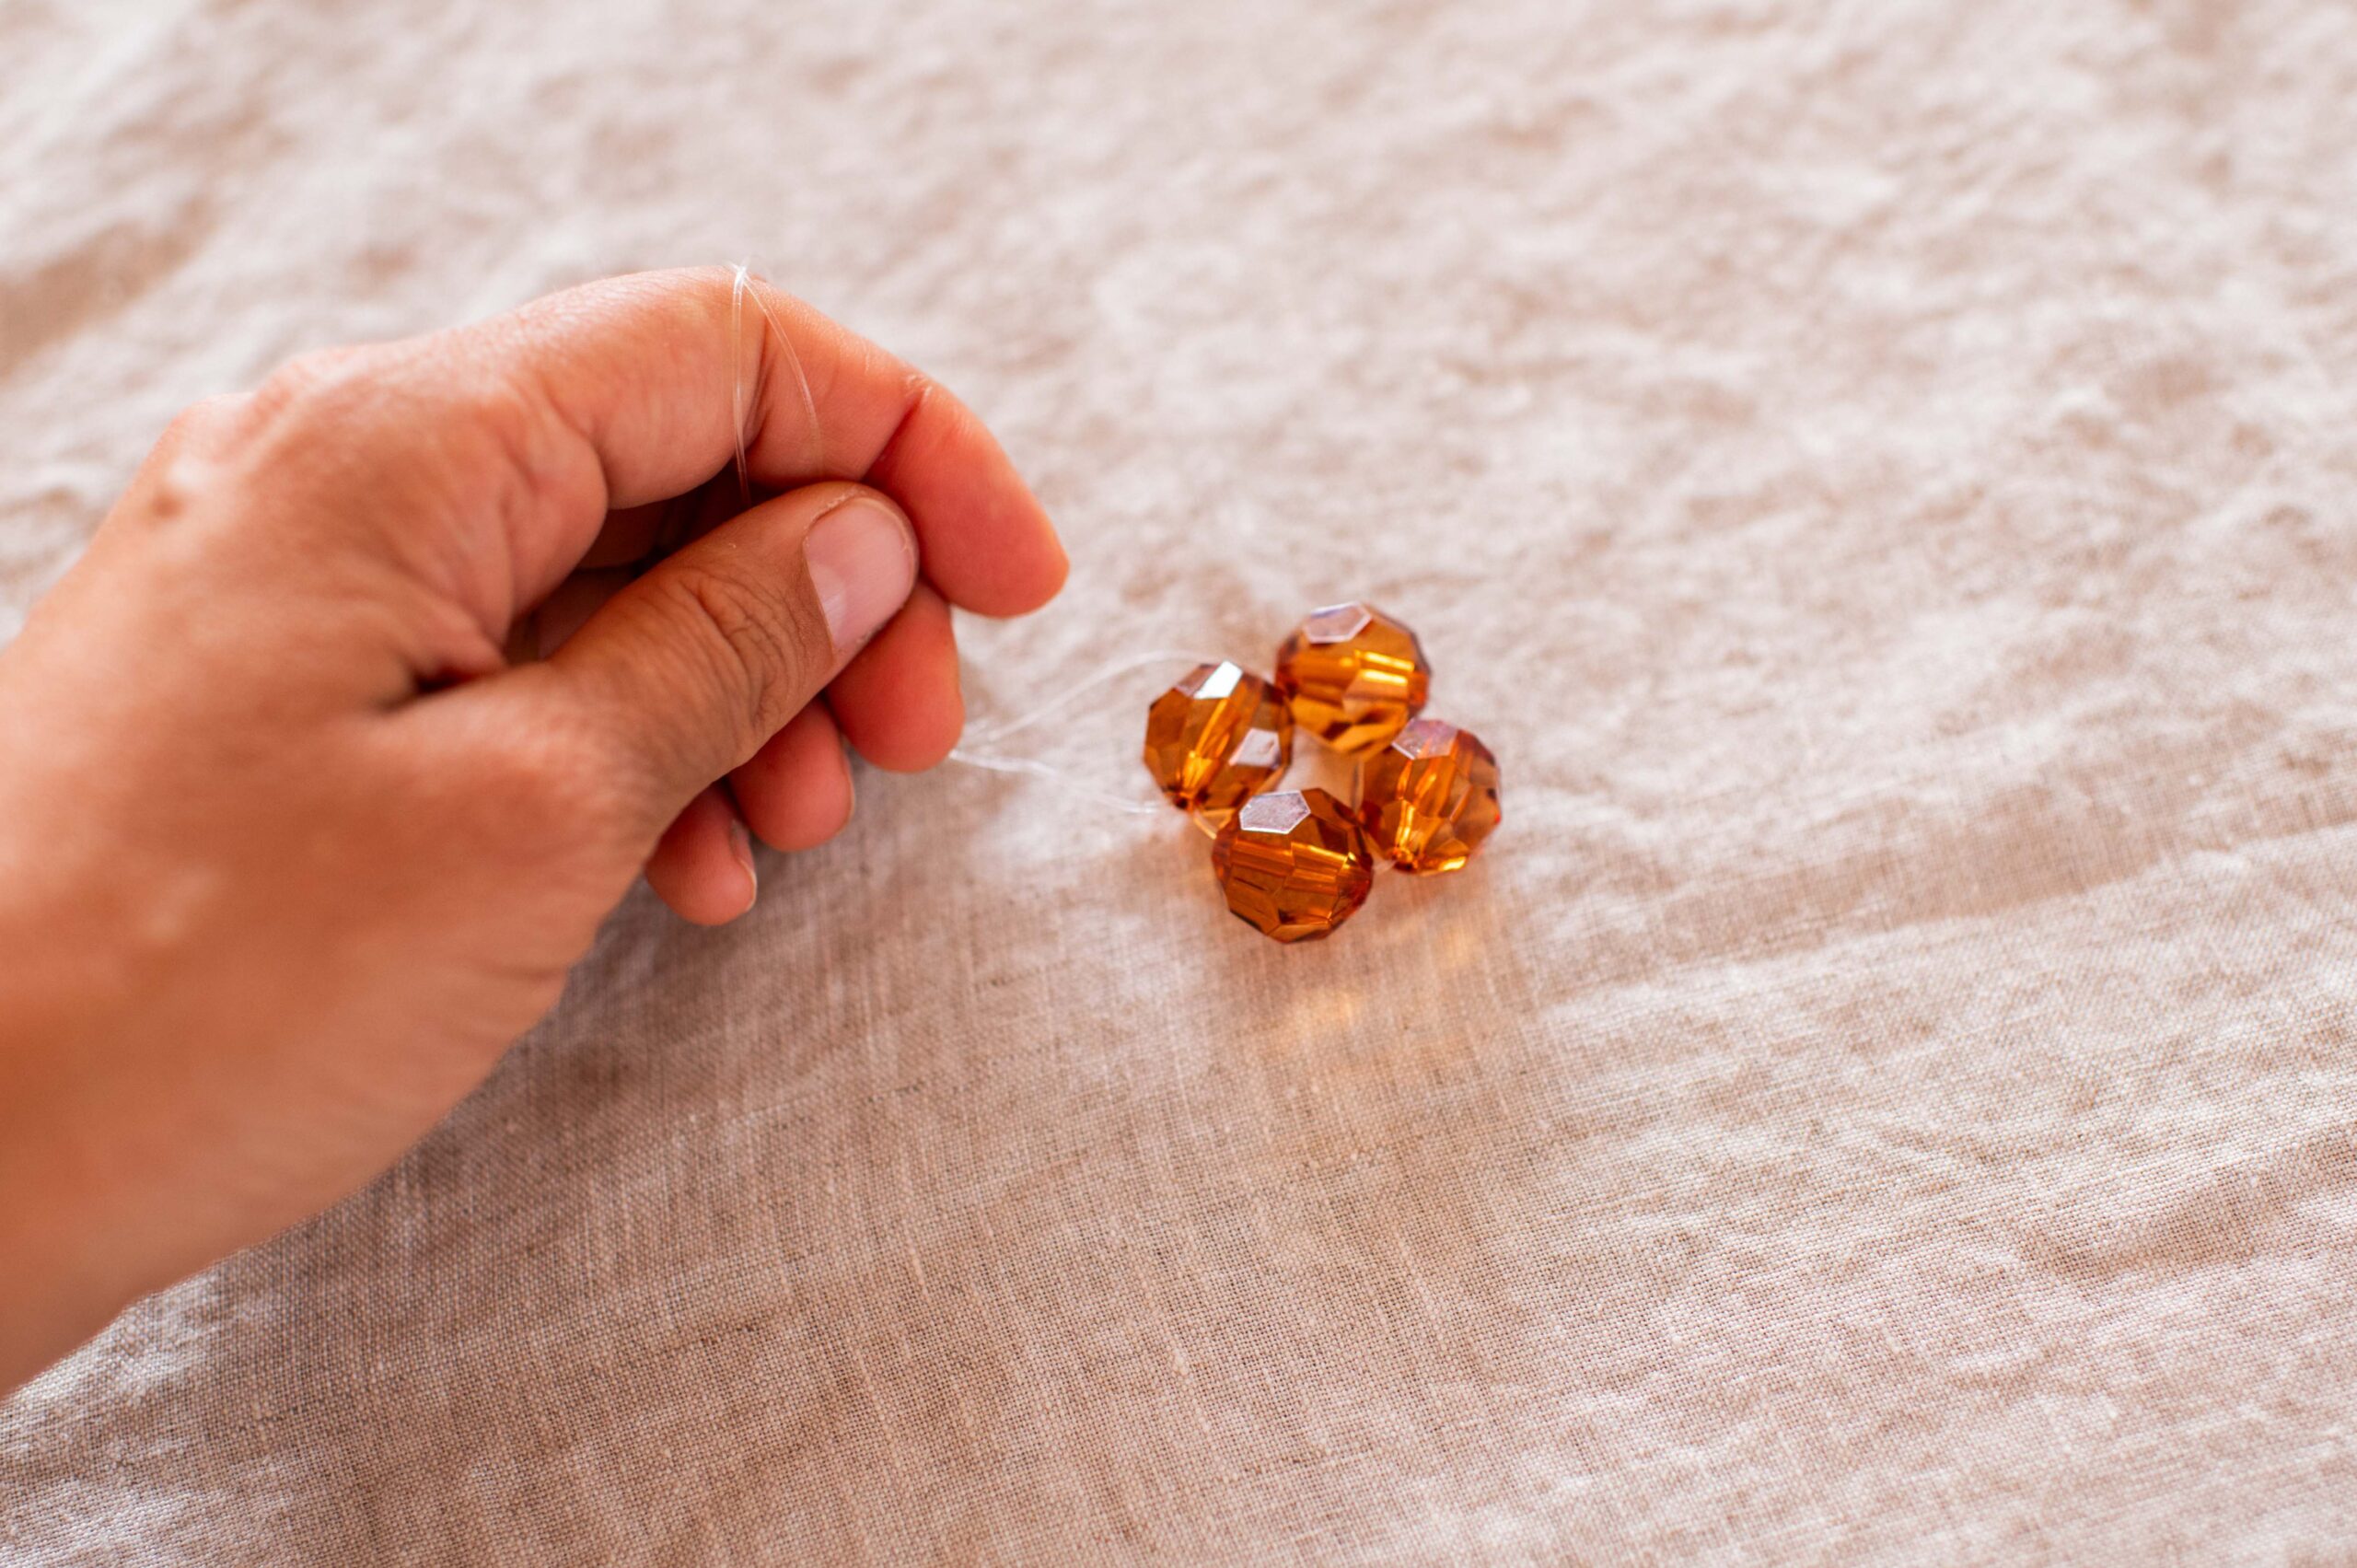
The most important element of this bag is learning how to master the flower shape and the knot you use to secure it together tightly, as it’s the basis for the whole bag. So I thought I would show it in images.
- Cut about a one metre piece of fishing line.
- Start by threading four beads into the middle of the line.
- On the left side, push the line back through the first bead on the left, making a loop.
- Thread the right hand line through the loop.
- Pull it tight to pull the knot into the centre of the bead.
Making Rows & Turning It Into A Bag
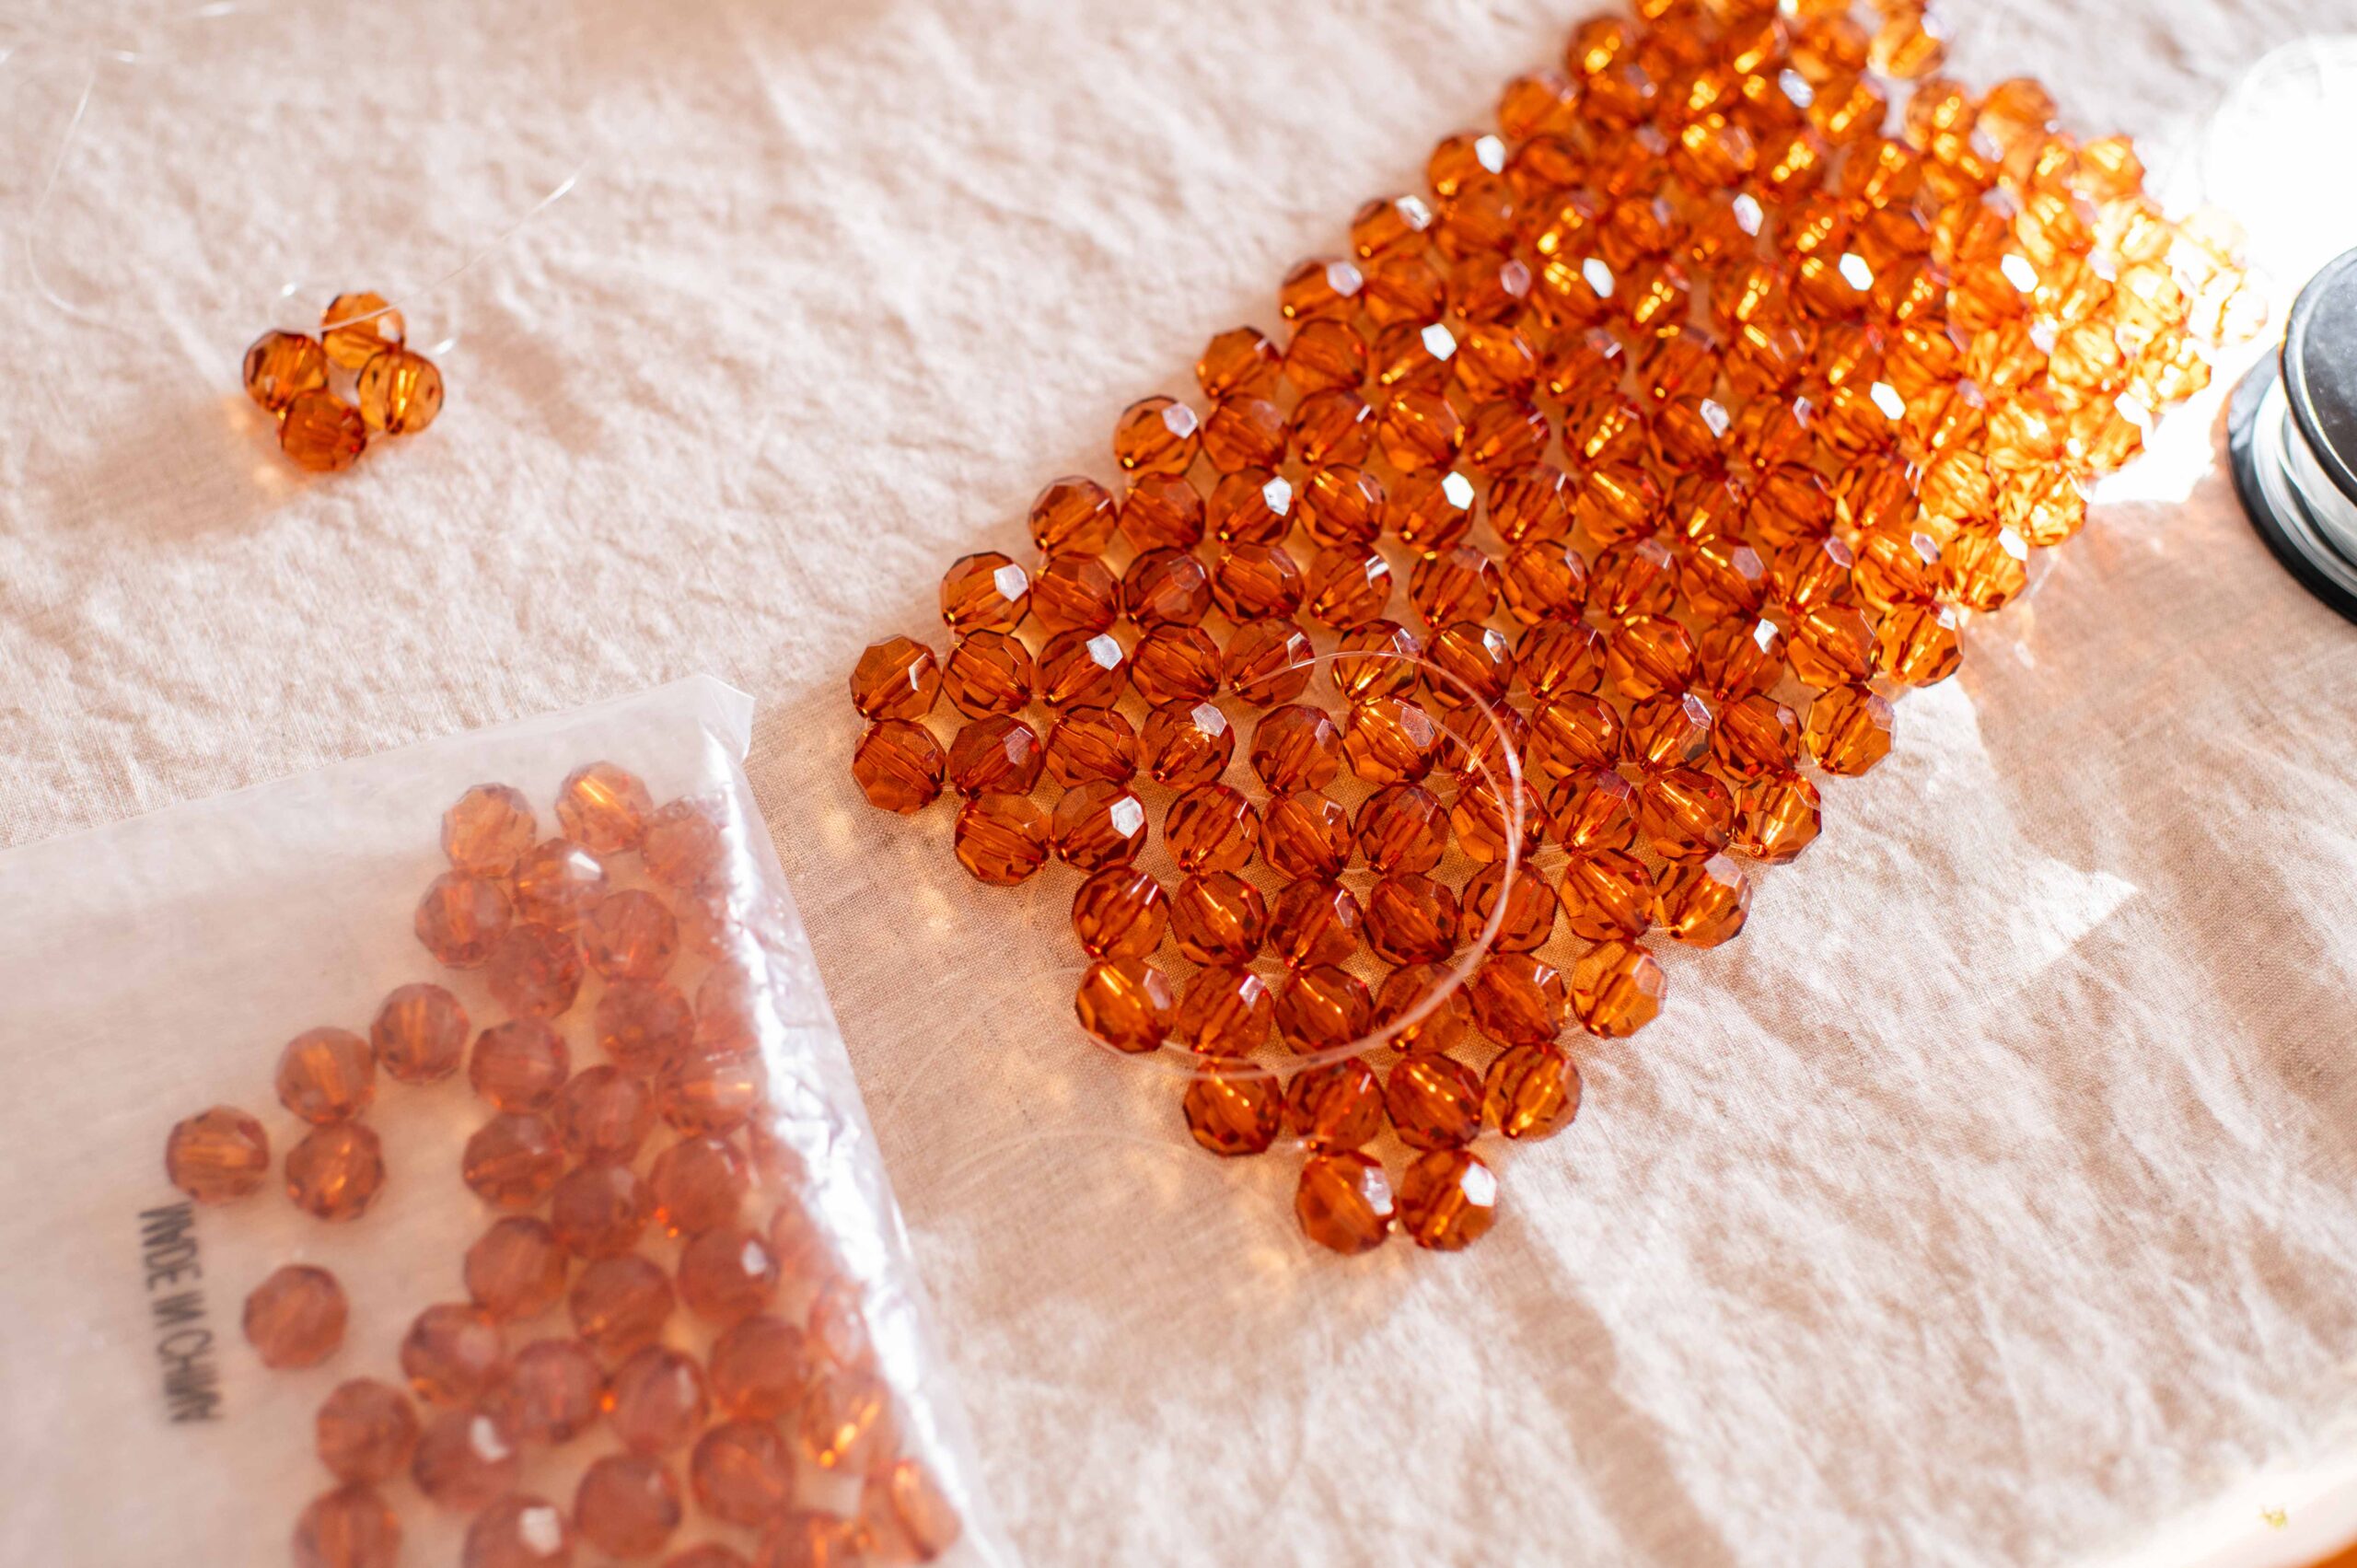
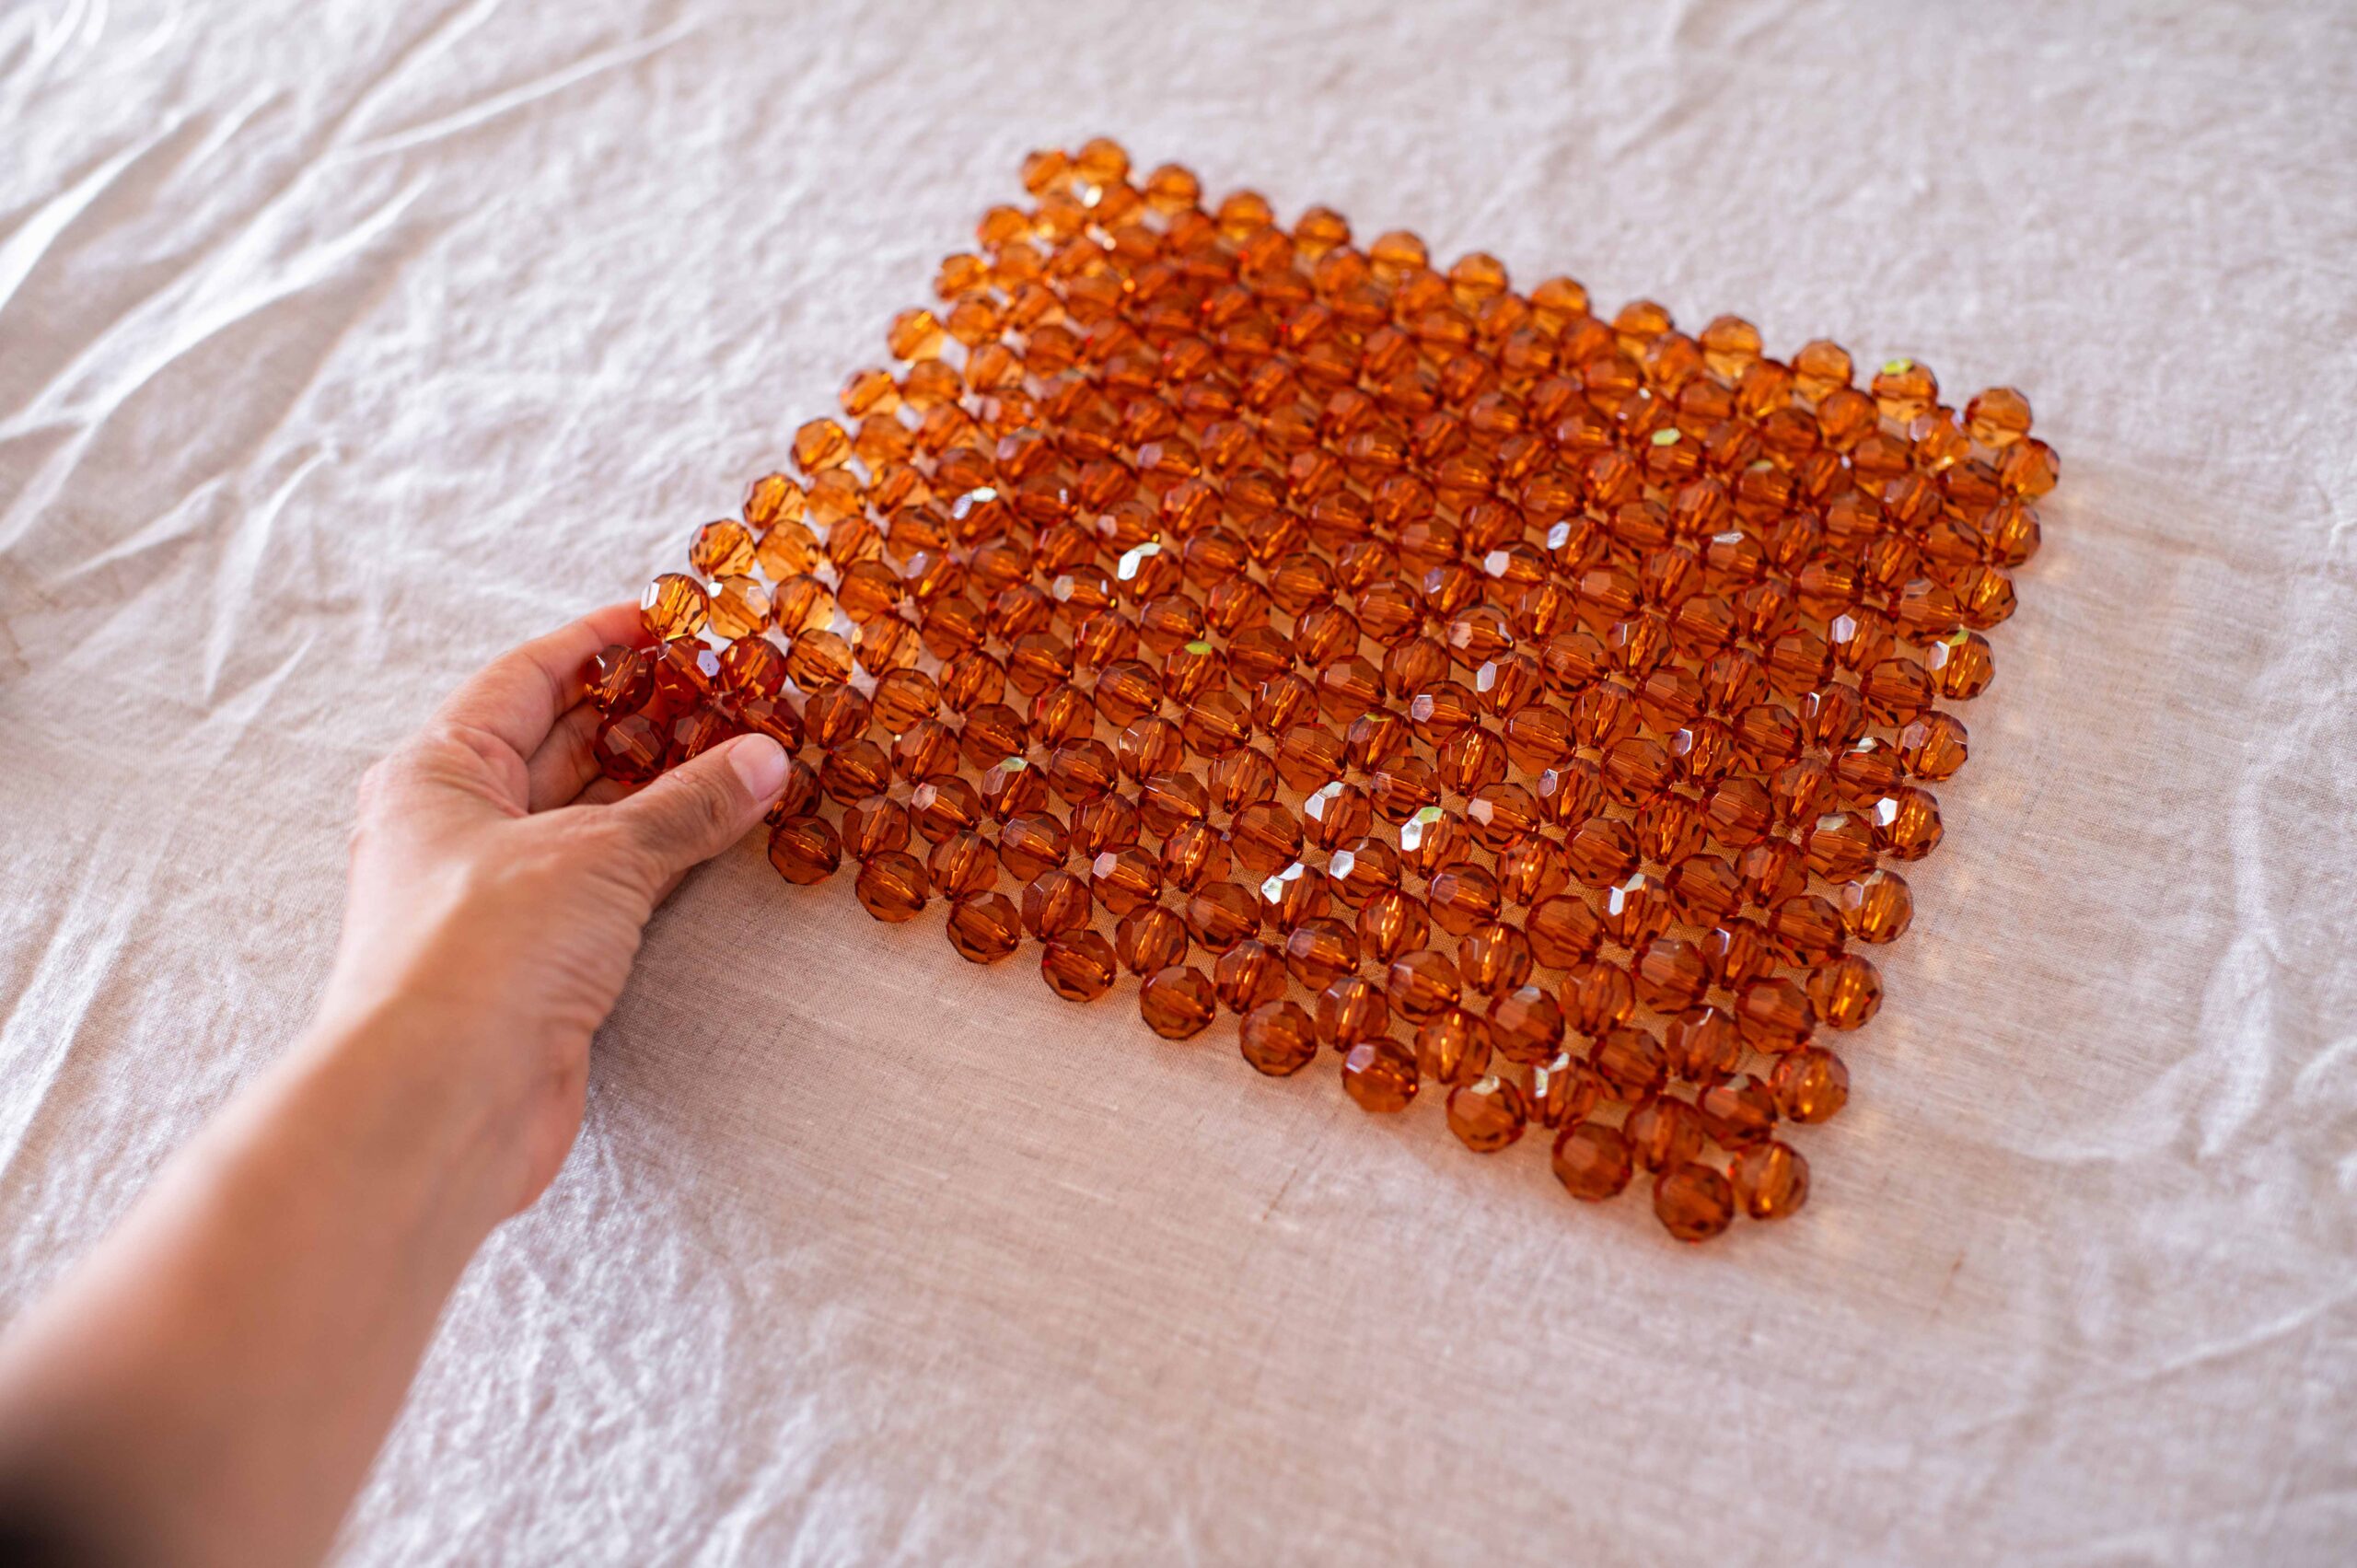
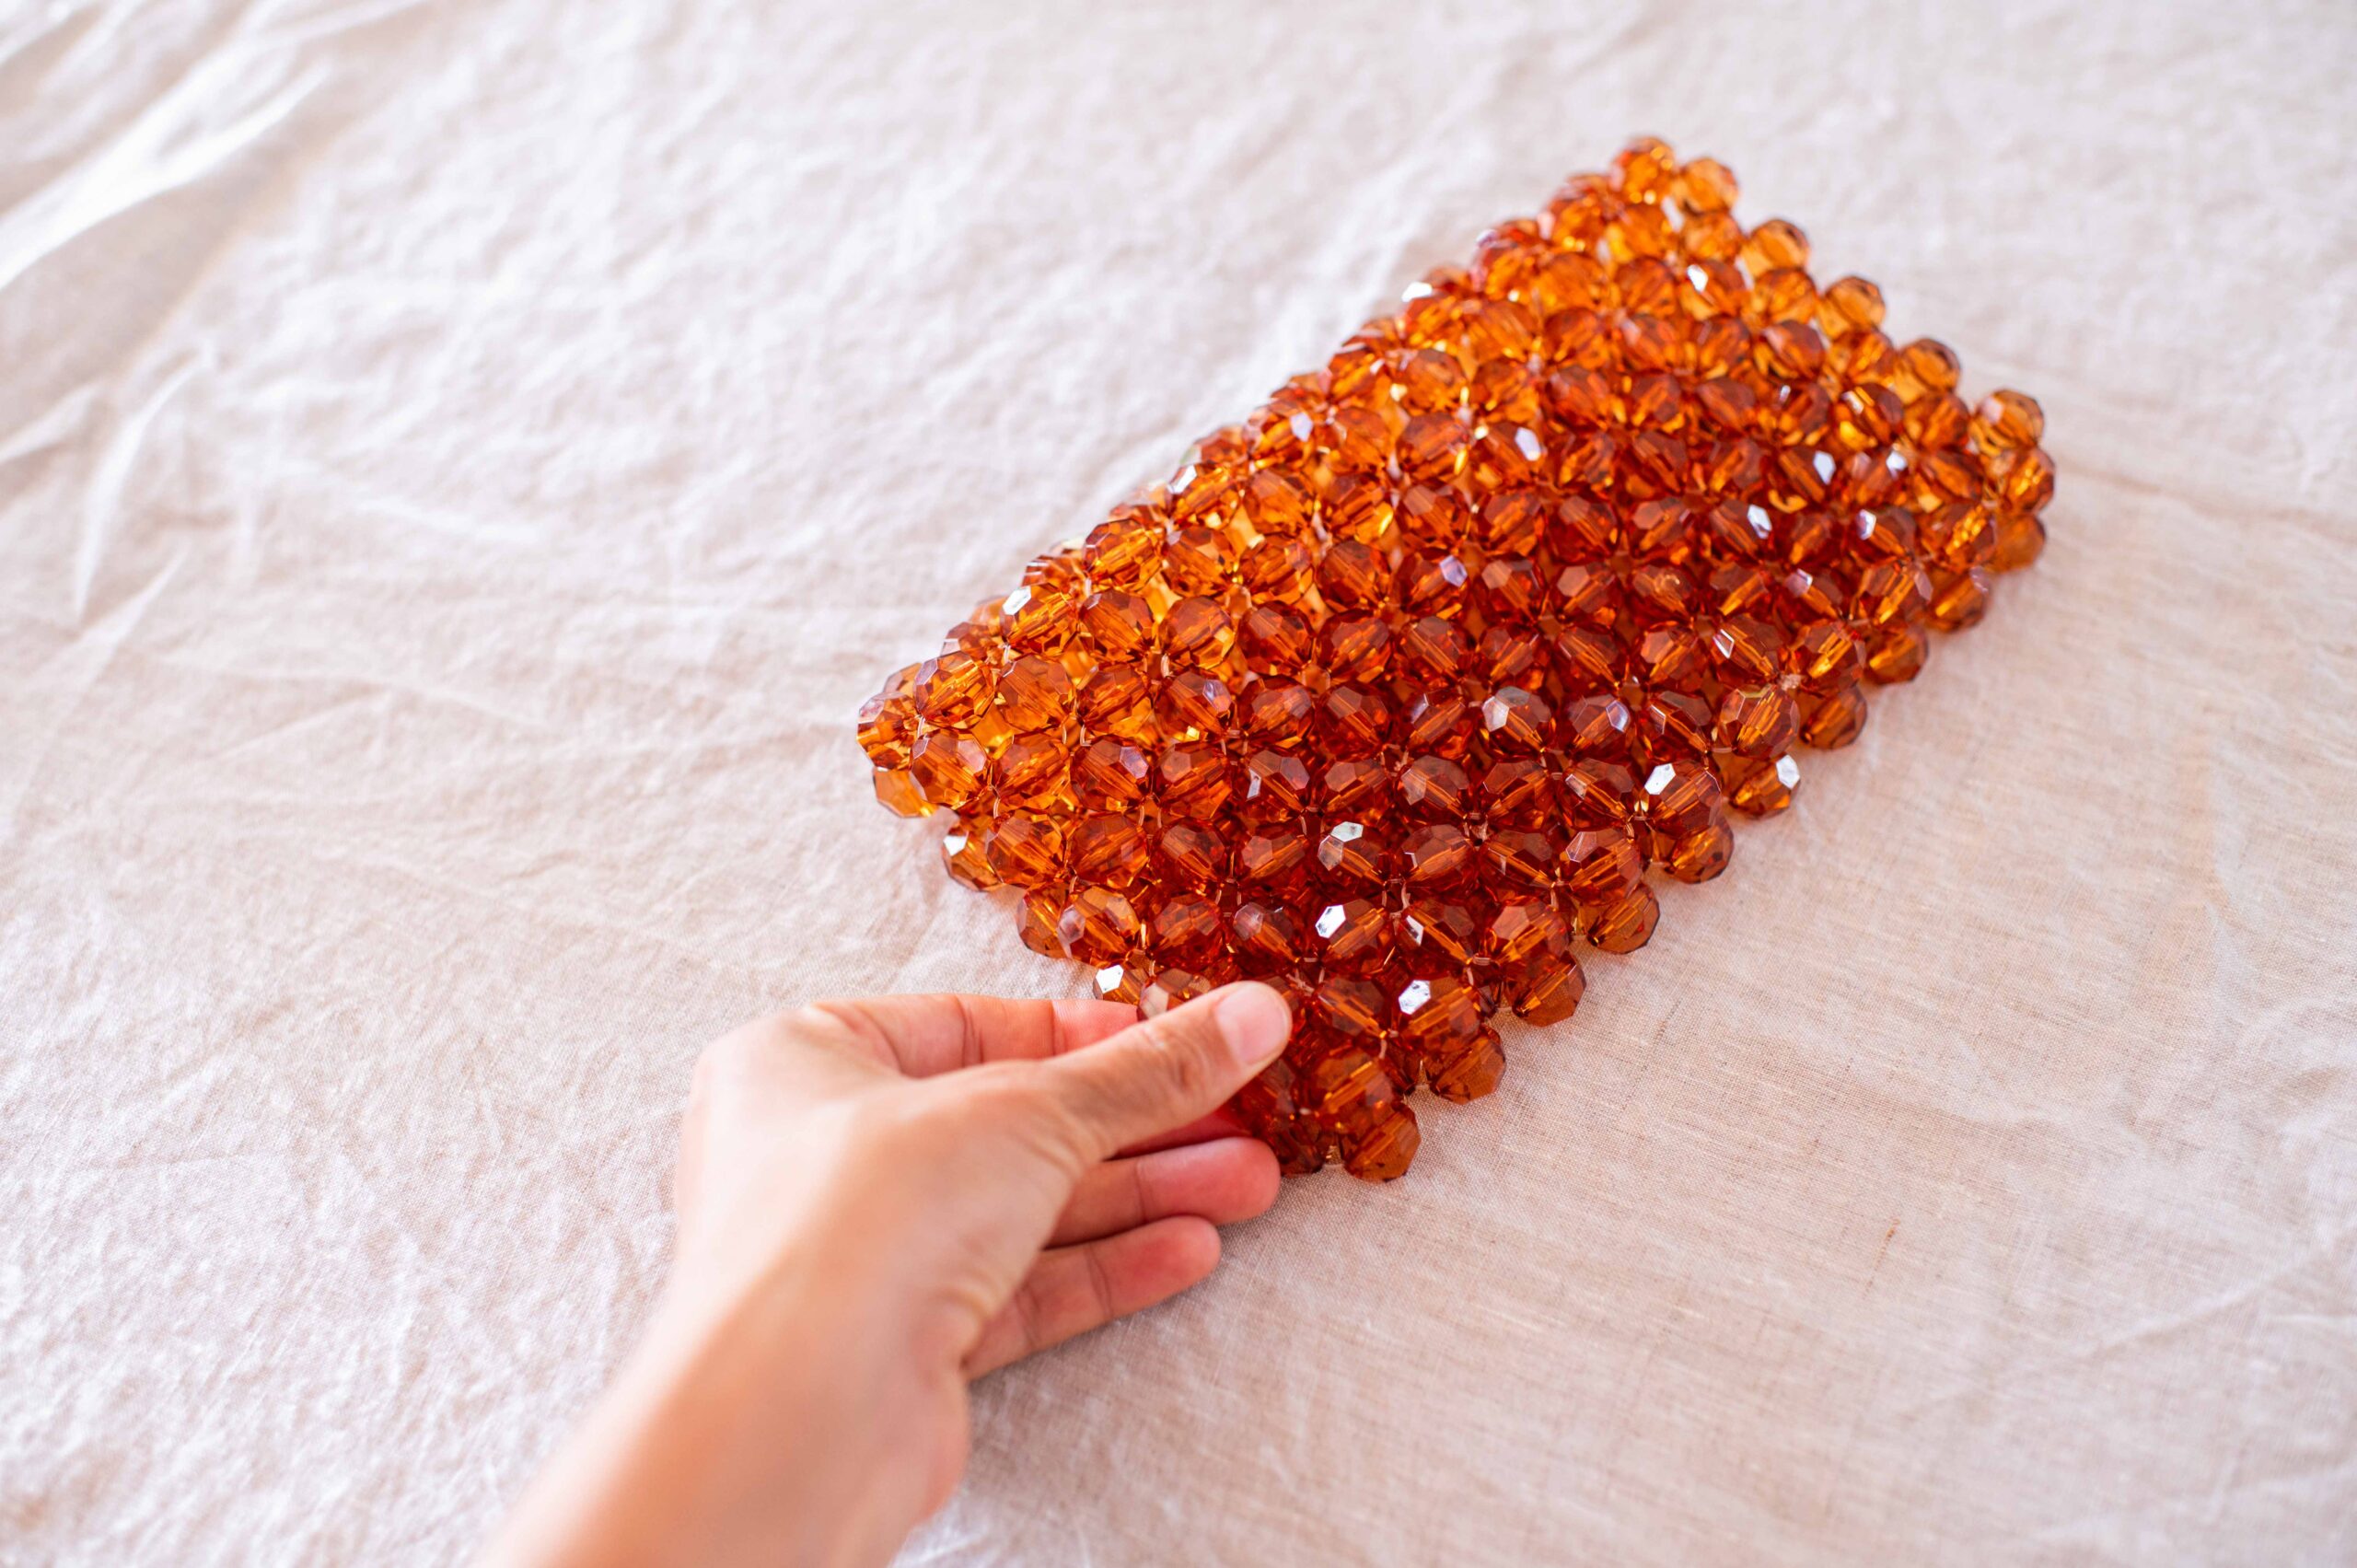
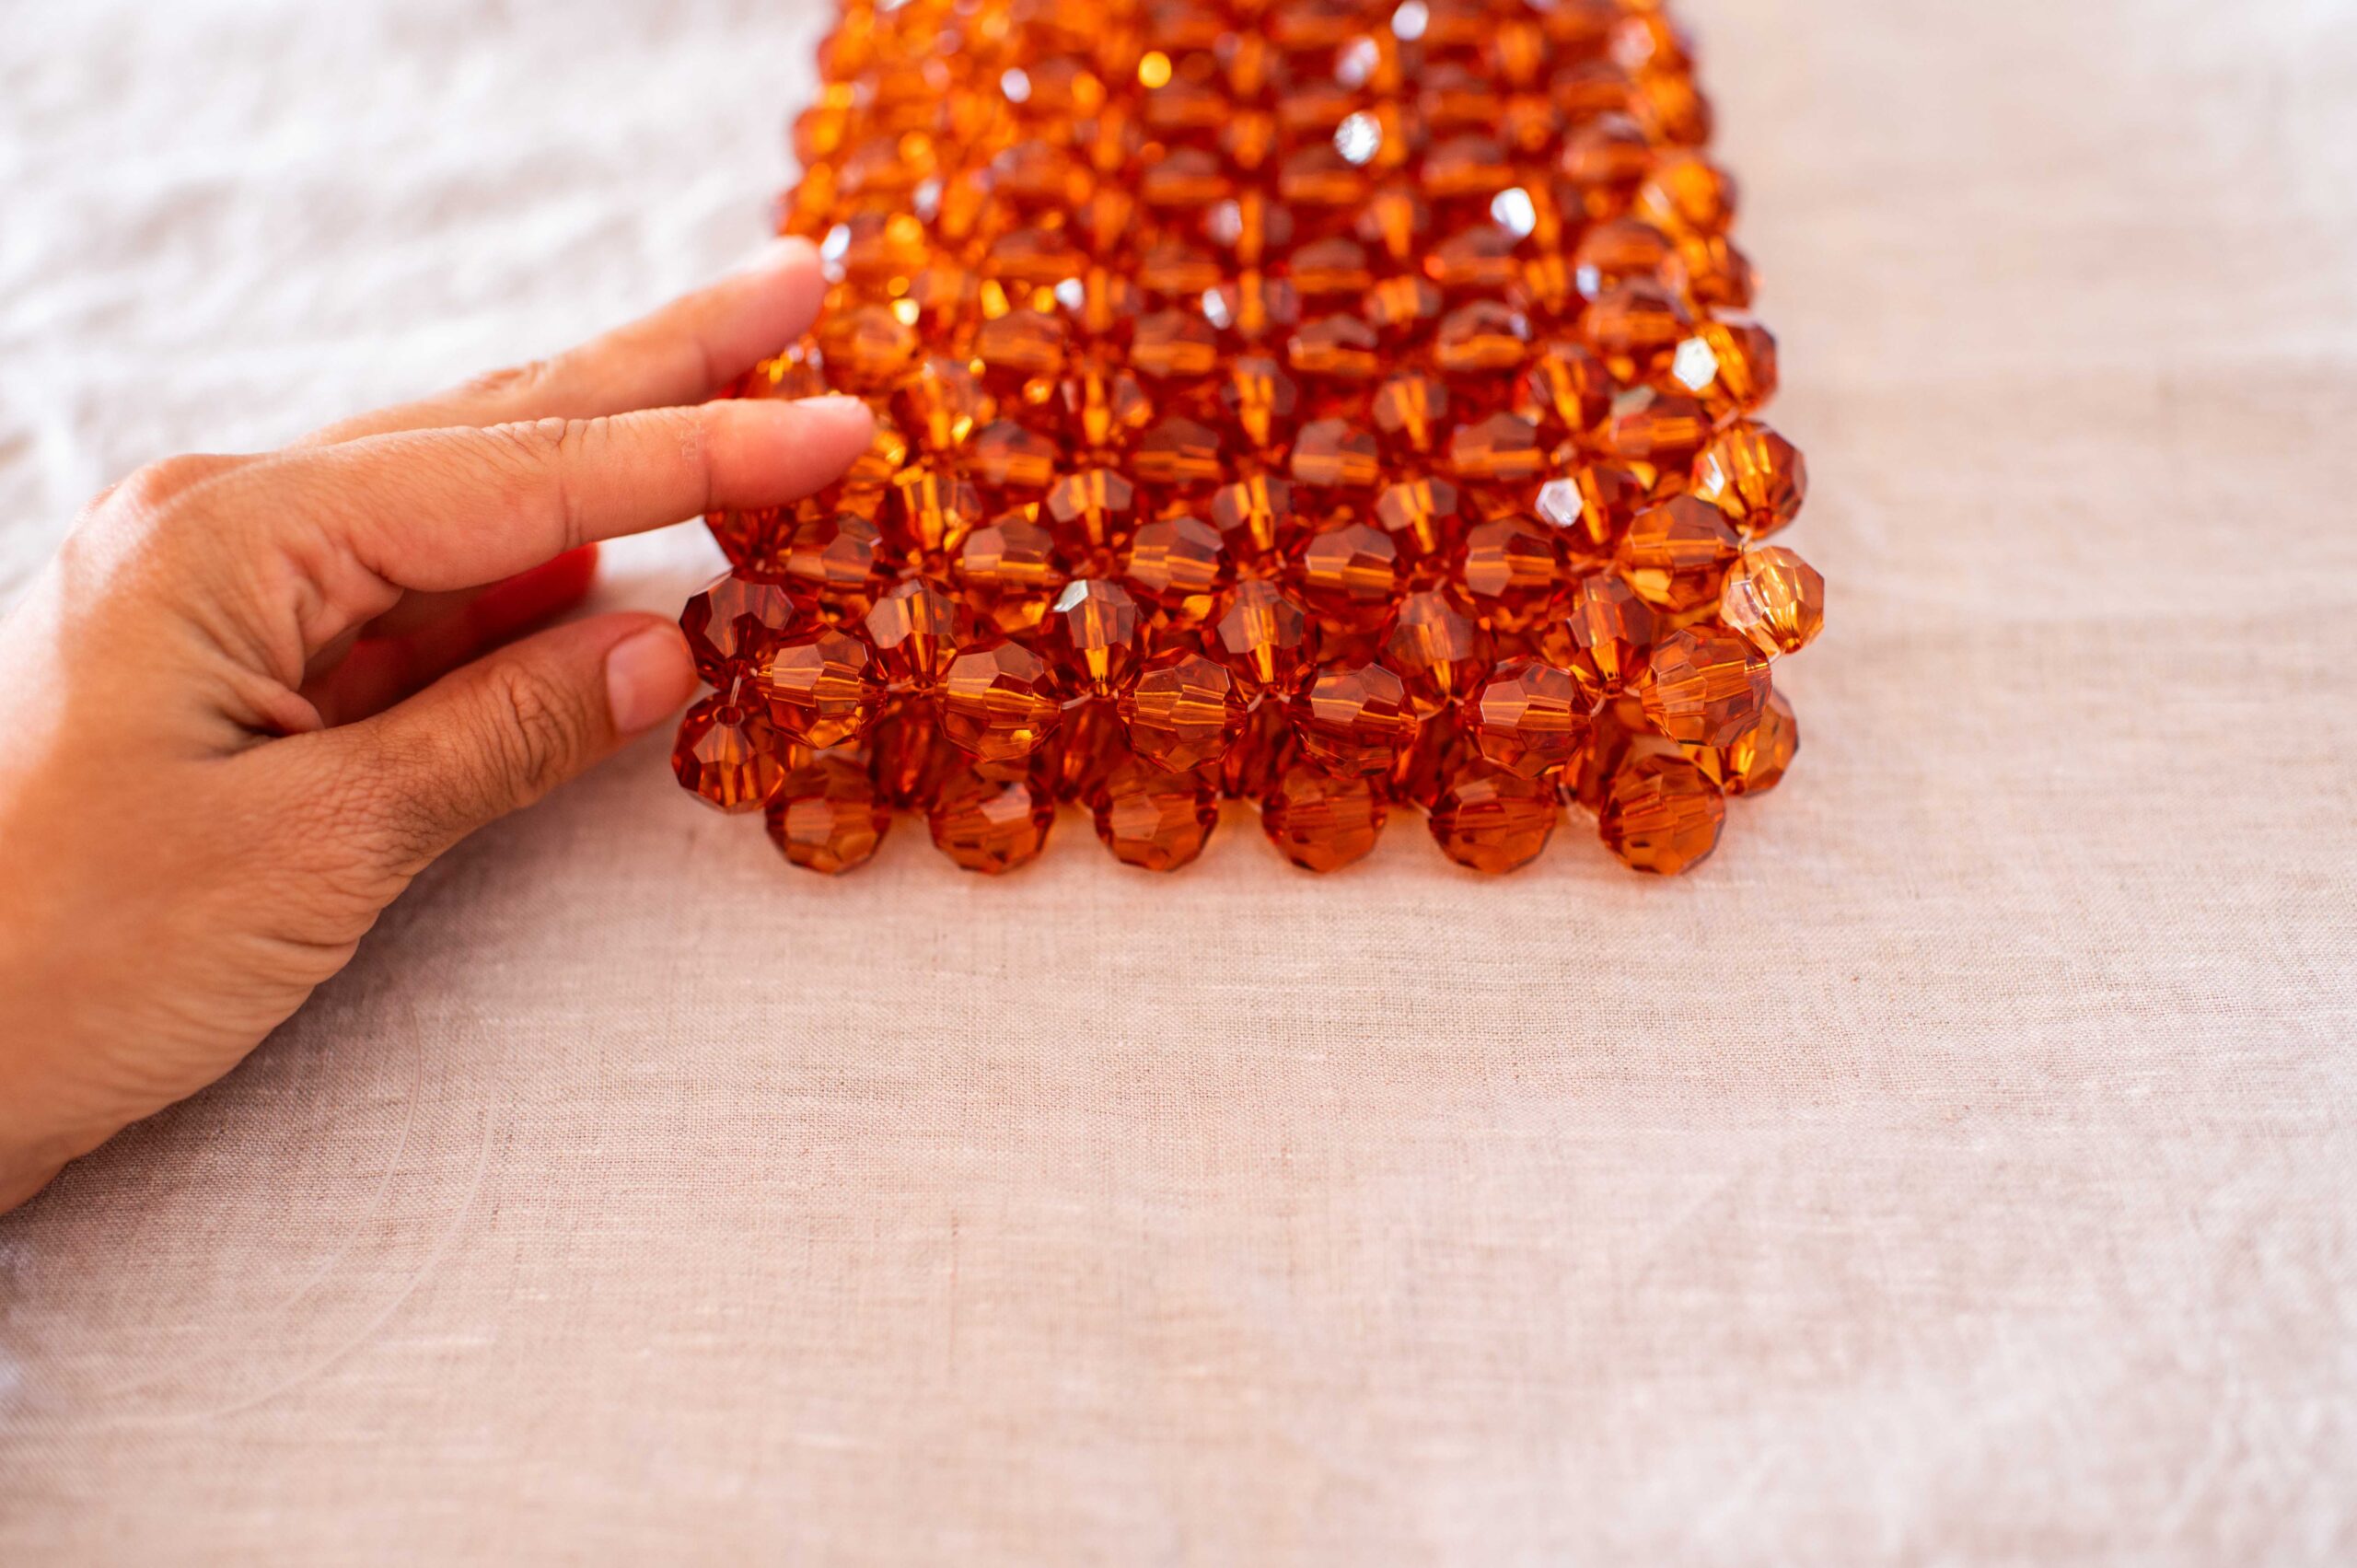
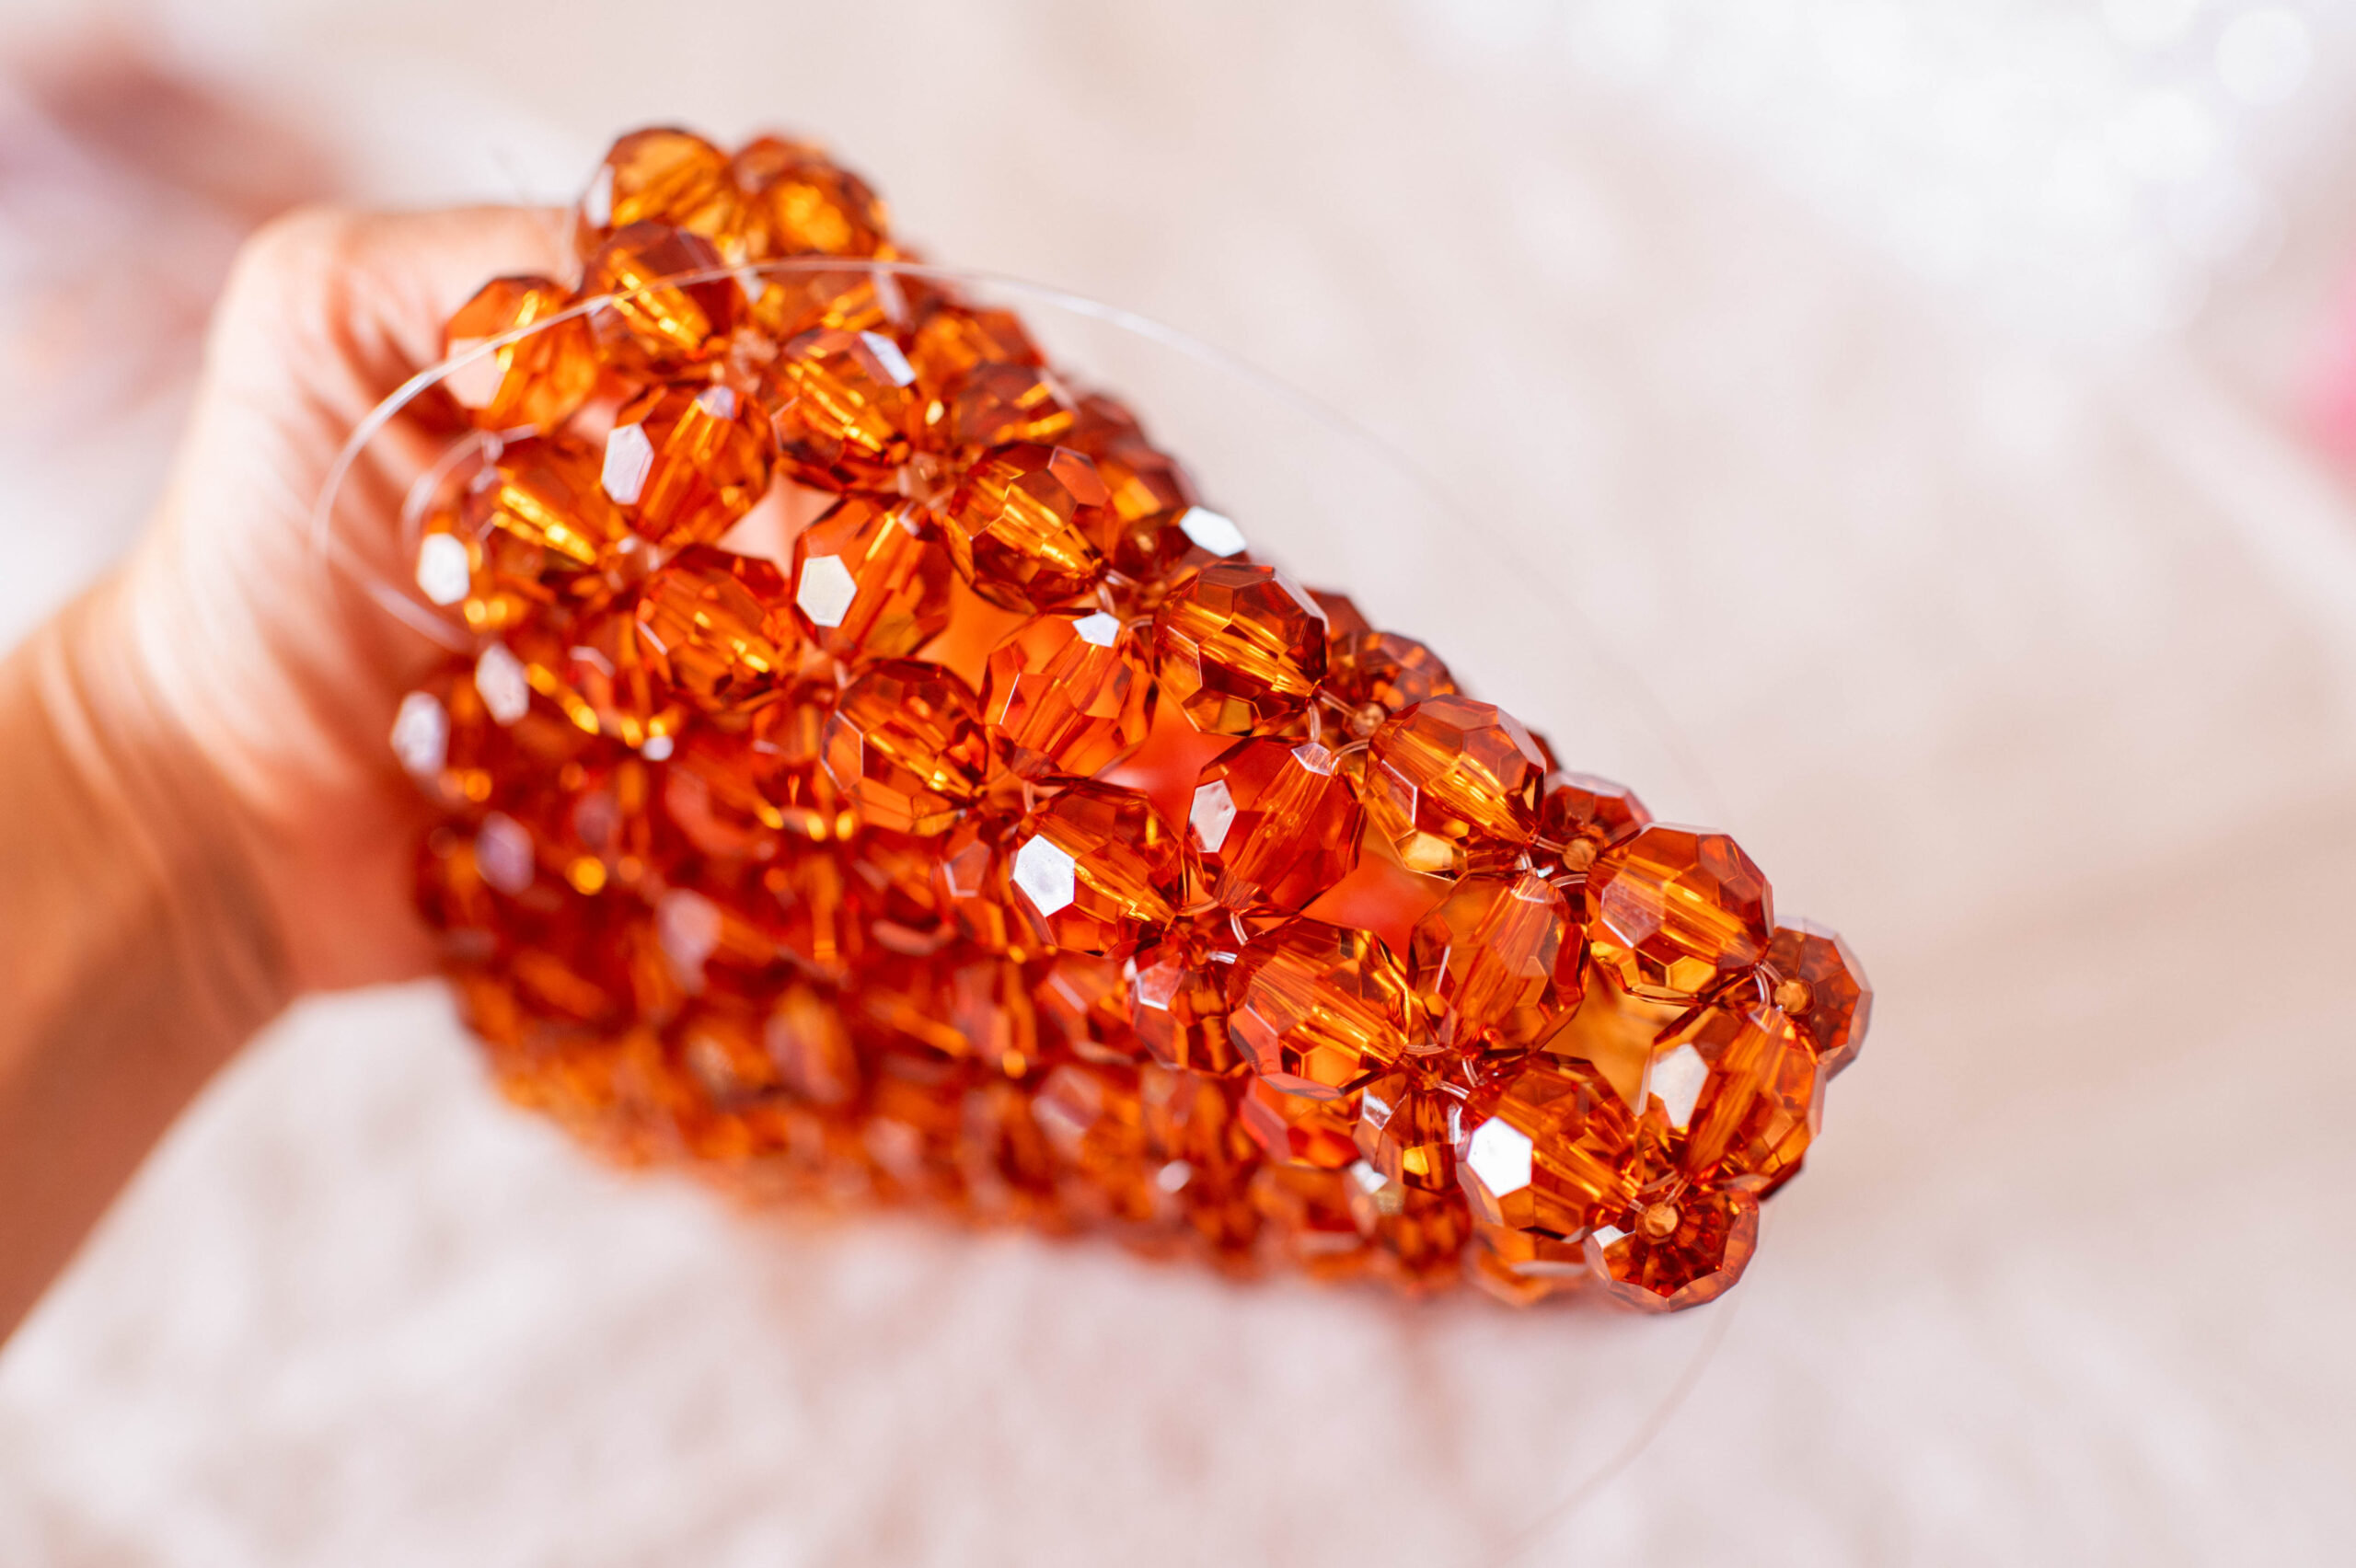
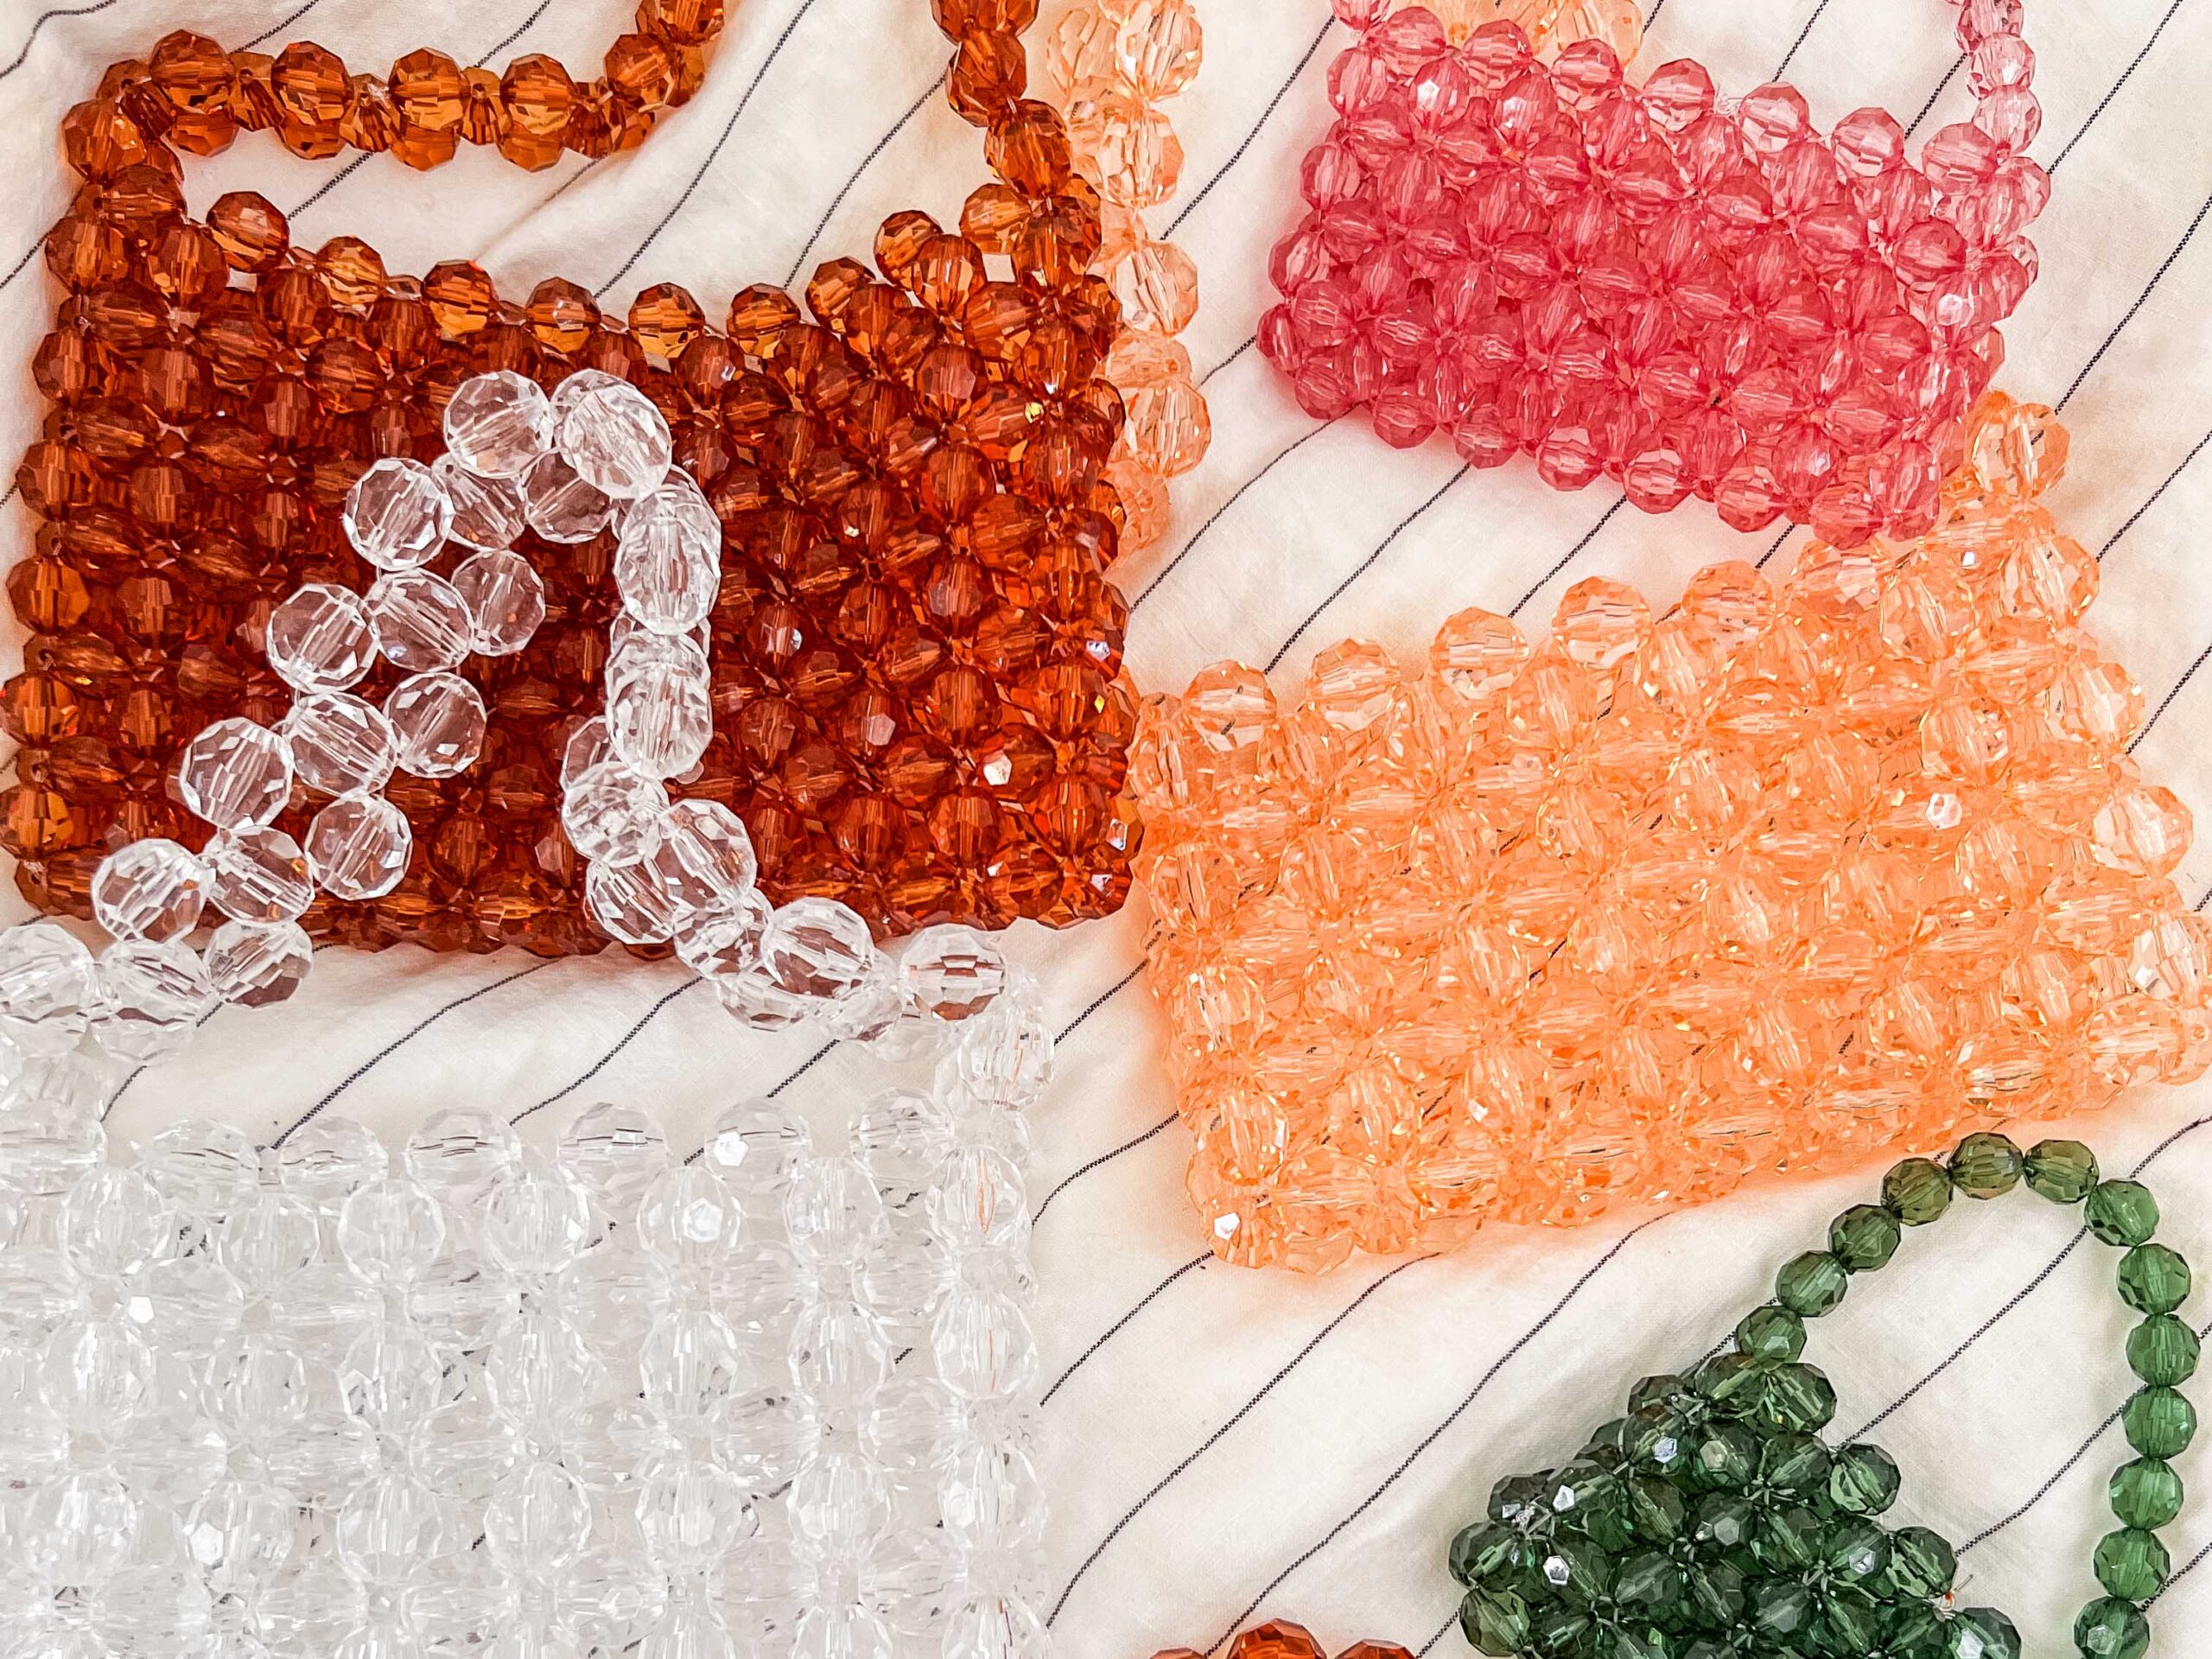
Making the rest of the bag is broken down into making the first row, then adding a second row and then using that method to make what will end up looking like a beaded doormat. Once you have that, you fold the doormat in half and then join the sides of the bag together using beads to make a clutch bag shape. The final step is to add a handle on using the same flower shape method. It’s quite a hard process to explain, I can imagine it’s what trying to explain knitting feels like! So the best thing to do is set up your materials and make along with me using the YouTube video as a guide.
Closure
For my design I wanted a clean look and was happy to deal with the risk of not having a closure on the bag, but you could also add a little clasp using some elastic and a bead, or you could also make the base of the bag longer so you could fold the top over to secure the contents. I haven’t had anything fall out as yet!
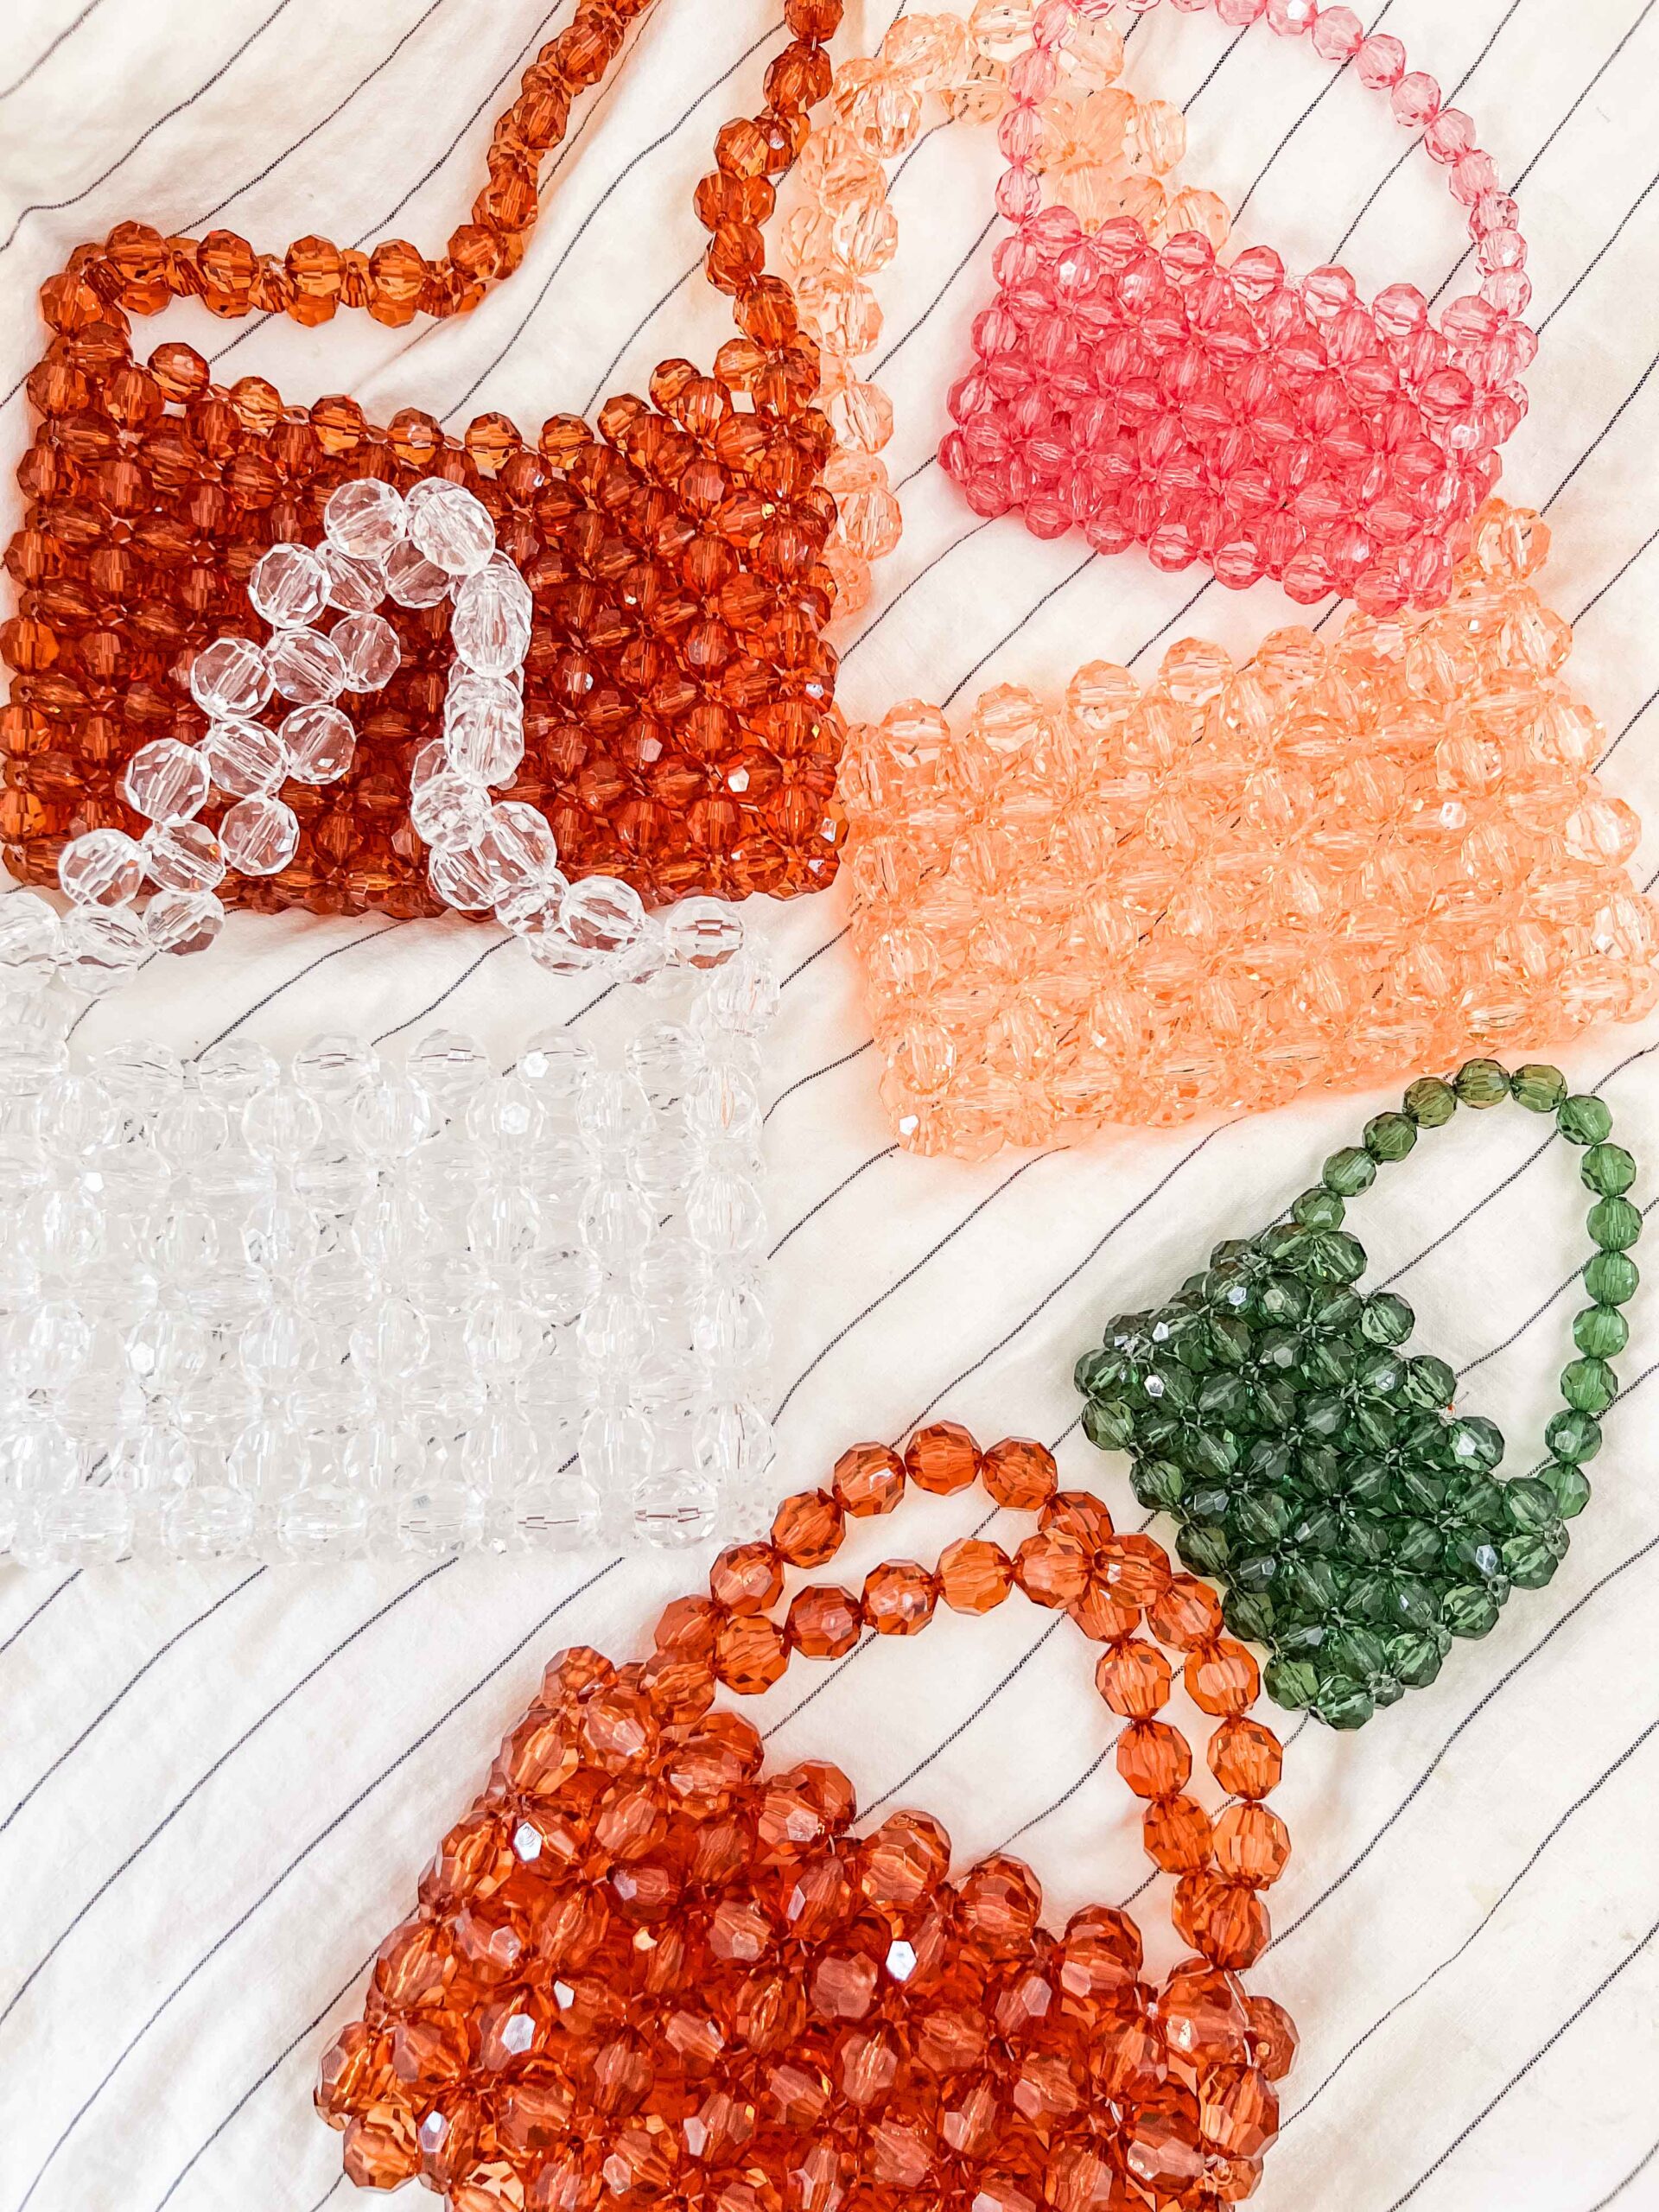
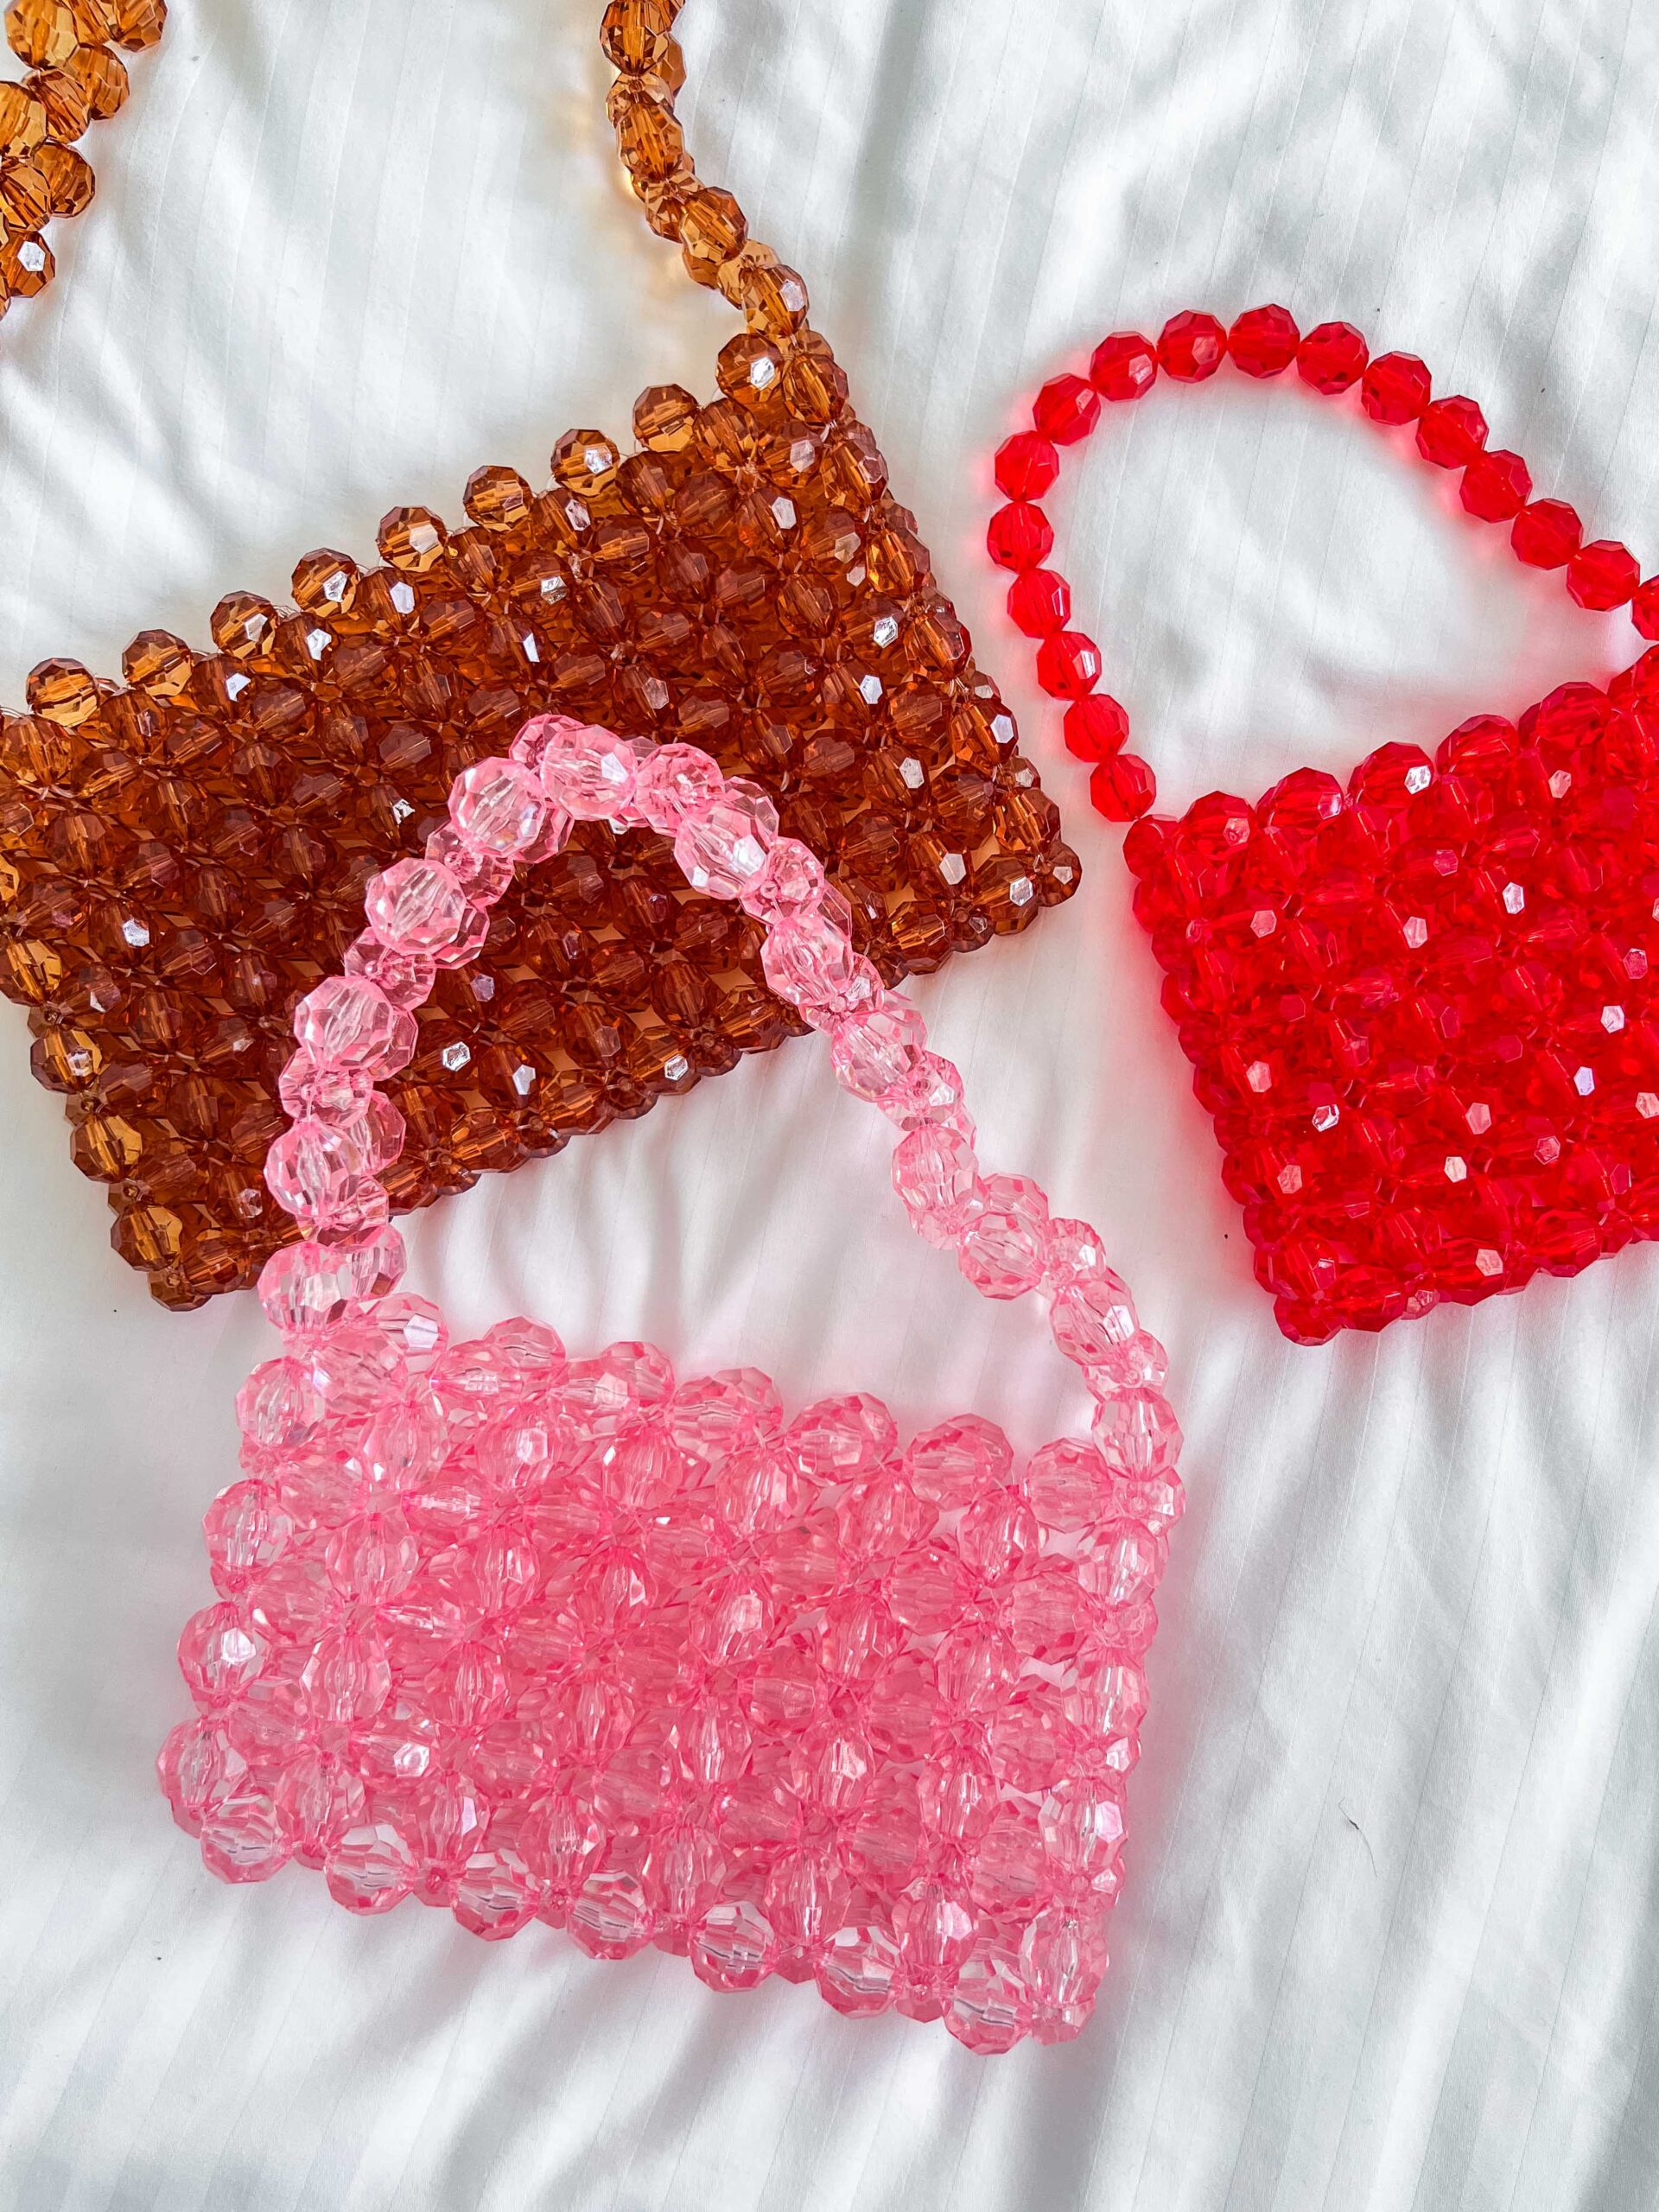
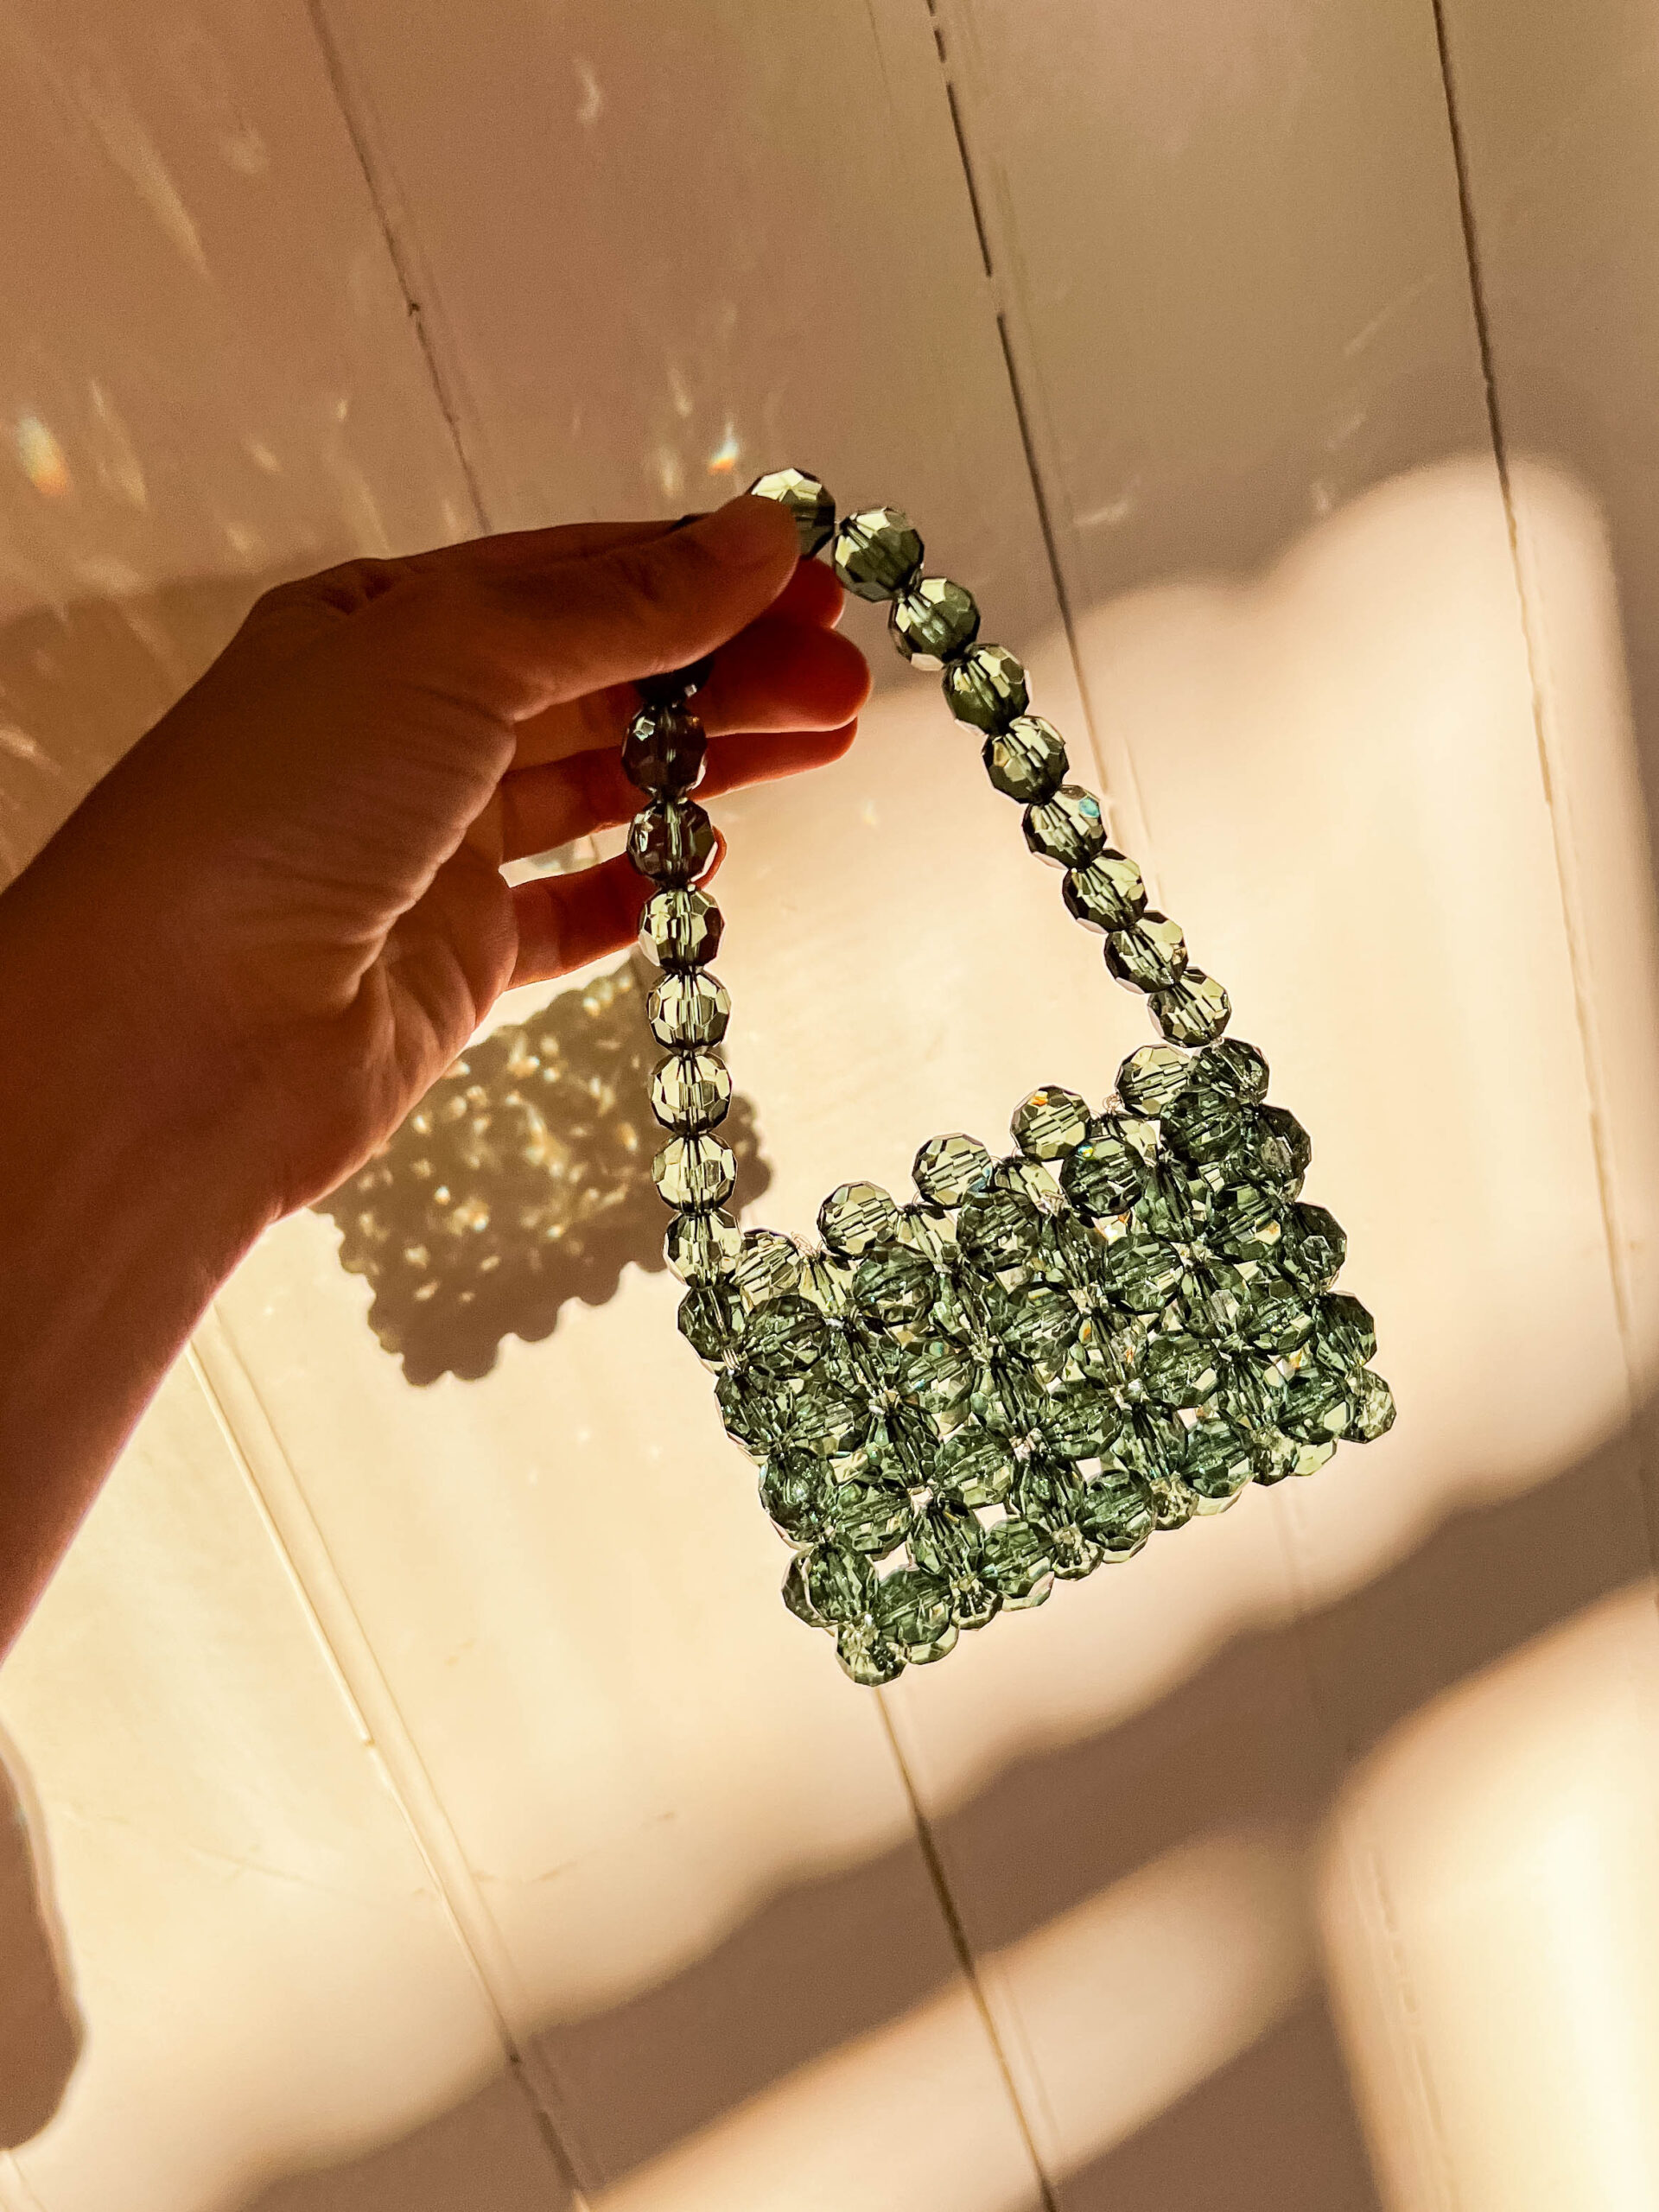
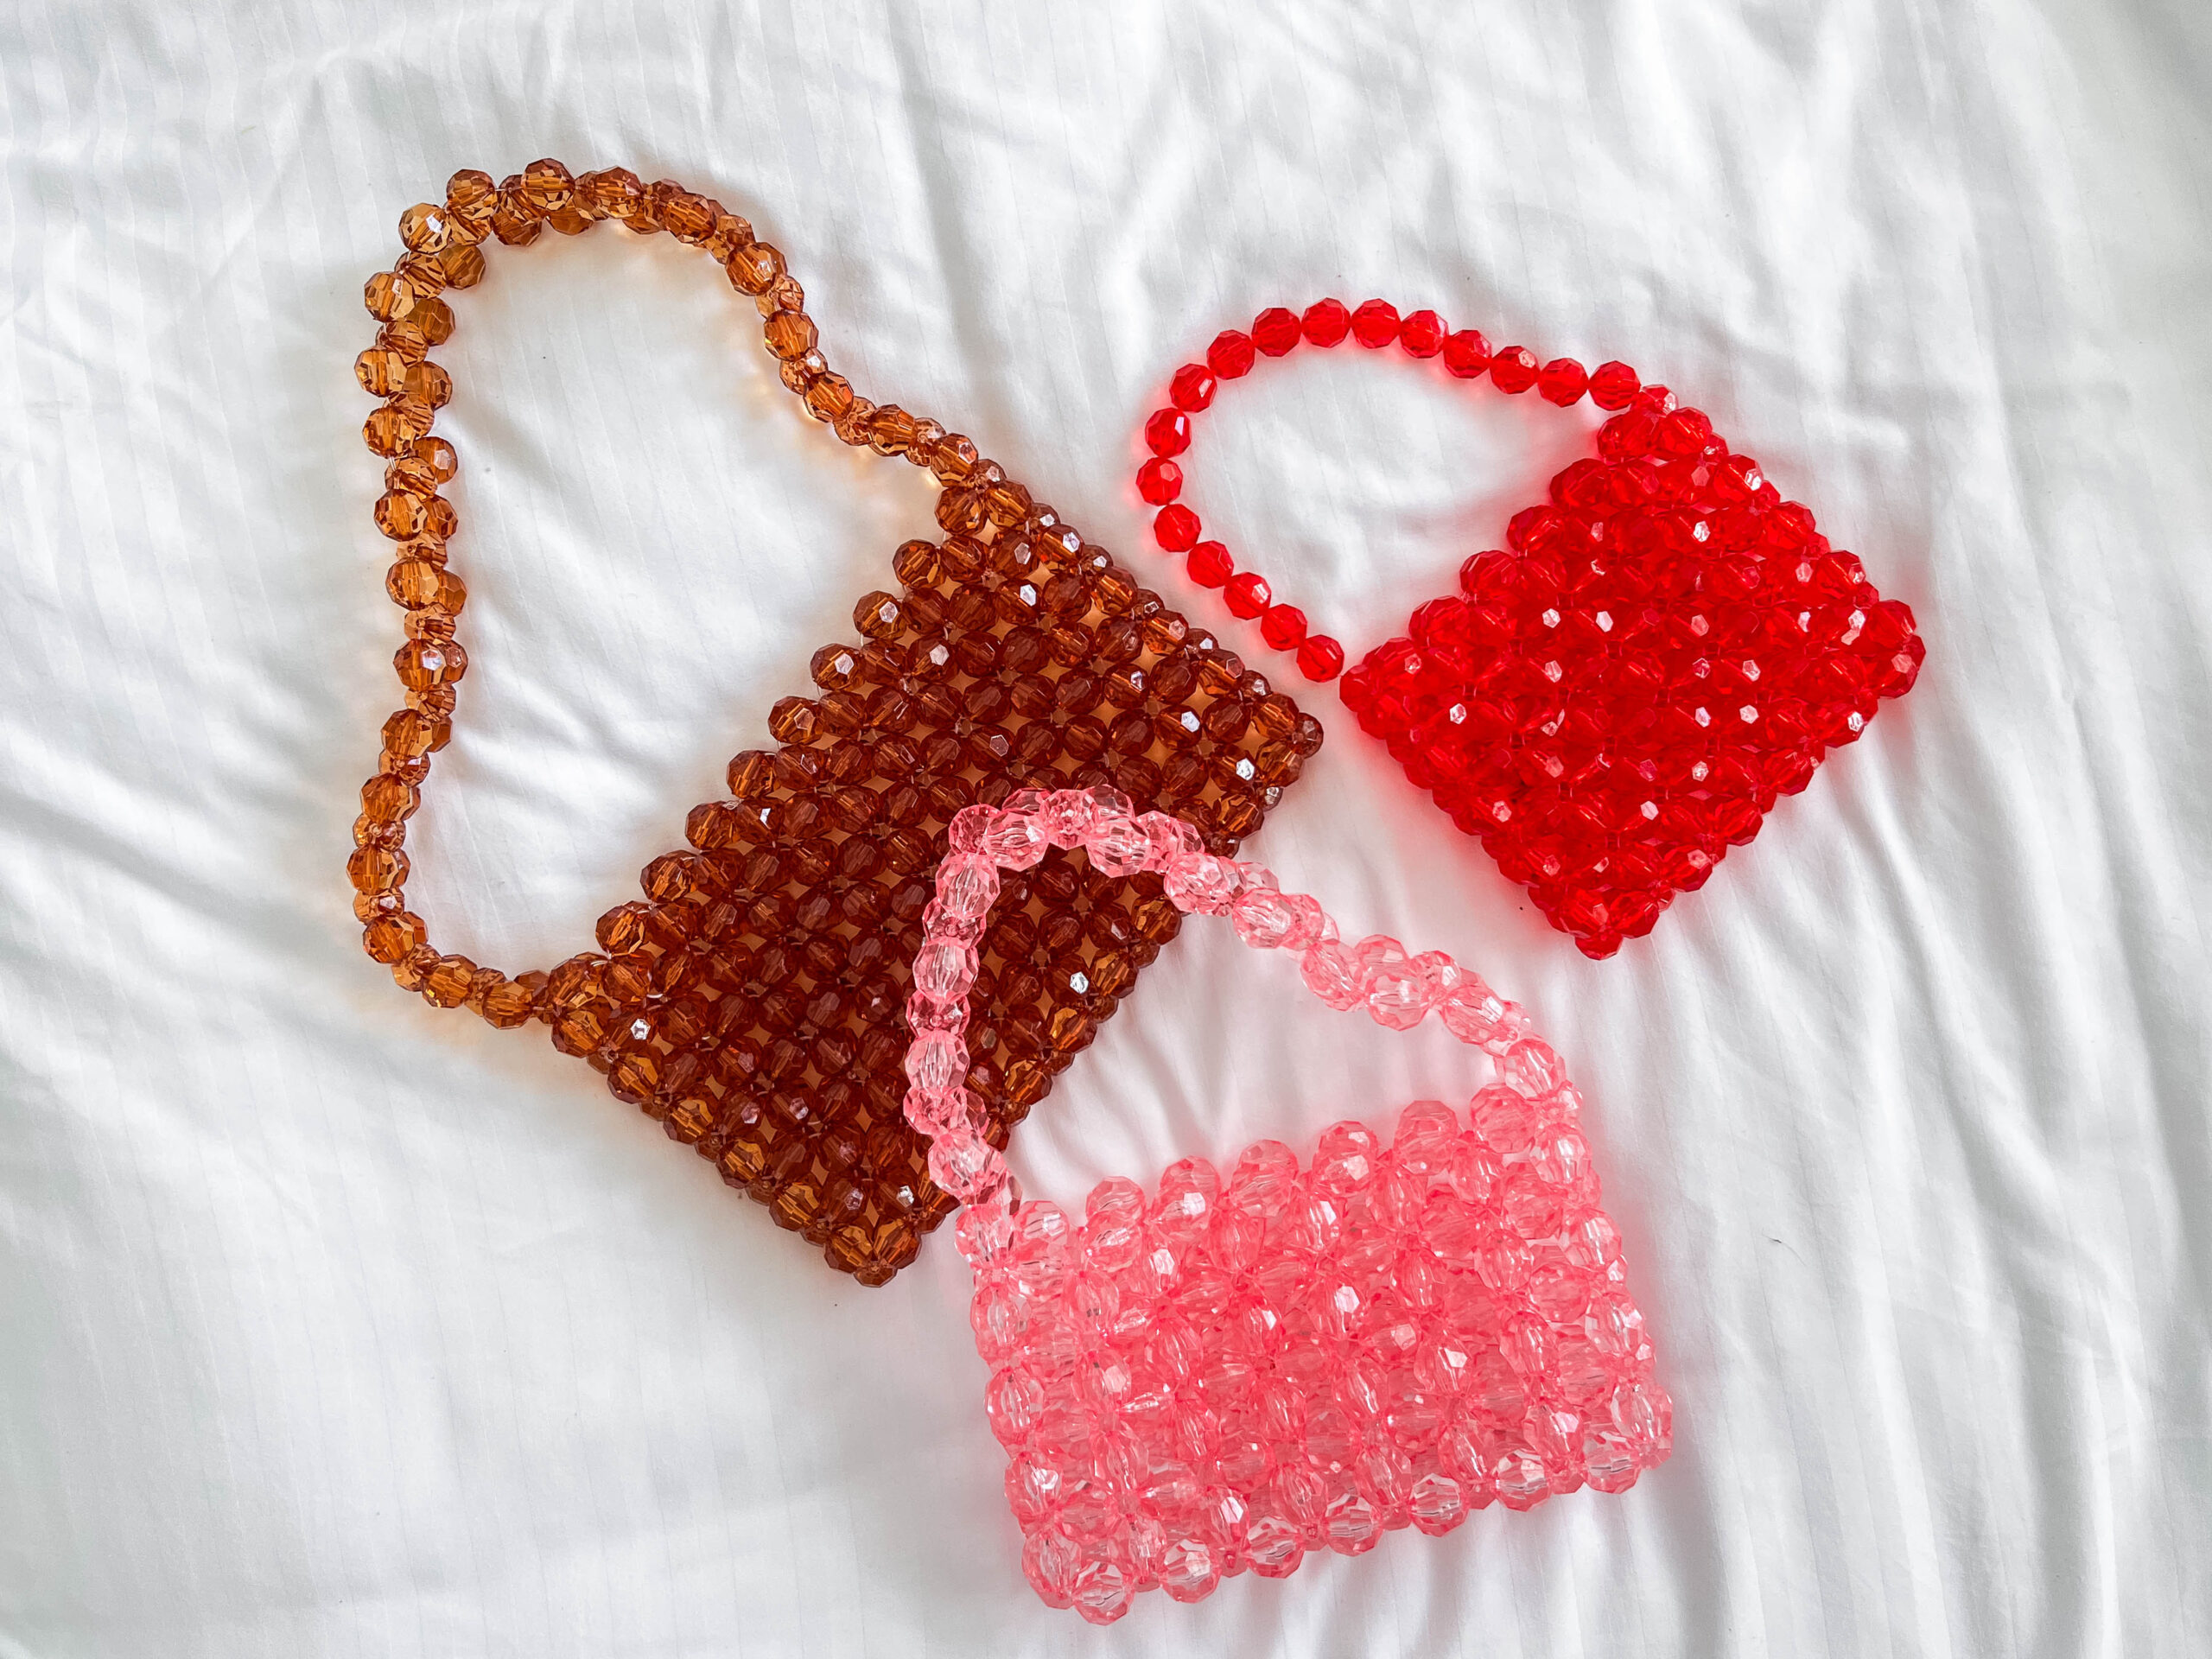
Voila!
Geneva's DIY School
Ready to make more things by hand?
If this project gave you the making bug, there's a lot more where it came from. Geneva's DIY School has step-by-step courses in sewing, embroidery, dollhouse making, and more — all designed for beginners who want to actually finish something beautiful.