








Well, this changes everything!
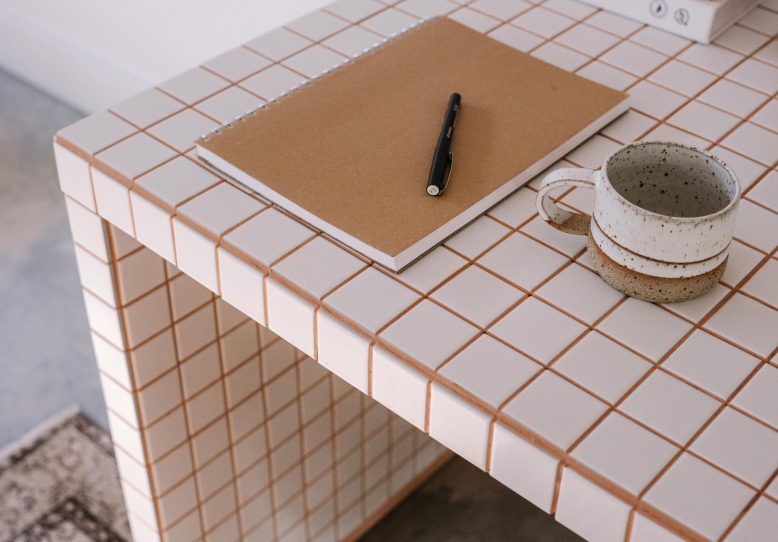
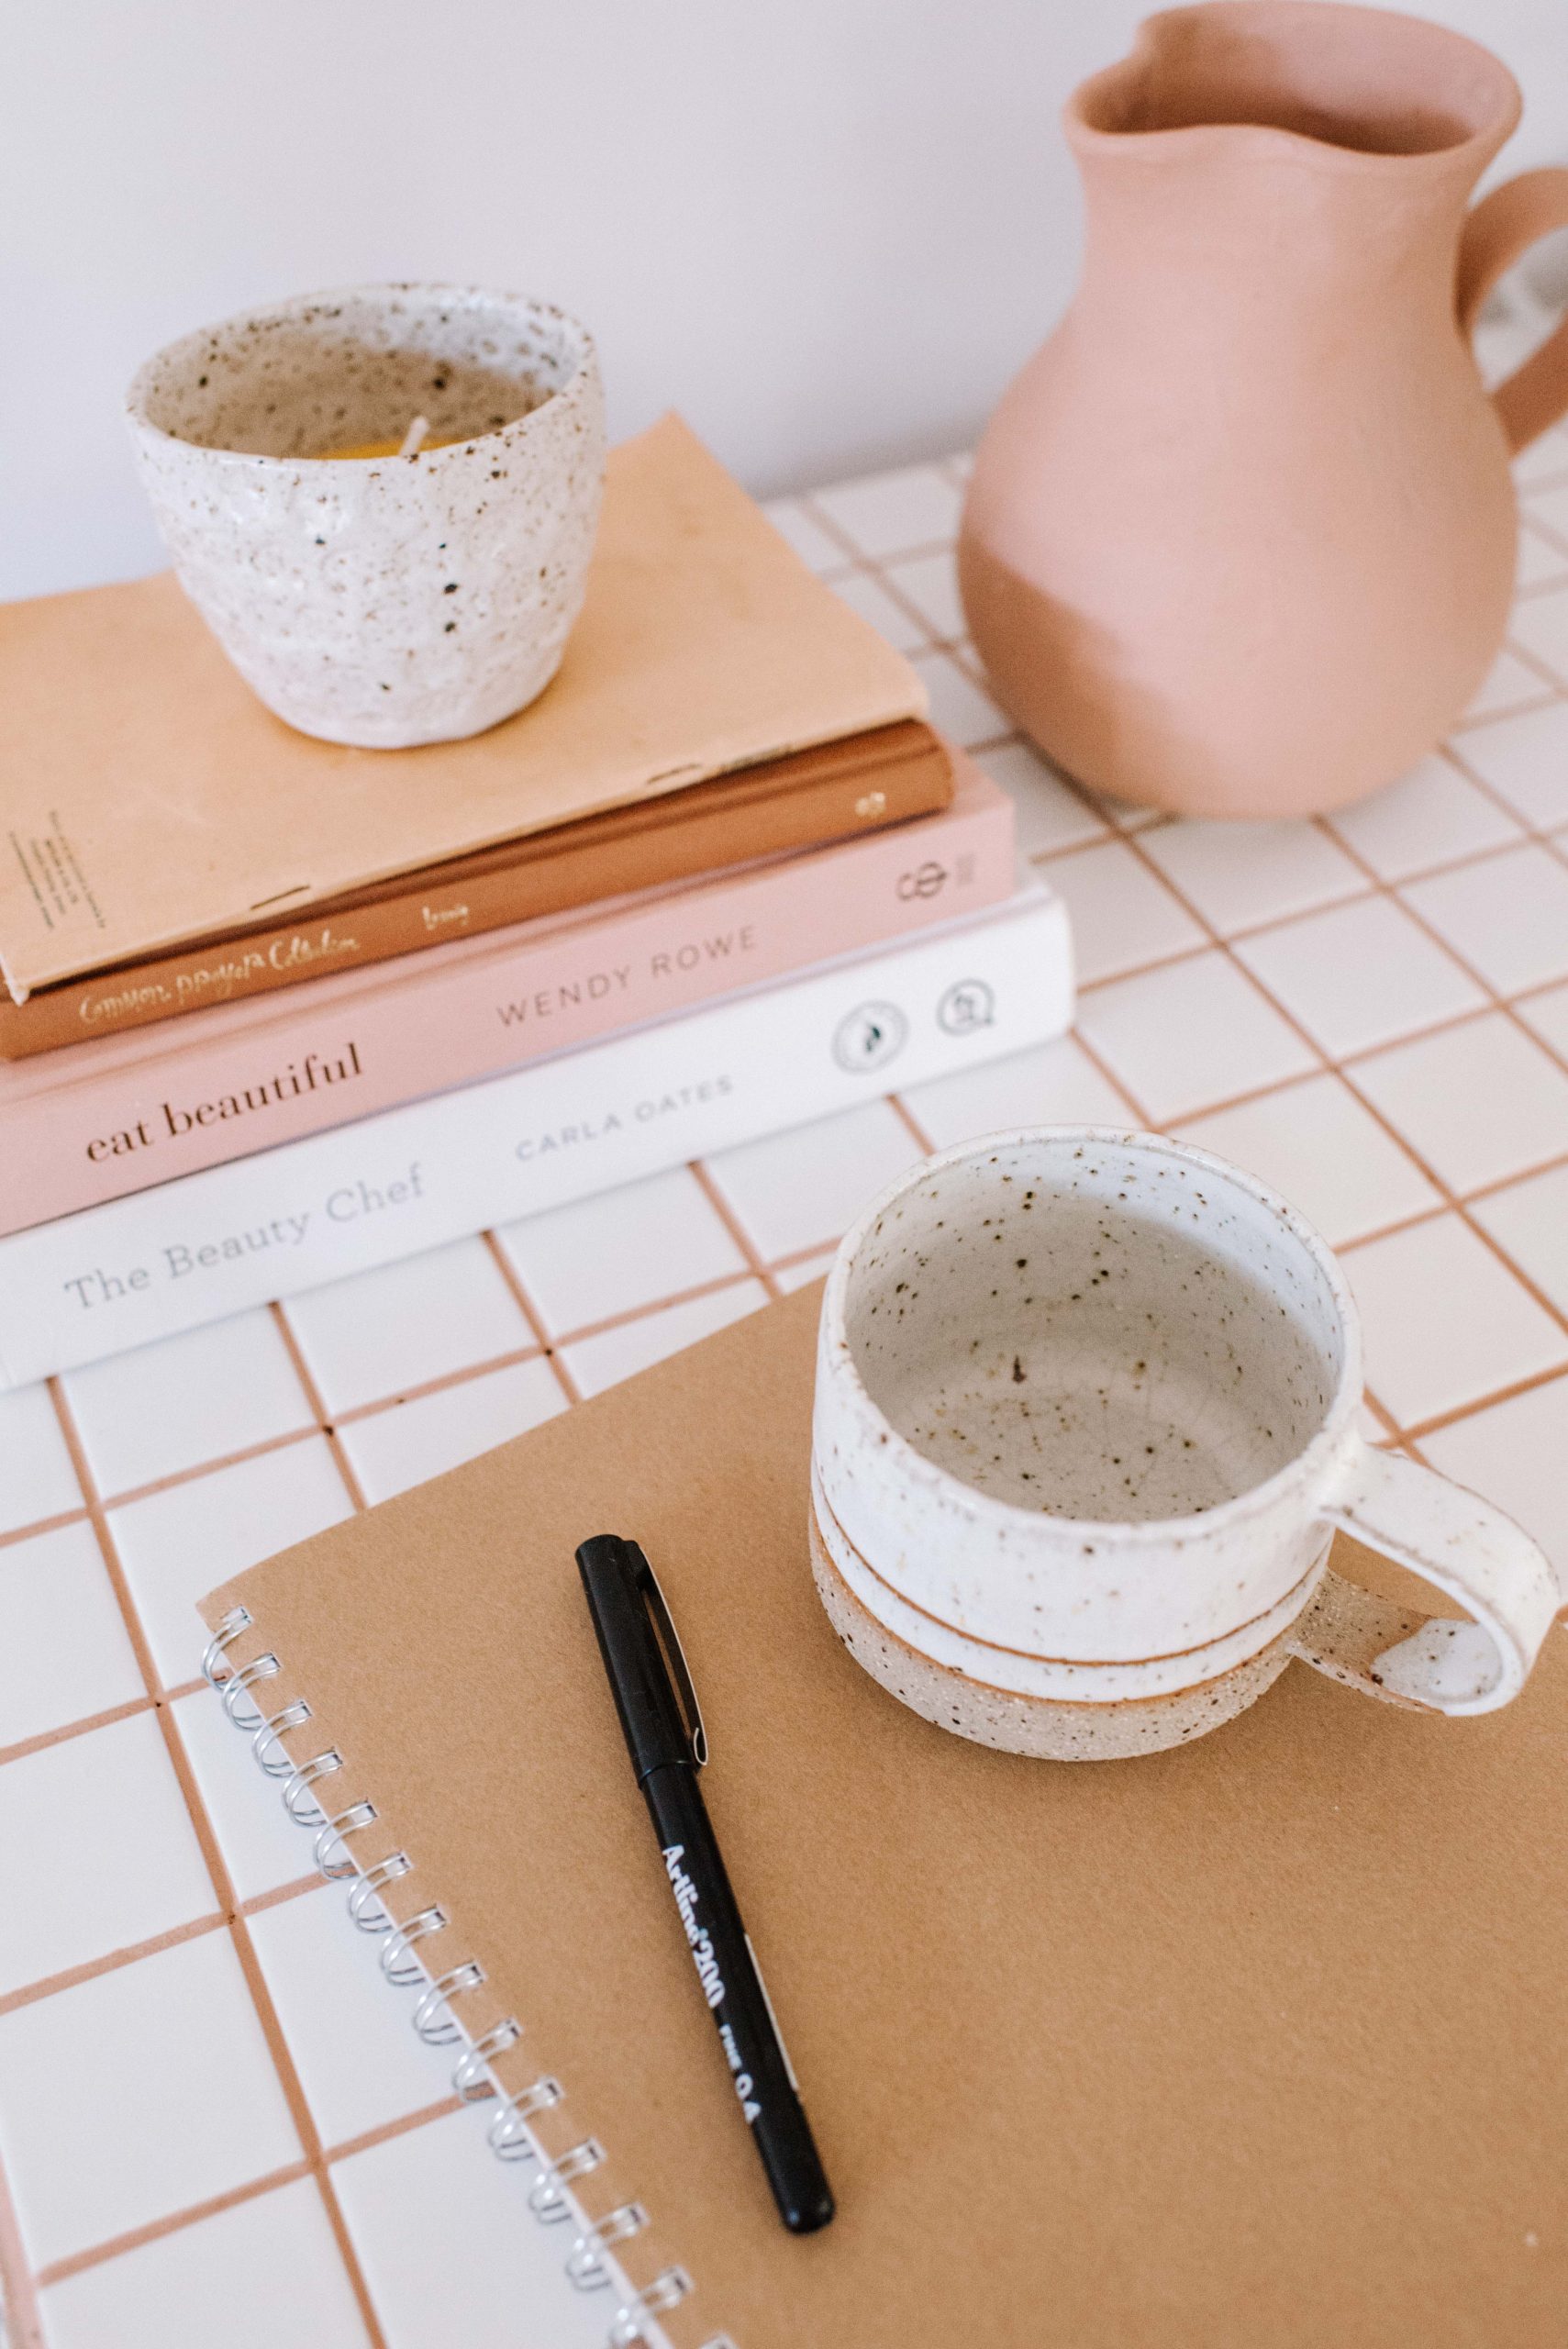
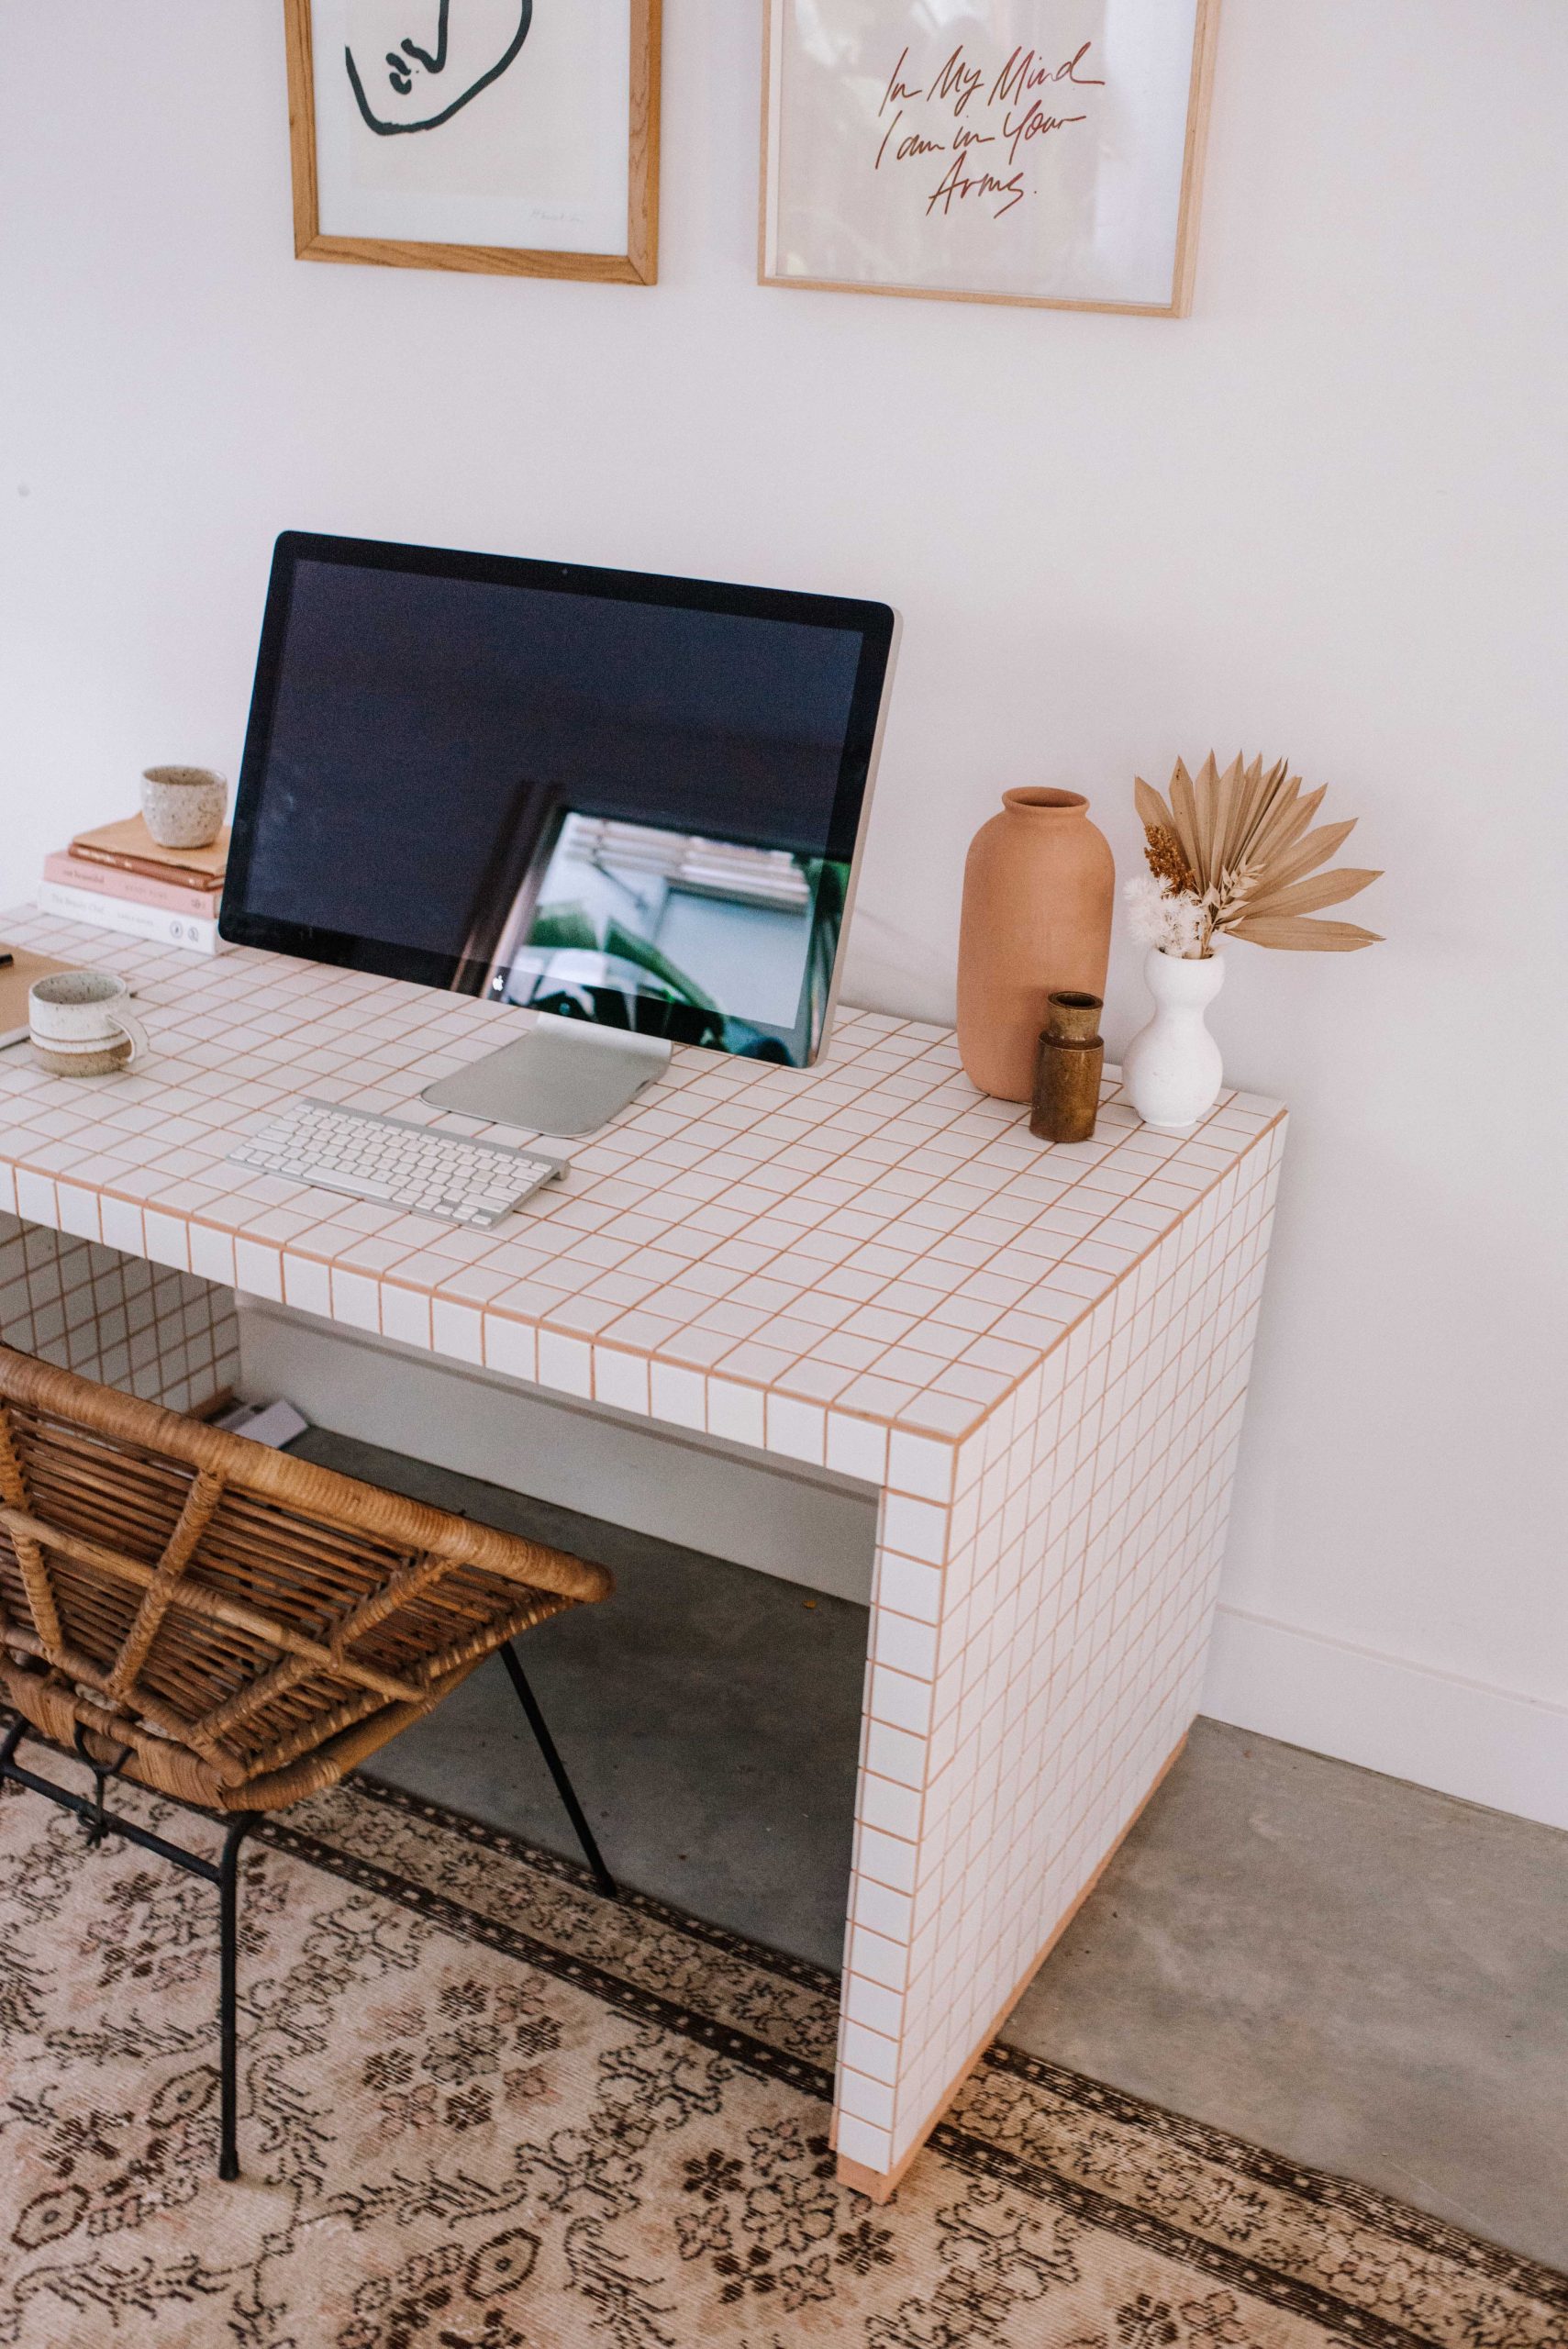
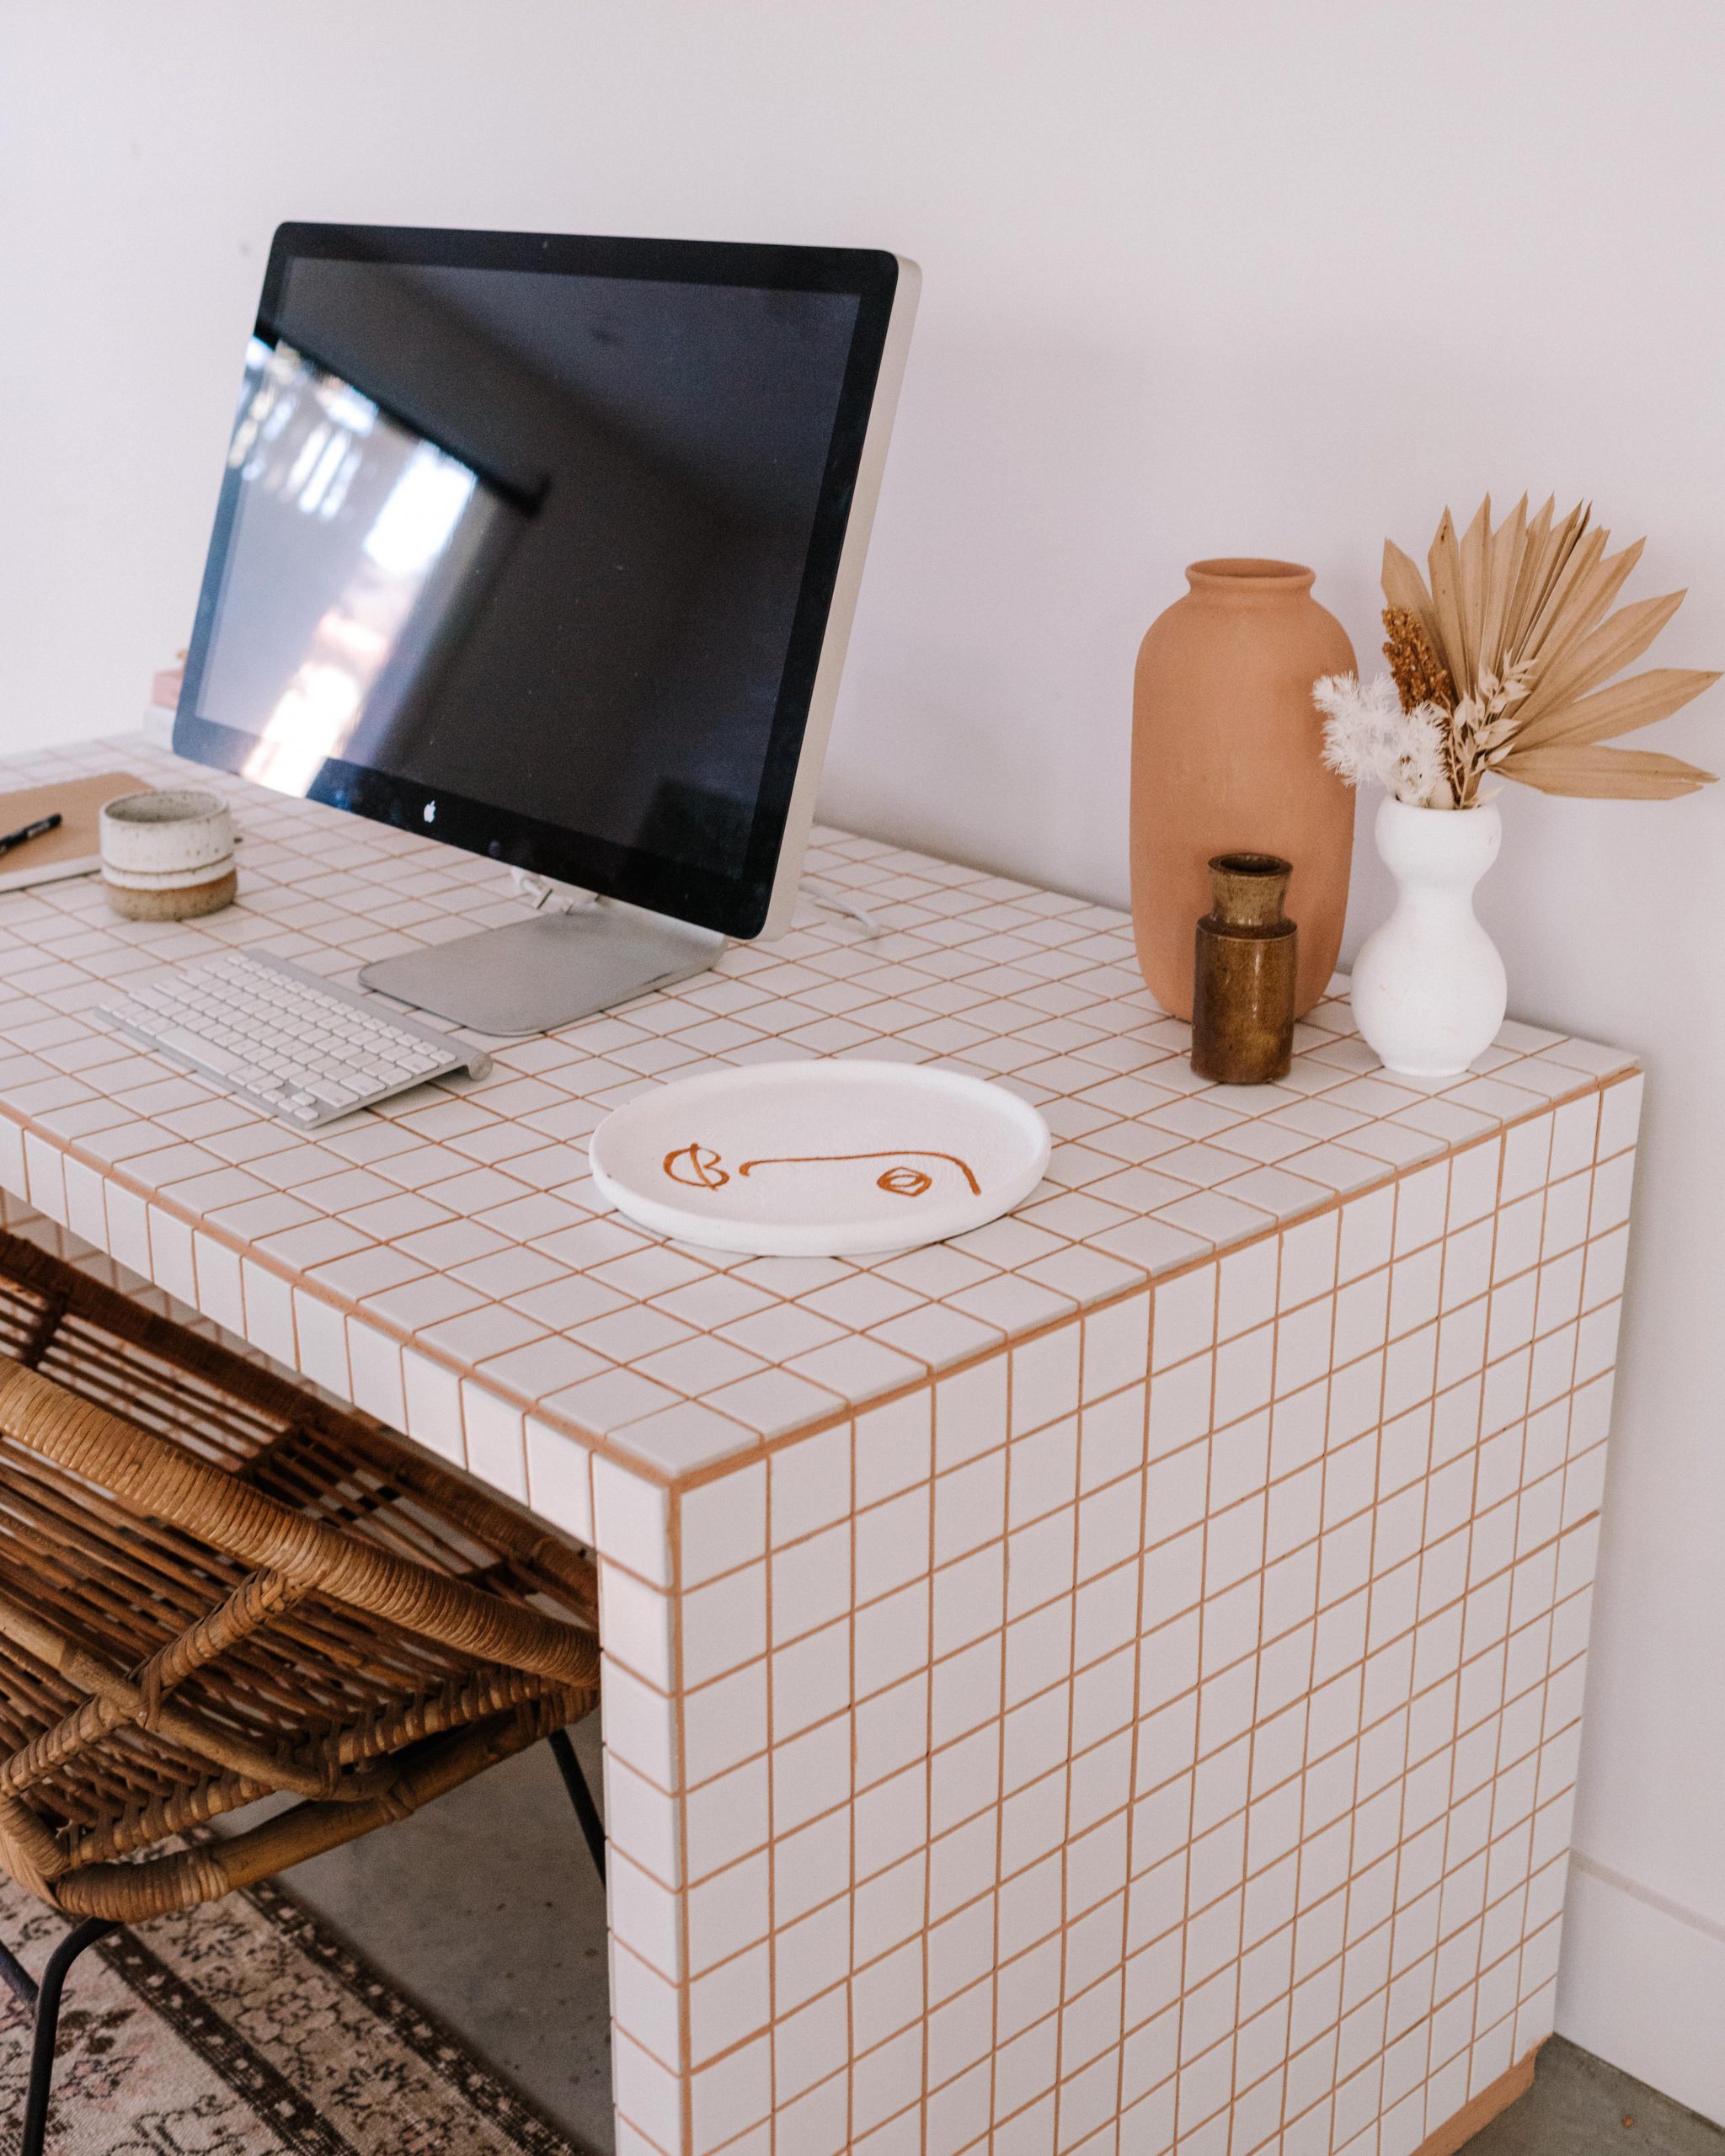
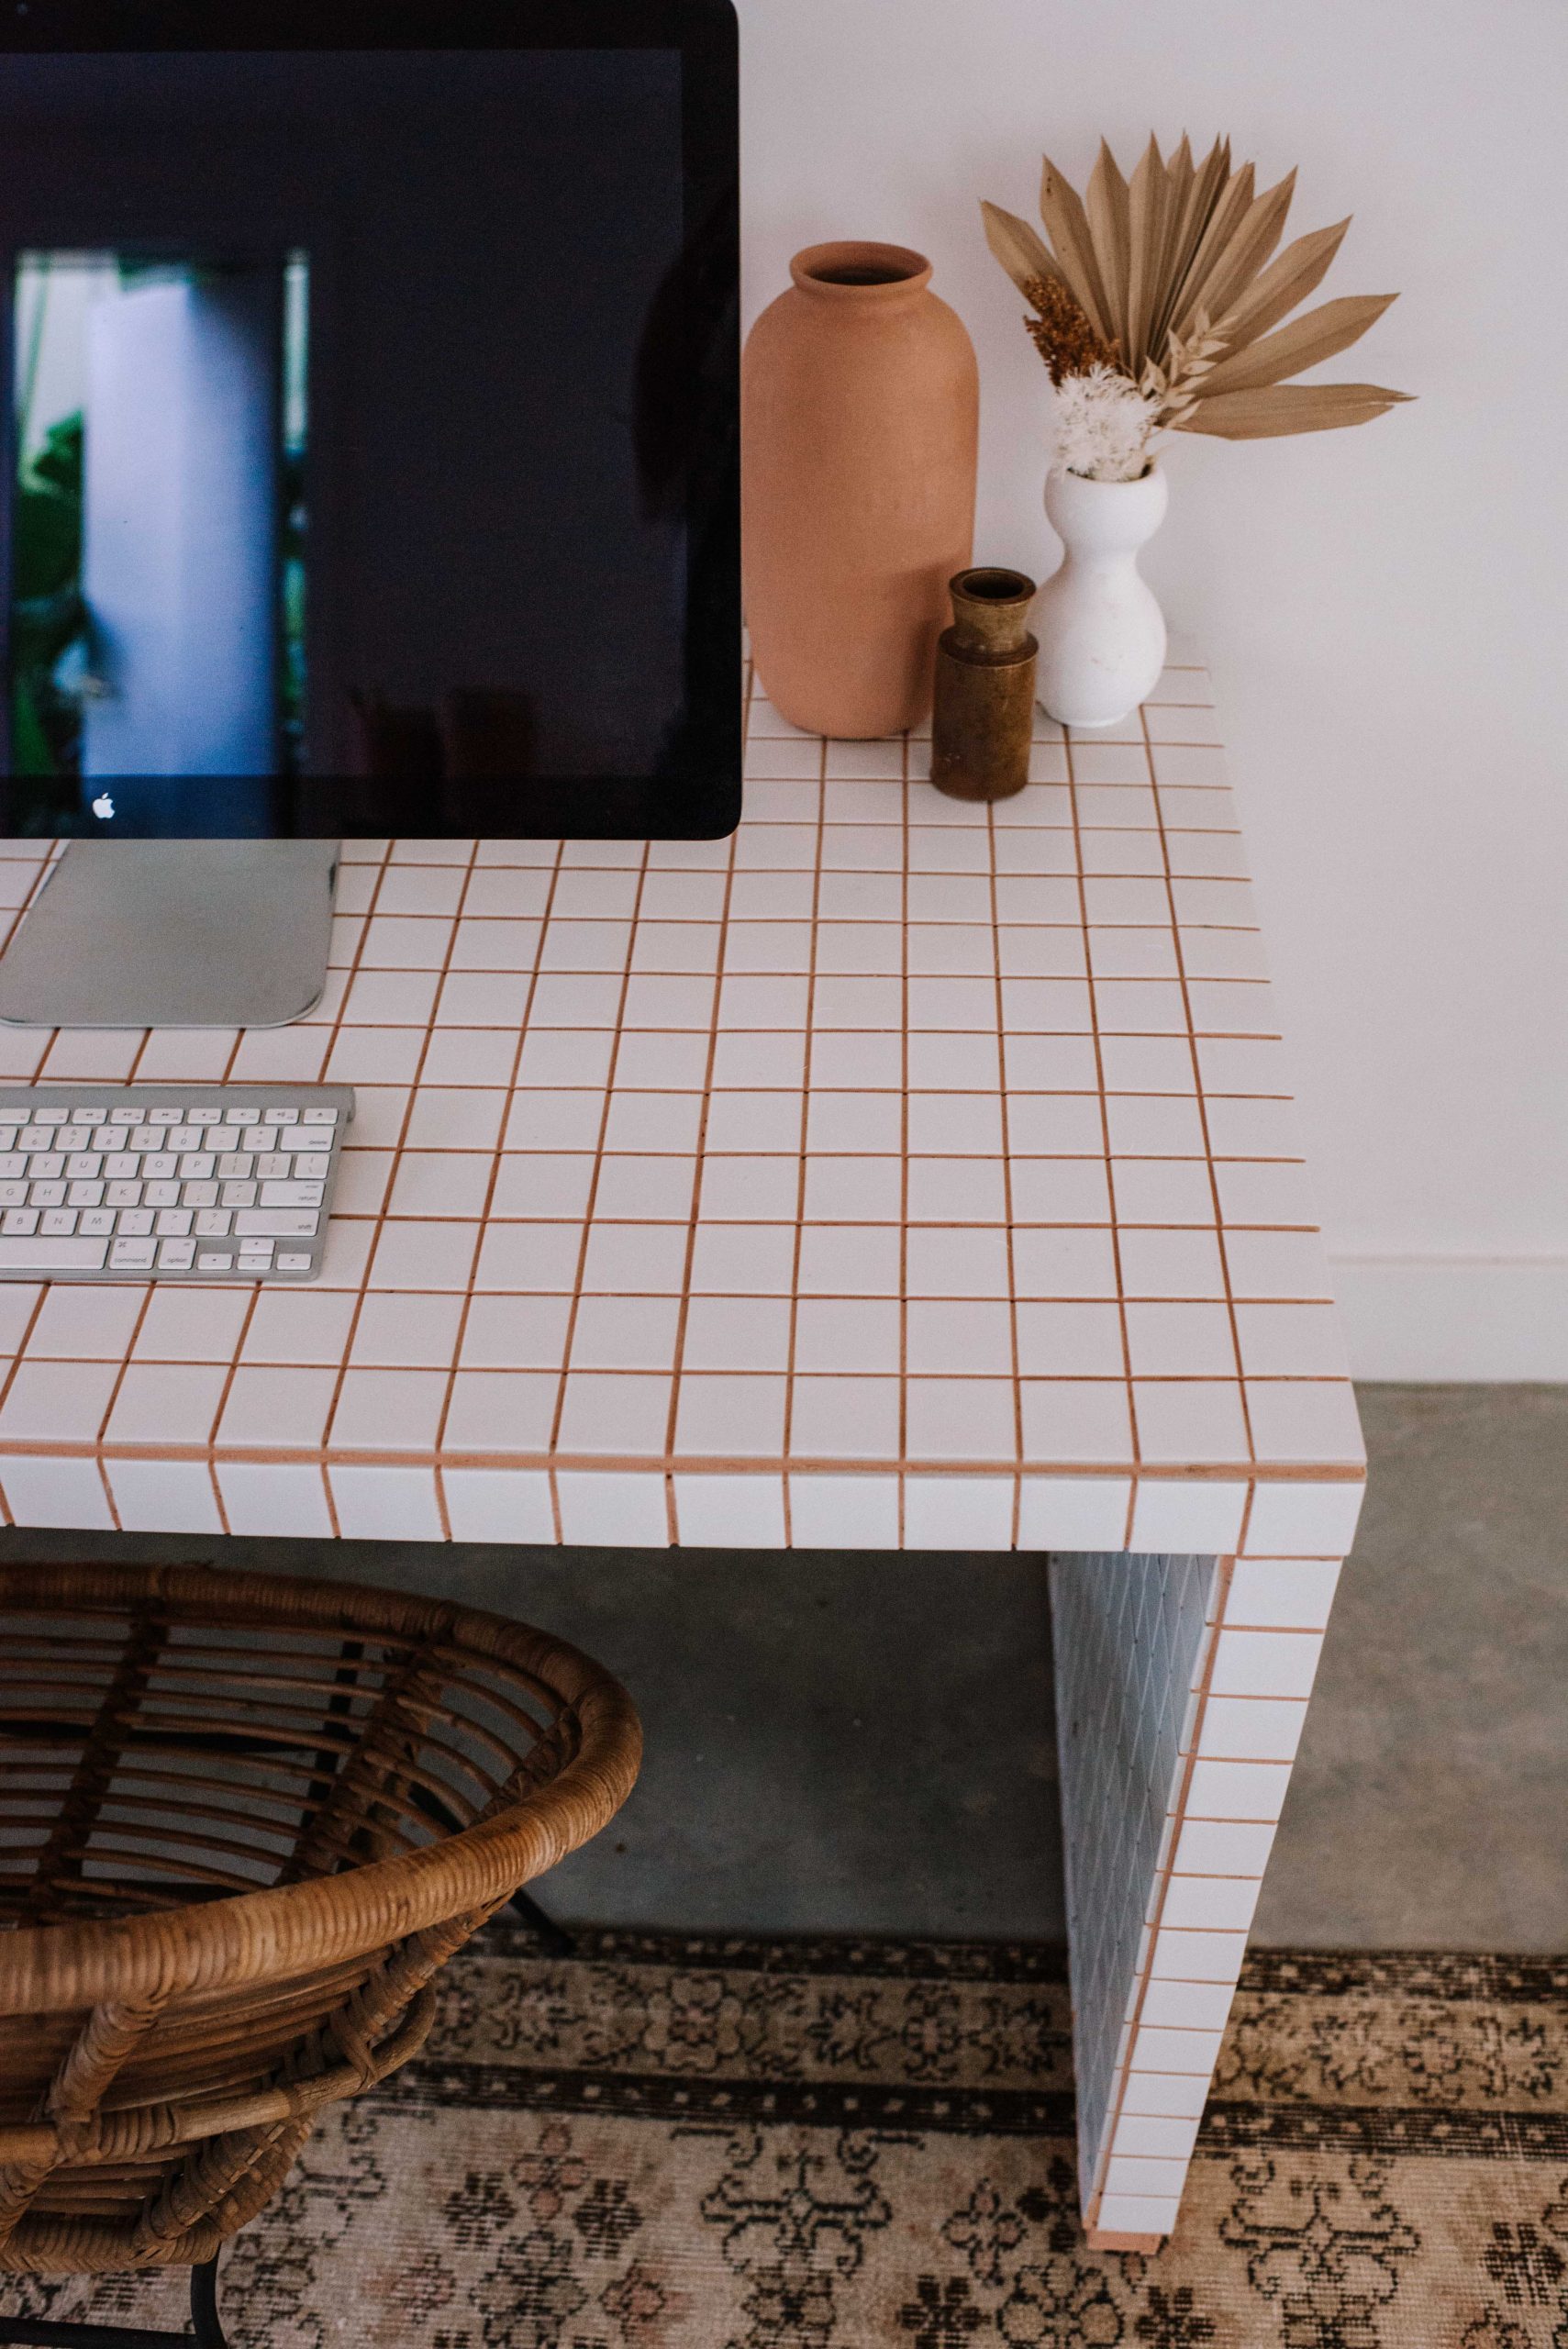
I’m a huge fan of simple white tiles for upcyling and DIY projects, but I think they really pop when you add coloured grout. However, it can be super tricky to find, particularly in a trend colour. Recently while I was on the hunt for a nude/terracotta grout for my upcycled tiled table, I did a bit of research and worked out that you can actually COLOUR YOUR OWN grout. Honestly, this was a game changer for me, and means you can tailor your grout to really match your decor and the room. Read on to see how to do it yourself.
You need
- A tub of white pre mixed grout. I used Davco.
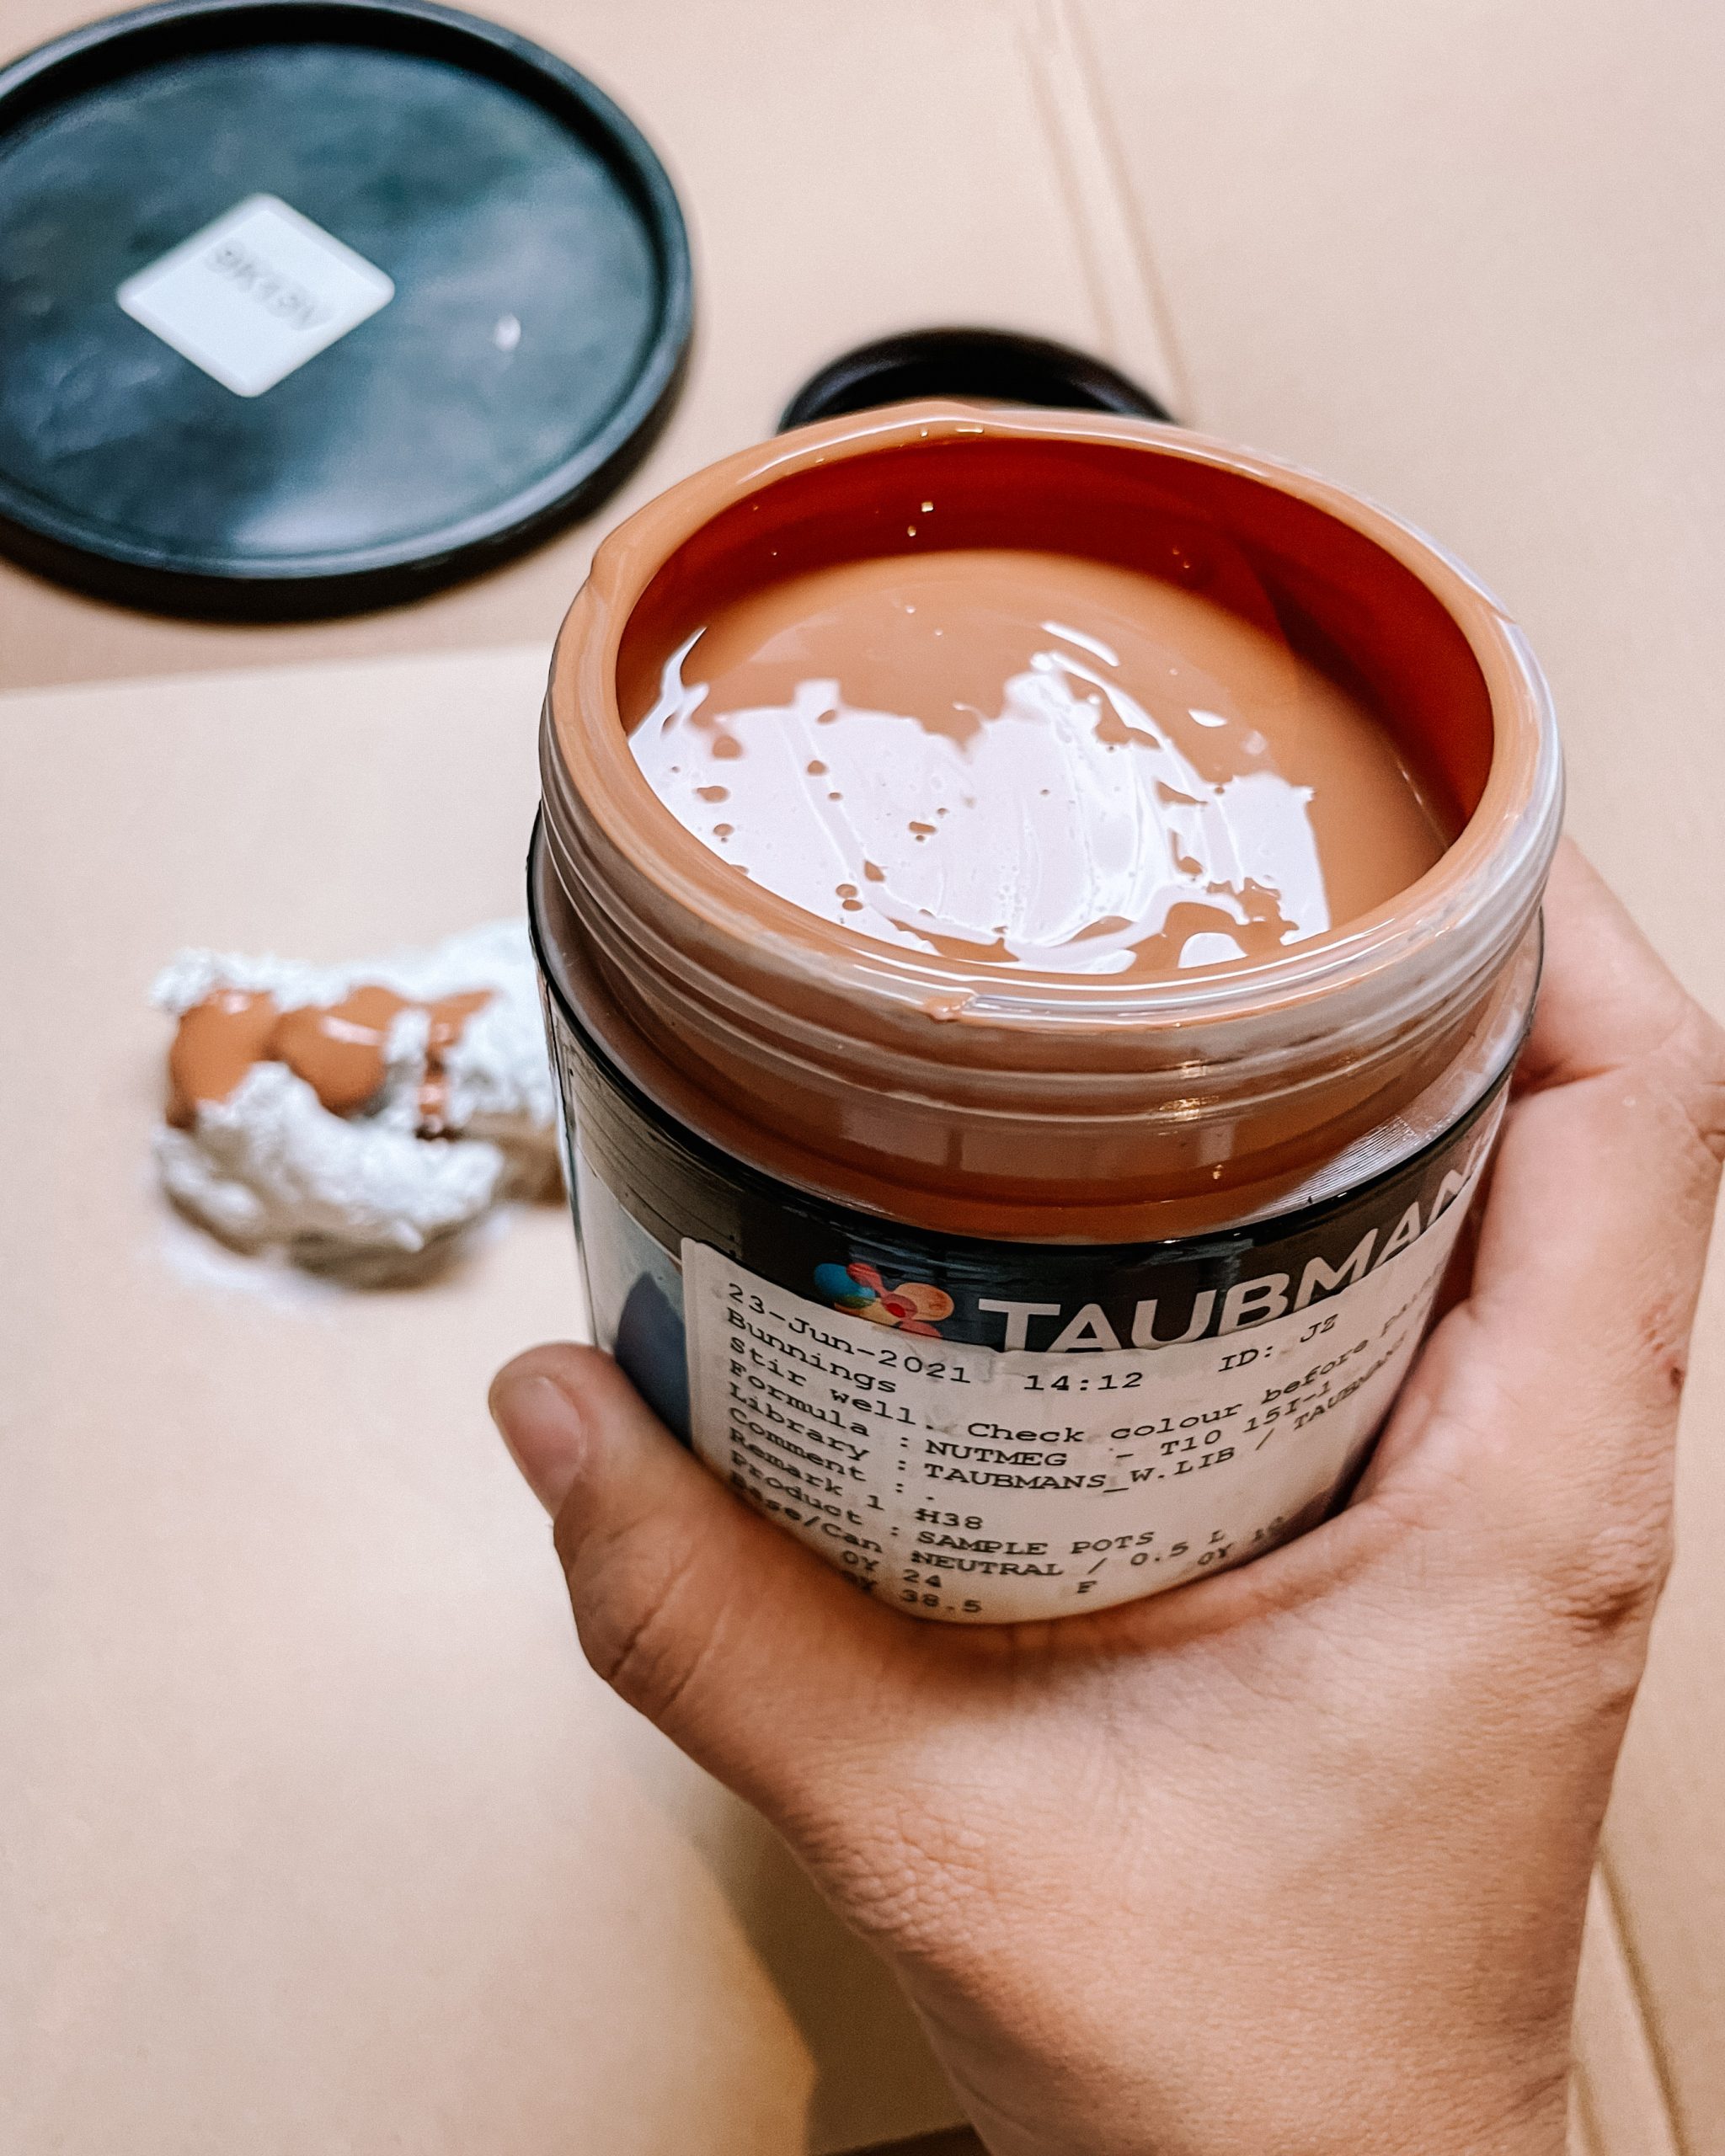
- Acrylic water based interior paint. Mine was Taubmans in Nutmeg.
- Scrap tile for testing. These are Decor8 Square mosaic tile.
You can also use grout that you make up yourself by adding water, simply mix to the instructions then add the paint.
Choosing A Colour
It’s important to minimise what you add to your grout, so that it keeps structural integrity and dries properly. So, I would suggest rather than adding a significant amount of paint to your grout to get the colour you like, think of the paint like a tint. Opt for a darker coloured paint than the grout you would like. For me, that meant when I looked at the paint swatches in Bunnings I picked a colour that was a few shades darker on the paint swatch. Then, I just needed to add a little bit of paint to get the colour I wanted. Think about how you can create the colour you want using white grout, which will understandably lighten up the colour. Note that darker grouts will pop against light tiles and vice versus.
How to
- The first thing to do is to make an experimental batch so you can test the colour. I know you may want to jump right in and start grouting but it’s useful not to miss this step.
- Take a small amount of grout and add a few drops of paint to it. You can make a few versions with varying amounts of paint. Then, apply these testers to some scrap tile and let dry.
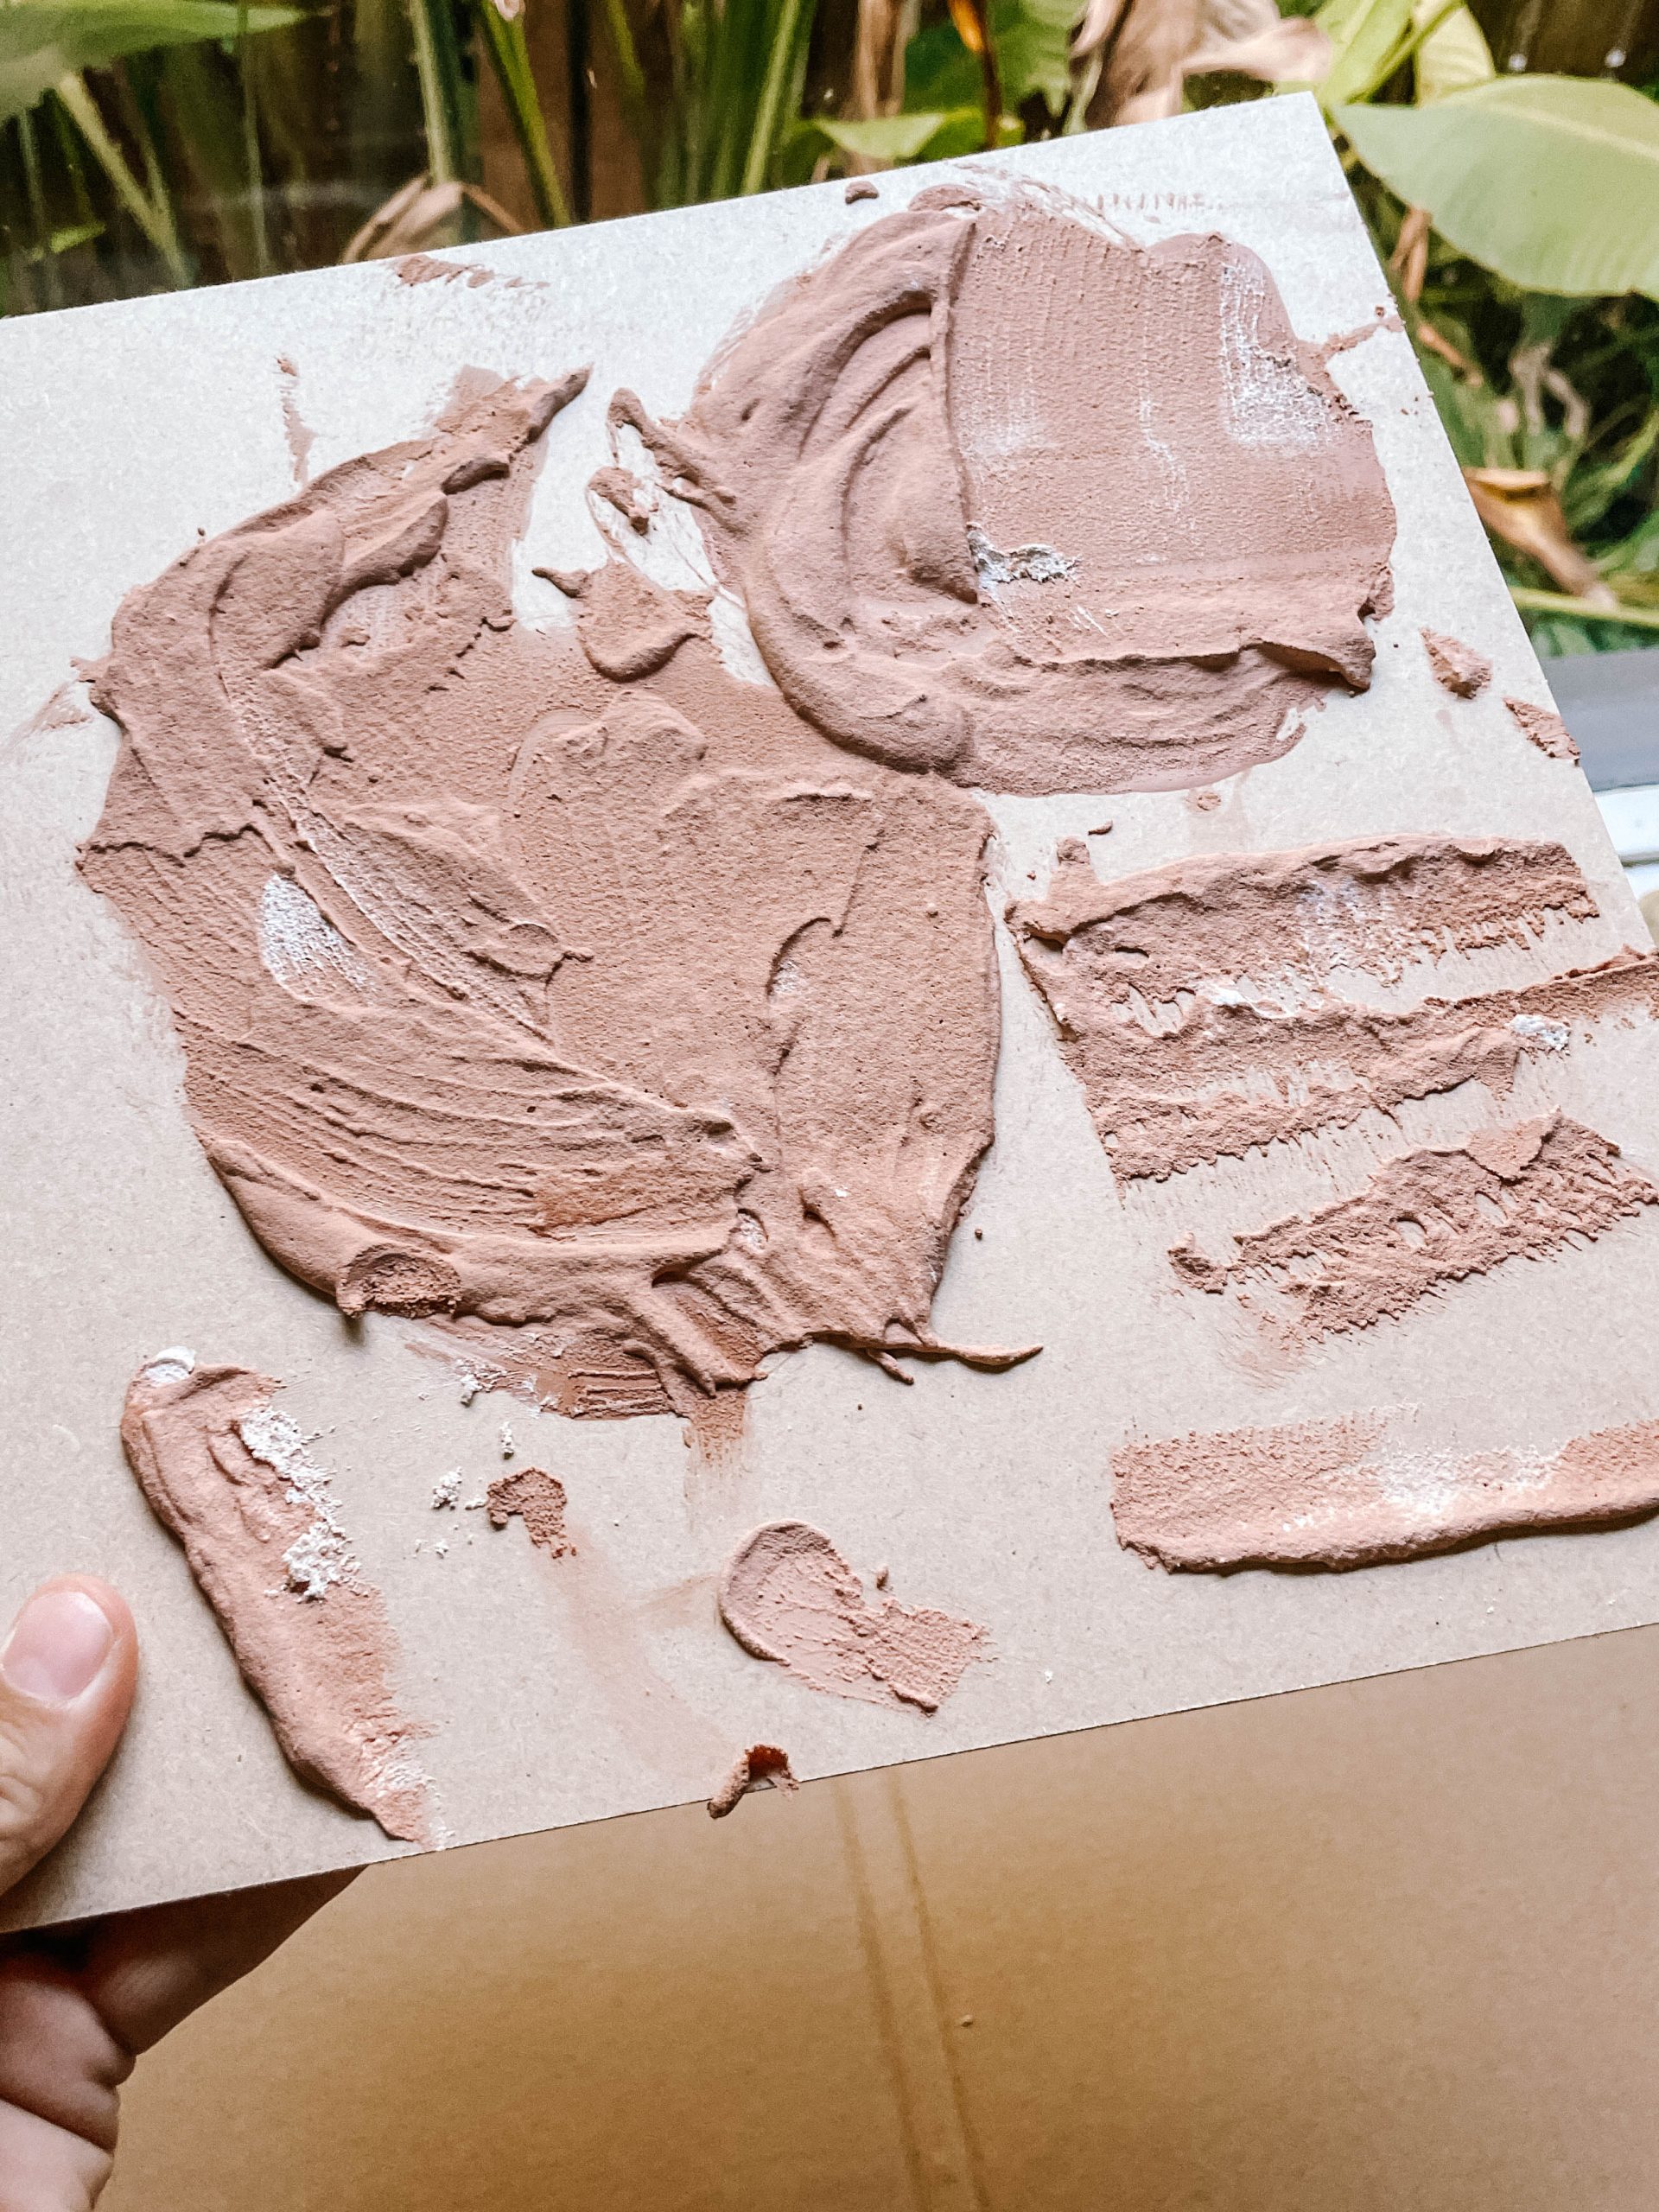
- Once it is dry check that a) it is still sturdy and b) it’s the colour you like. Note that the colours usually dry darker than they appear when wet.
- Once you’re happy with the colour, it’s time to make your big batch. Starting slowly, pour a few tablespoons on paint into your grout at a time, and mix thoroughly. This. part takes a while! When you are happy that the colour is similar to what you made in your tester, you’re ready to start grouting!
- If you need to mix up some more, just simply match the colour to the original batch and keep going.
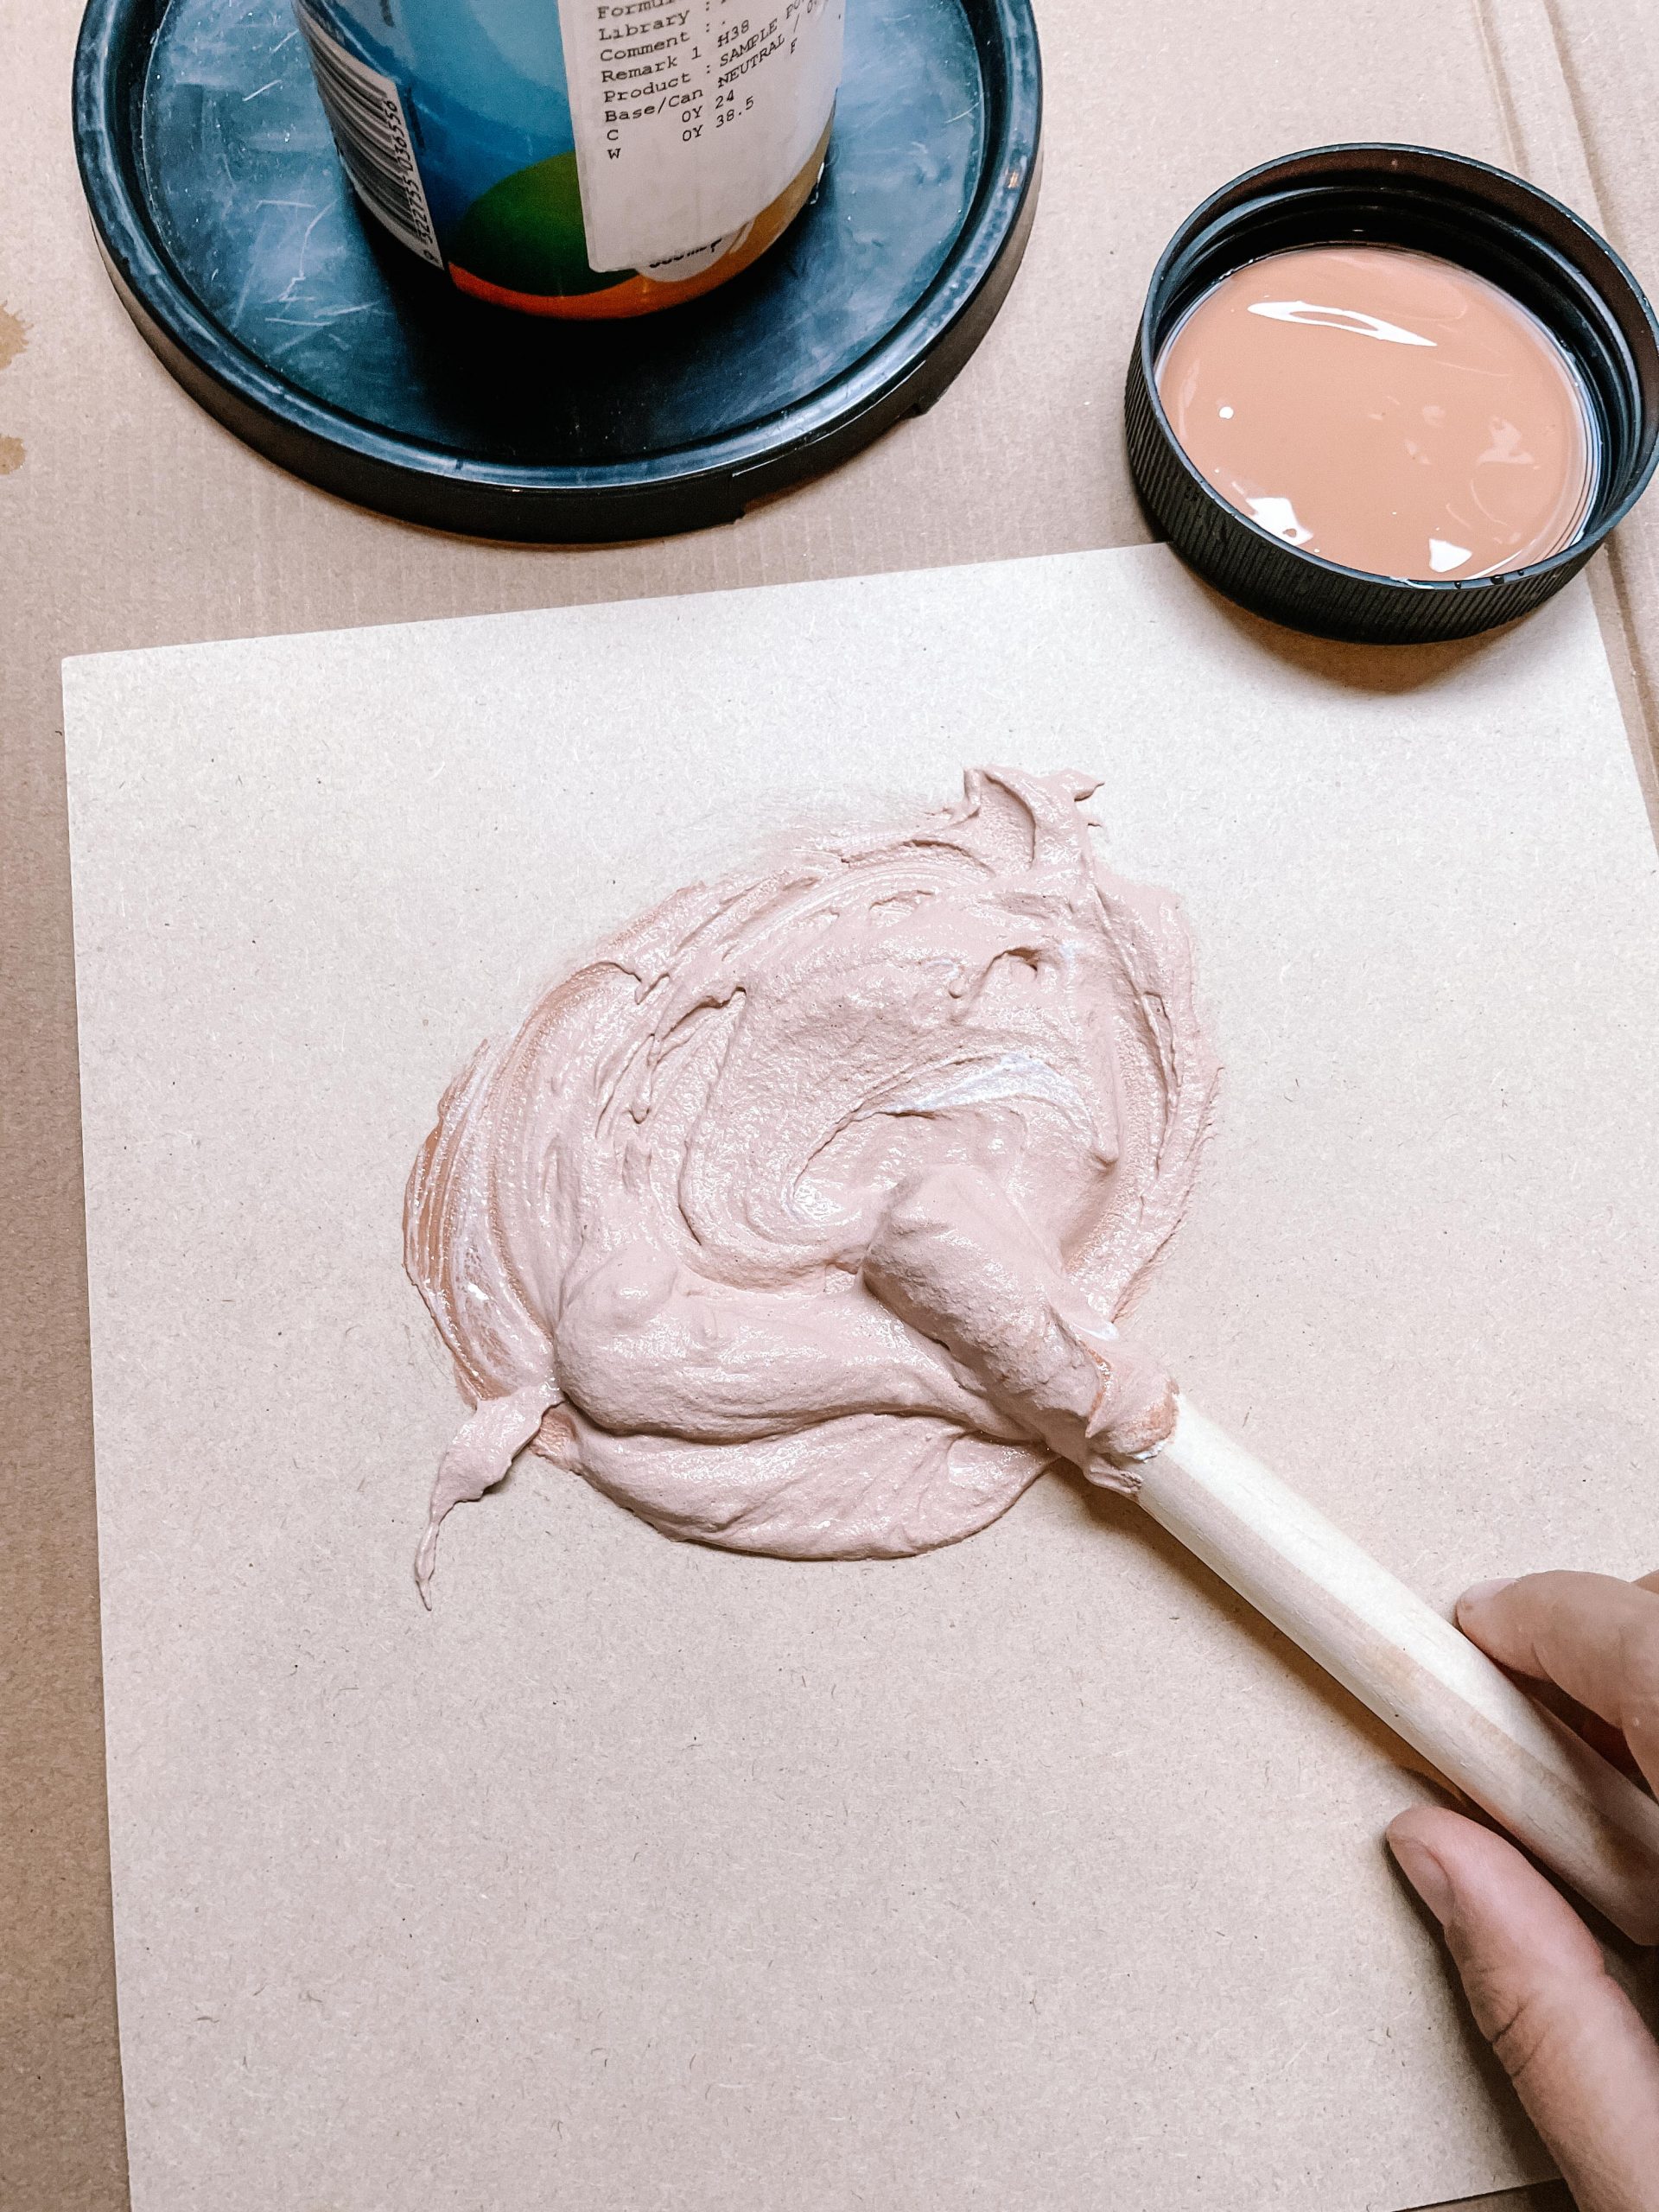
- Test the grout on some scrap tile.
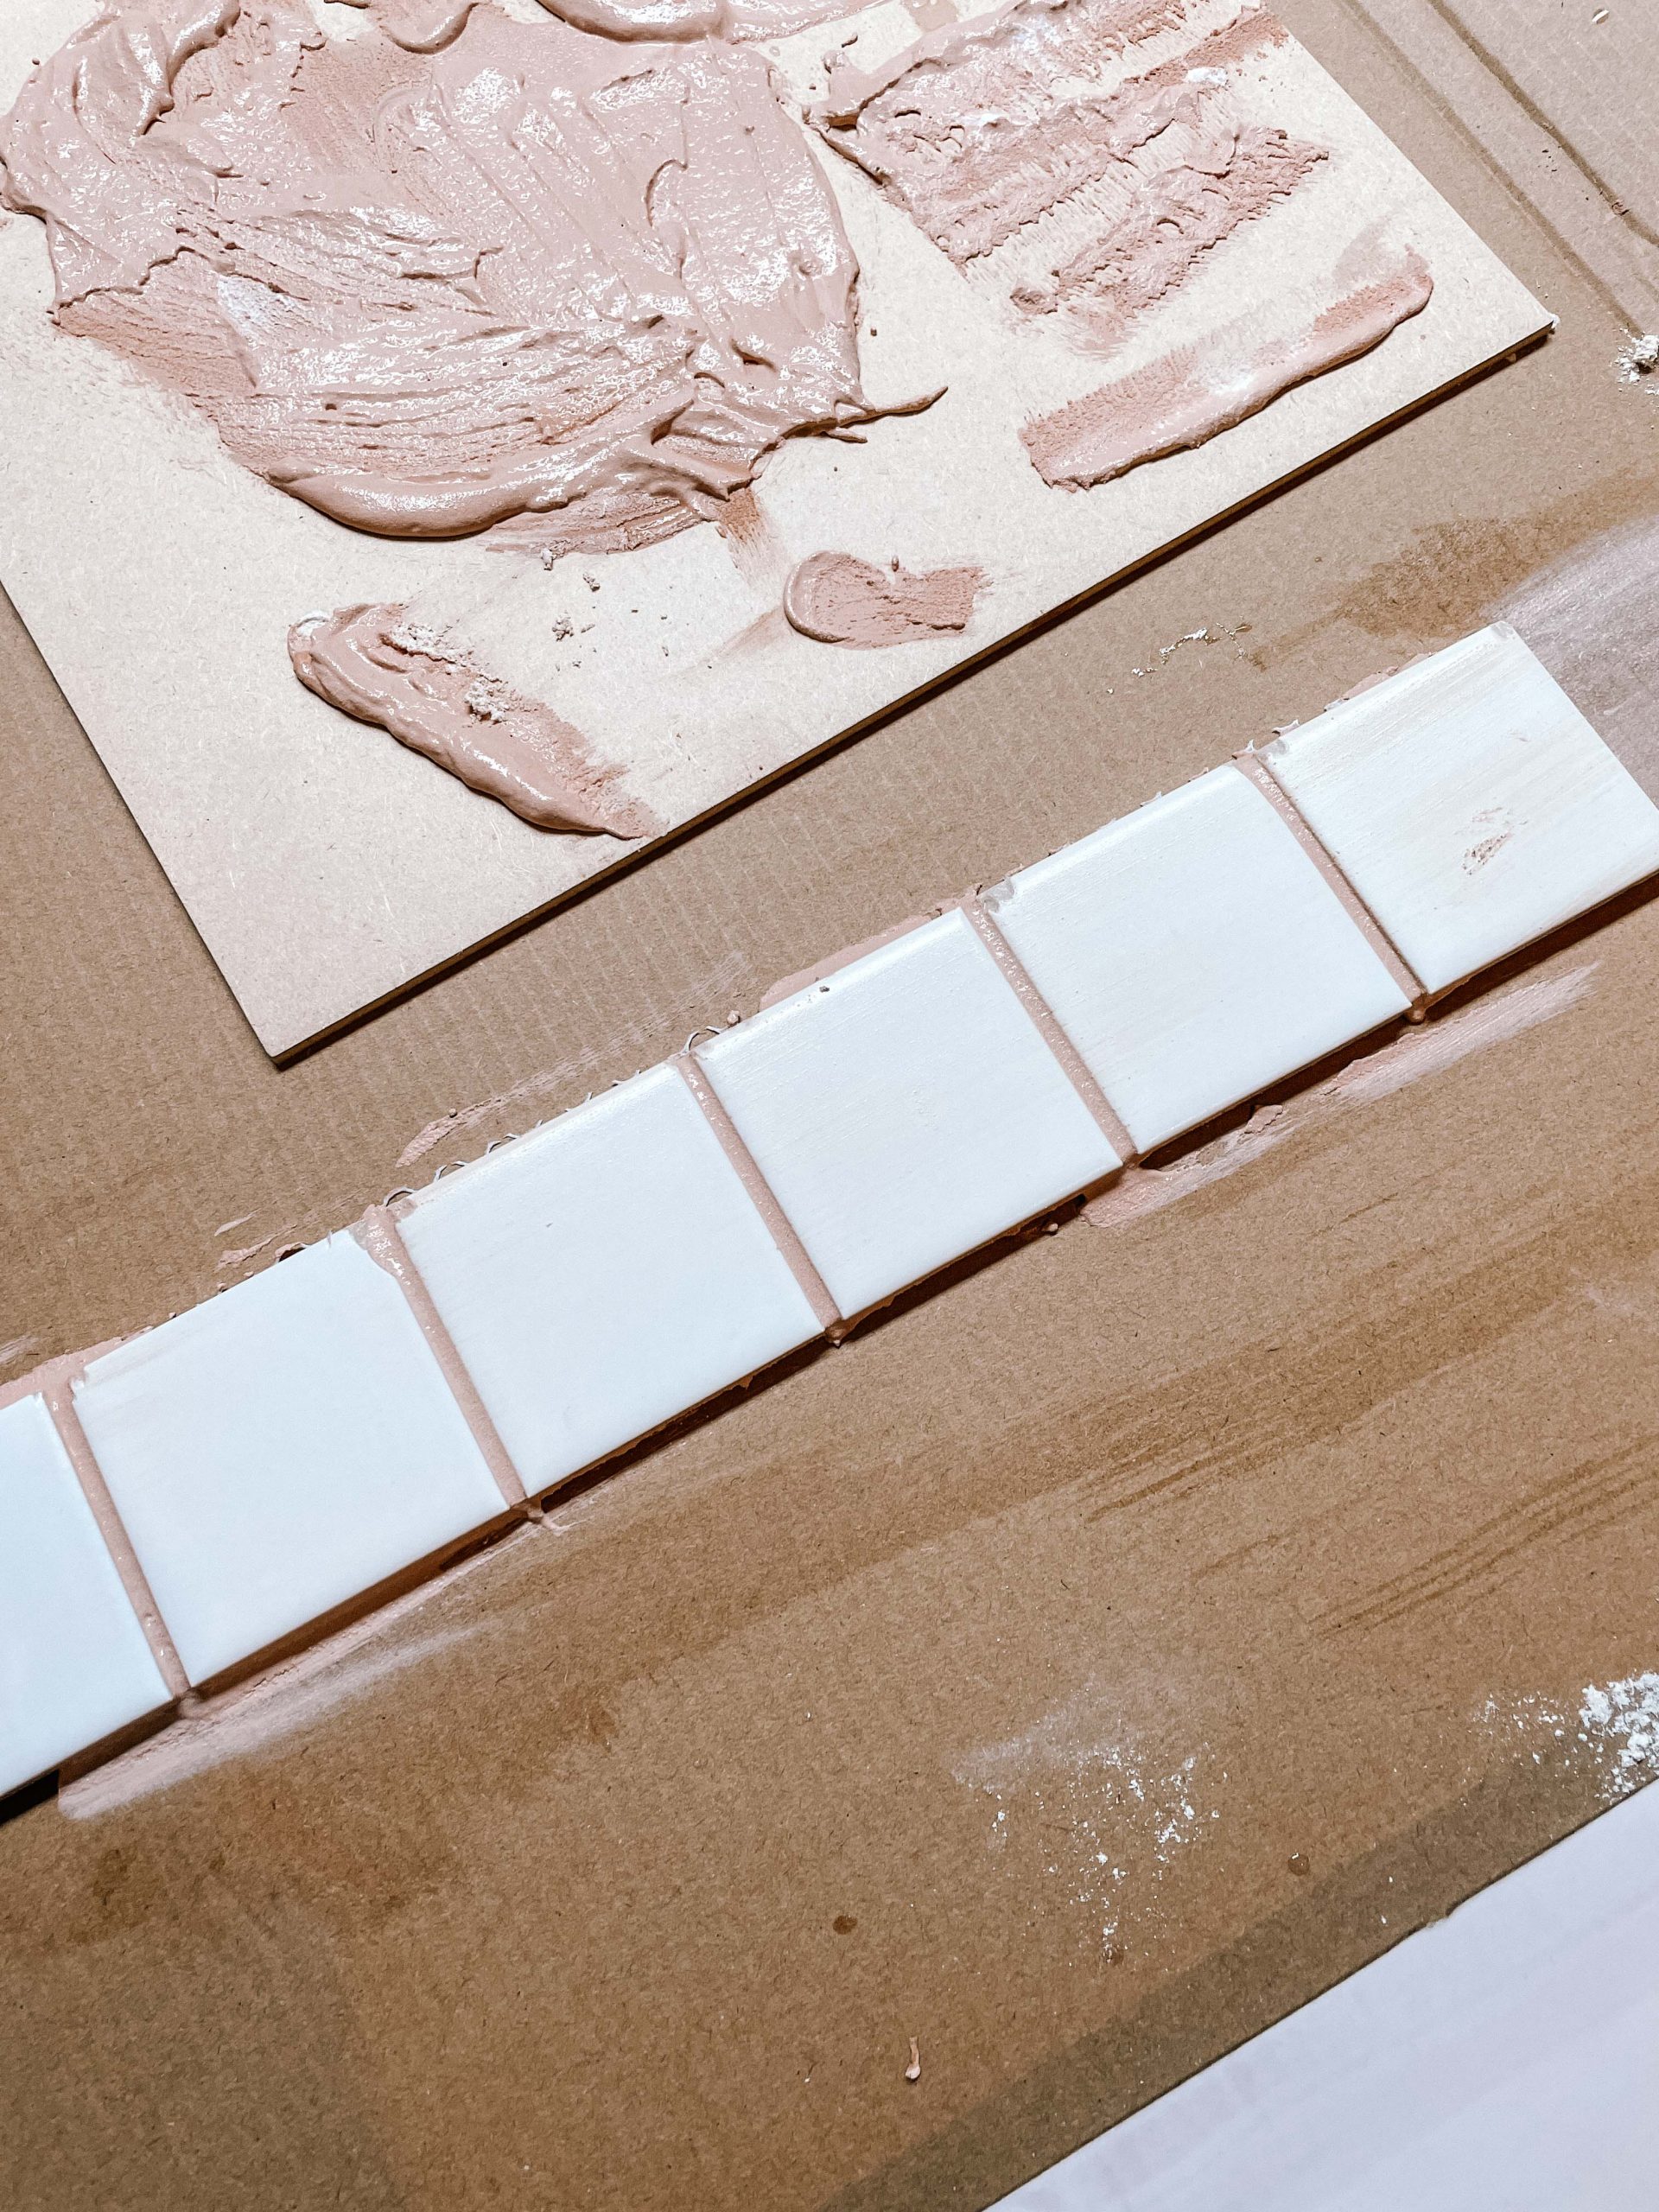
- Let dry overnight to check the colour and stability.
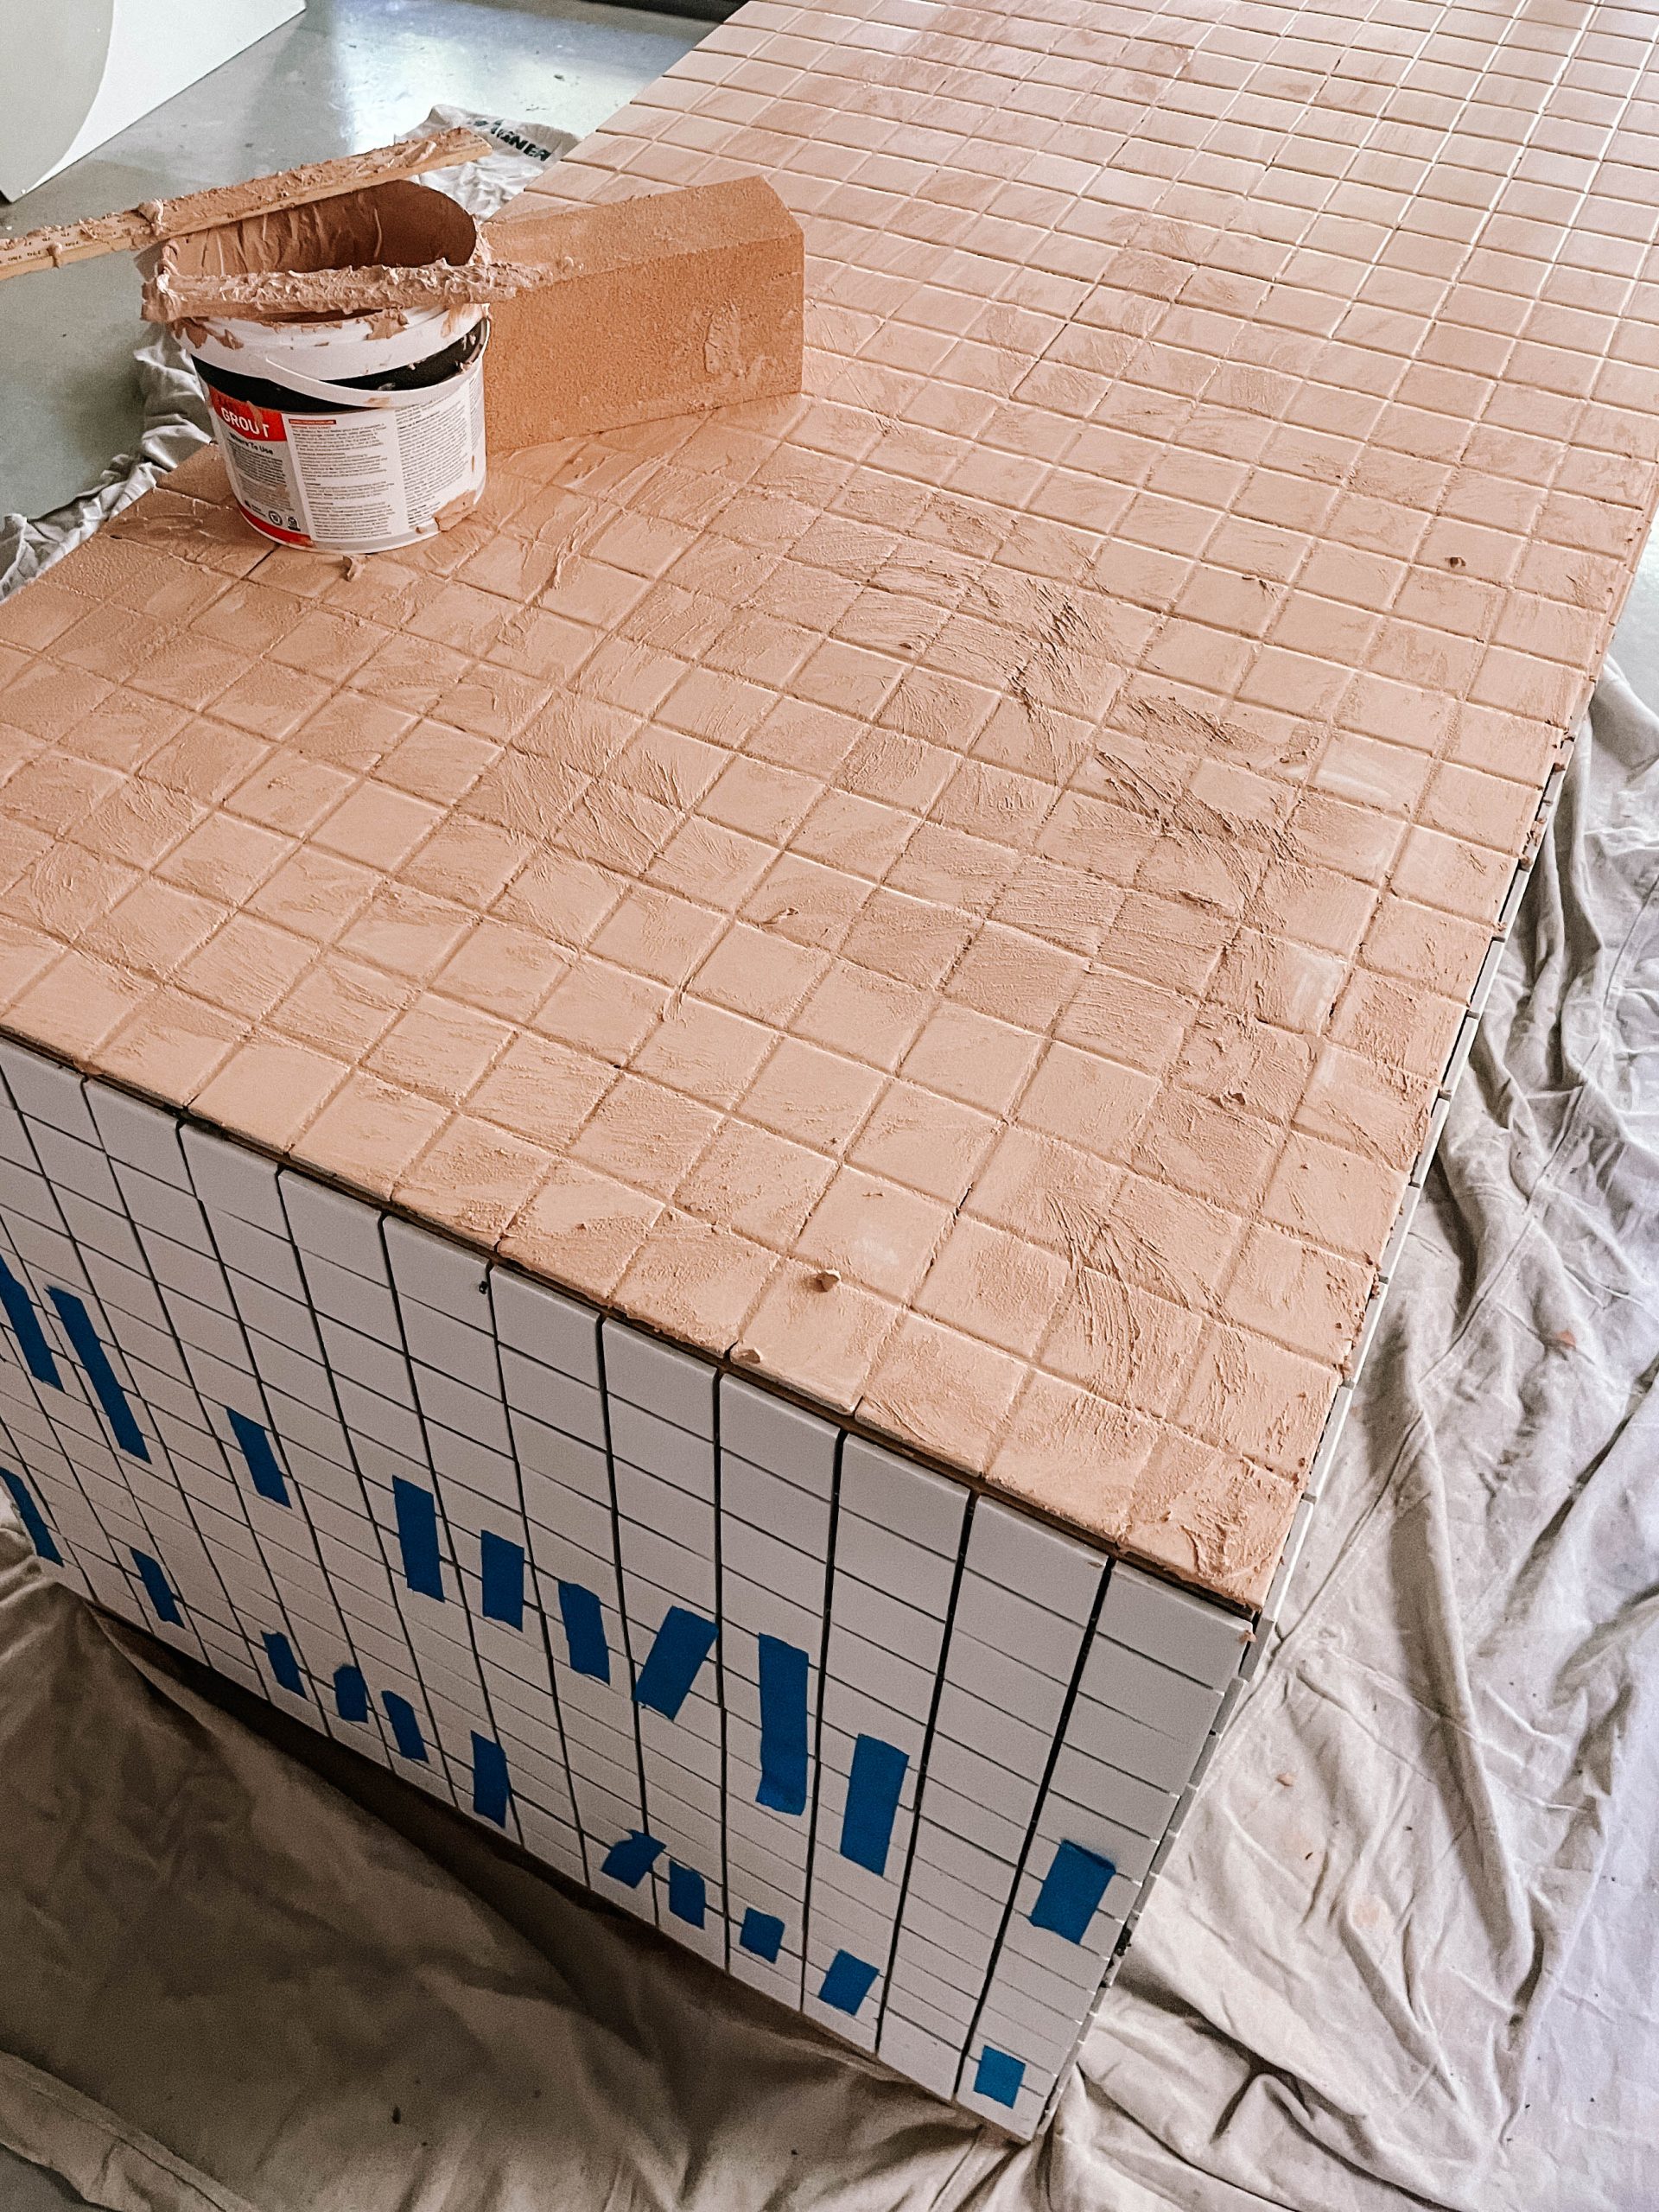
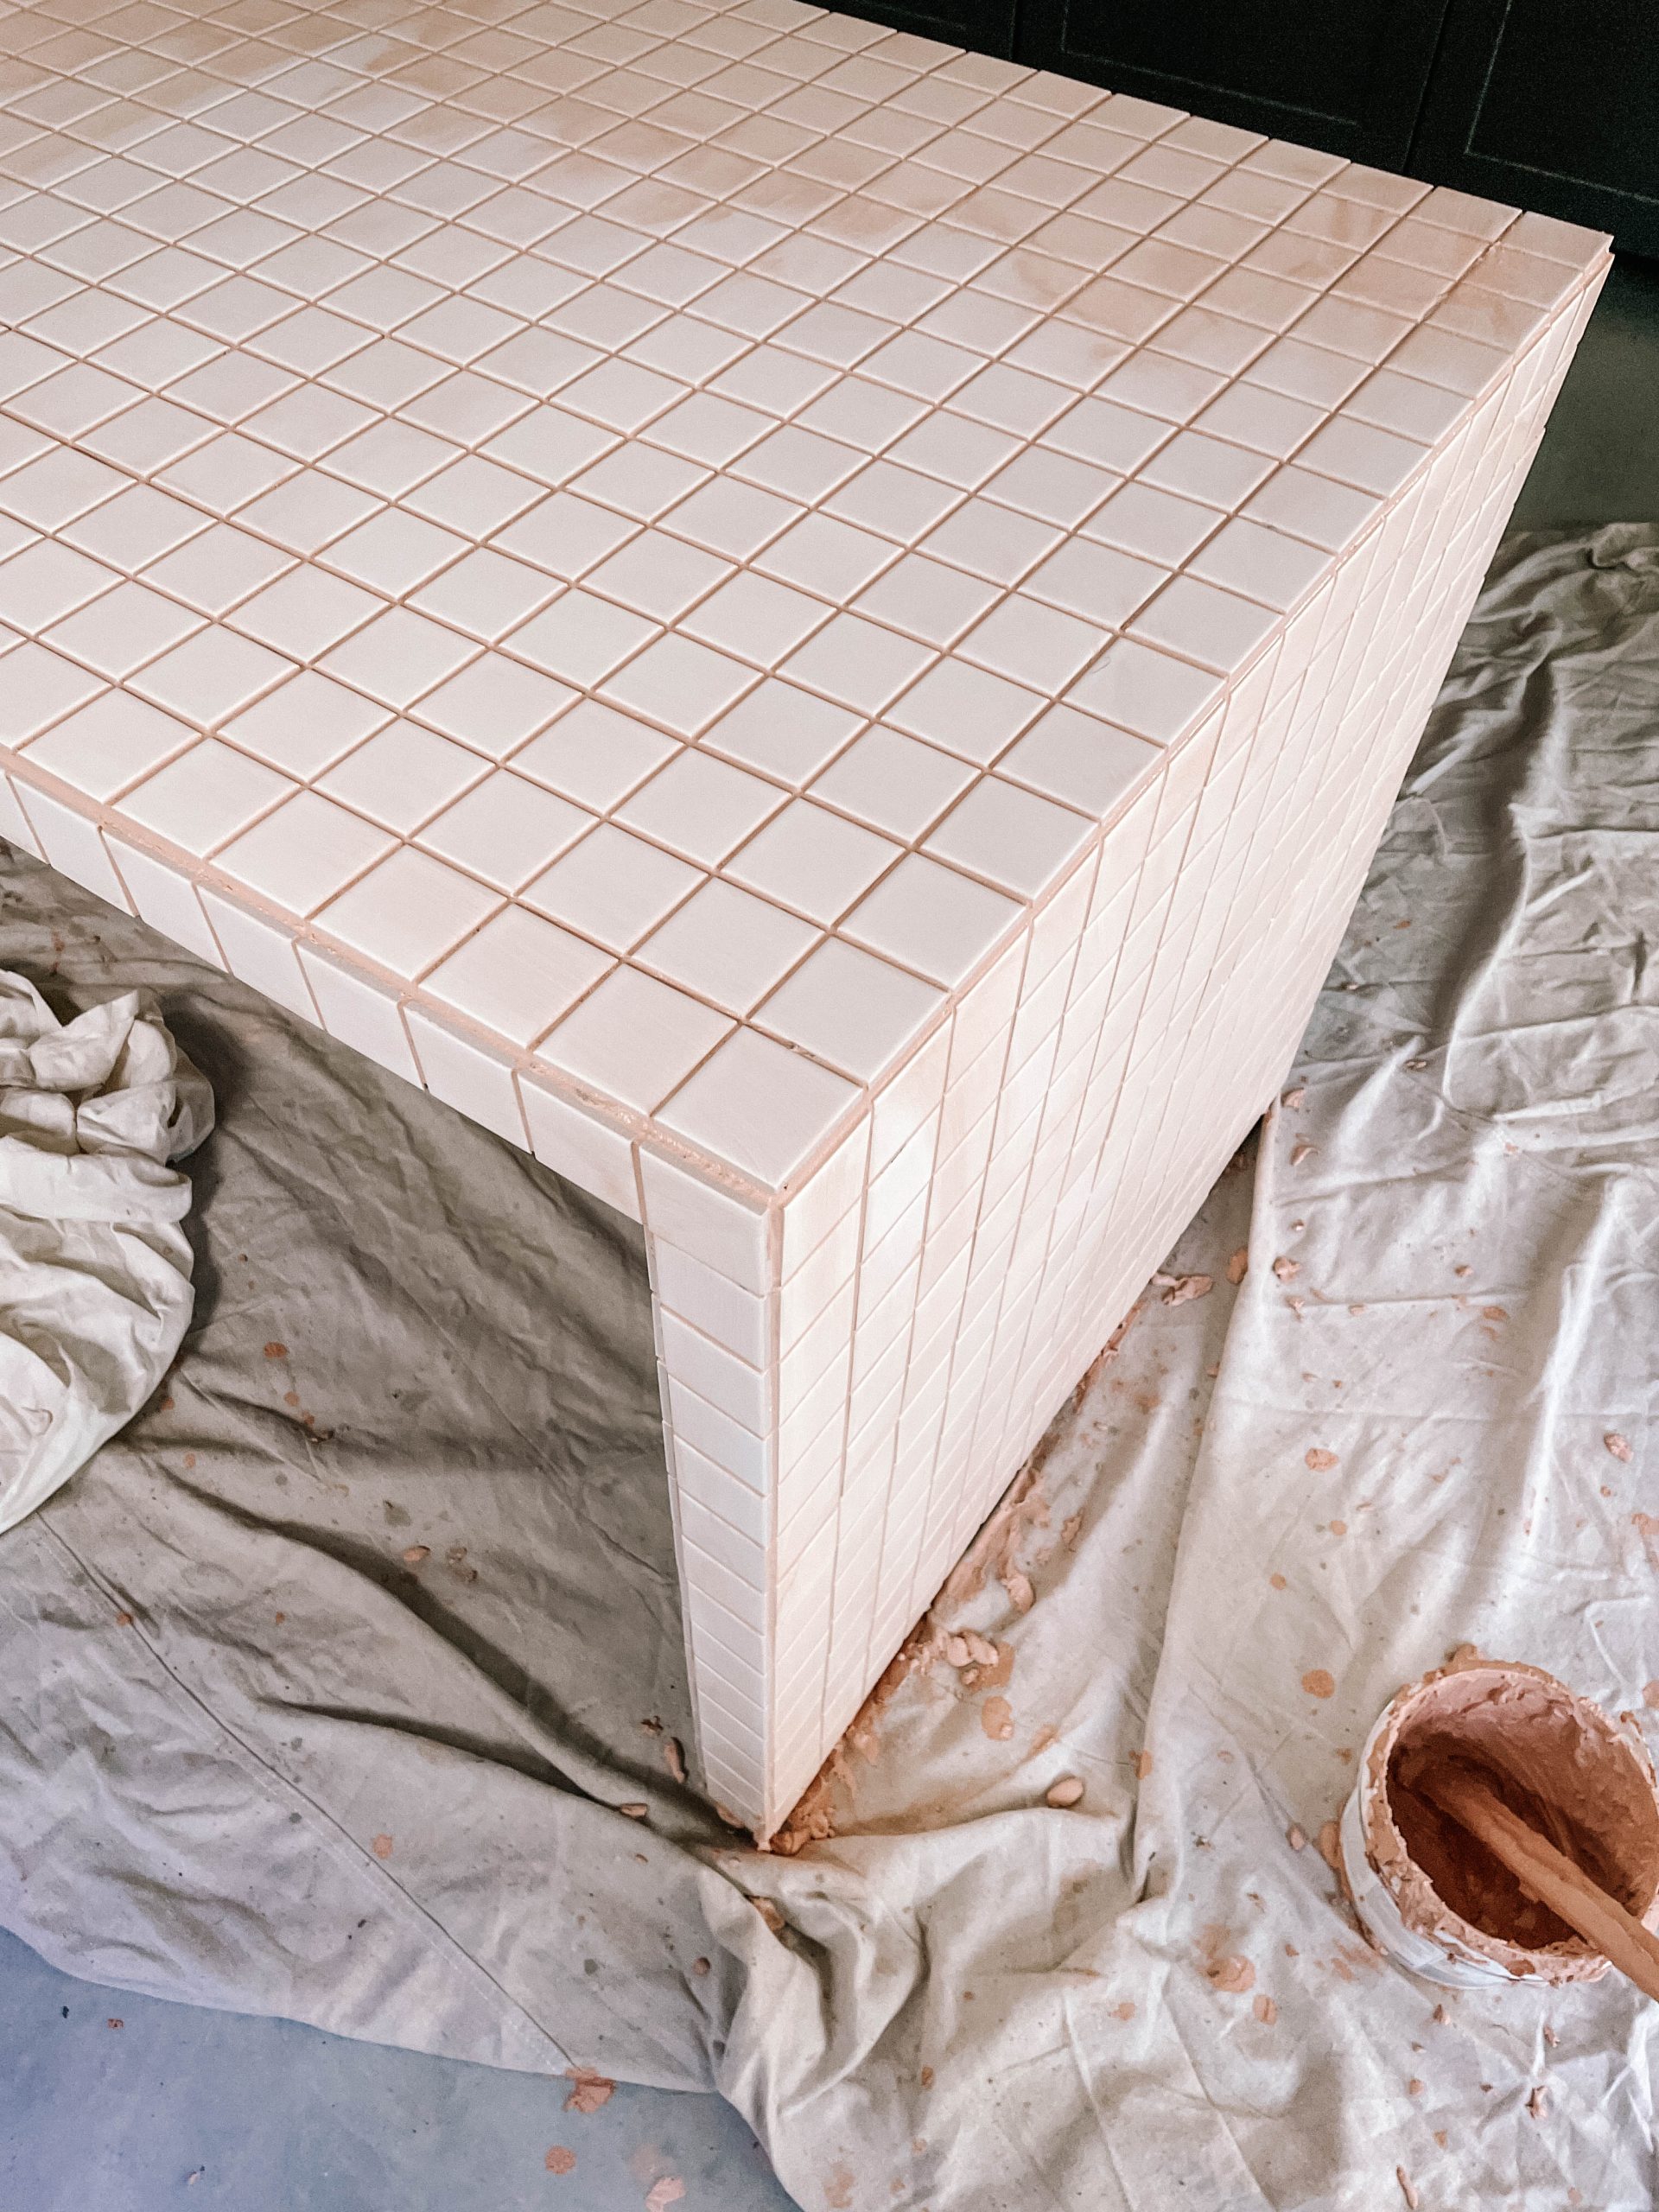
Applying Your Grout & Cleaning The Tiles
One of my biggest concerns when doing this was that the paint content in the grout might be hard to remove from the tiles after the grout dries. I have to admit, there were a few moments when I thought that might be the case, but in the end it turned out the be really easy to clean the tiles using a damn sponge, and then buffing them with a rag after. All the paint and grout residue was gone which was a relief!
Important Note
I would make sure to keep the amount of paint you use to 1/4th or 1/5th of the grout. This means it won’t effect the stability of the grout too much and it will dry properly and be durable.
DOES DIY COLOURED GROUT ACTUALLY LAST?
Yes — as long as you keep to the ratio. The key is treating the paint as a tint, not a pigment. At 1/4 to 1/5 paint-to-grout, the structural integrity holds and it cures properly. I’ve had mine on the tiled table for years without any cracking, fading, or issues.
A few things that affect longevity: wall tiles (low moisture) will hold colour better than floor tiles or wet areas. For splashbacks or shower surrounds, I’d seal the grout with a grout sealer once dry for extra protection.
WHAT TYPE OF PAINT WORKS — AND WHAT DOESN’T
Use water-based acrylic paint only. This is important. Oil-based paints won’t bond properly with the grout and can stop it curing correctly. The acrylic needs to be interior-grade — exterior formulas can have additives that affect the mix.
I used Taubmans interior acrylic from Bunnings. Any hardware store brand in a small sample pot will work, and it means you can test colours cheaply before committing.
Doesn’t work: oil-based paint, chalk paint, enamel paint, craft acrylic (the tiny bottles — inconsistent pigment load).
CAN I USE IT ON FLOOR TILES?
For light-traffic floors, yes. For high-traffic areas or wet areas like showers, I’d be cautious — coloured grout (even store-bought) is more susceptible to staining from dirt and soap. If you do use it on floors, seal it well and accept it may need touching up over time. For feature walls, splashbacks, and furniture projects like tiled tables, it works beautifully.
WHAT IF MY COLOUR DRIES WRONG?
Two things to know: grout always dries darker than it looks wet, and it lightens slightly as it fully cures over 24–48 hours. Always do a test tile and leave it overnight before making your full batch. If you’ve grouted and the colour is too light, unfortunately you’ll need to re-grout — which is why the test step is non-negotiable.